作者從小到大每天也無中國茶不歡,但卻沒有特別講究,直至好多年前曾到過中國旅行後,才發現中國茶的學問其實很廣闊,而茶的種類比我想像中還要多很多,品茶的藝術亦很優雅,所以之後一直很想學習茶藝。 當然,在香港只是一個夢想吧,始終繼續喝一般超市買來的茶葉就算了。
I love drinking Chinese tea since child and must enjoy it everyday without any deeply knowledge before travelled to China. After few trips to China long time ago, only know that Chinese tea really so many knowledge and wide range of tea leaves, also drinking Chinese tea is an art, it’s so elegant, therefore, I wanna learn about it. Unforunately, it’s a only dream when I’m in HK, still continue to drink cheap tea.
上兩個月終於有幸地愛人送來生日禮物 ~ 一套真正品茶的茶藝工具,實在興奮不已。 而愛人本不喝茶,但有了這套茶具後,也吸引了愛人變了茶痴,現在還比我更深。
Luckily, my beloved one sent me a set of tea tools for my birthday present, of course, I’m so excited. Also, my beloved one not drinking tea before, after this set of tea tools, becomes a tea crazy and now more knowledge than me.
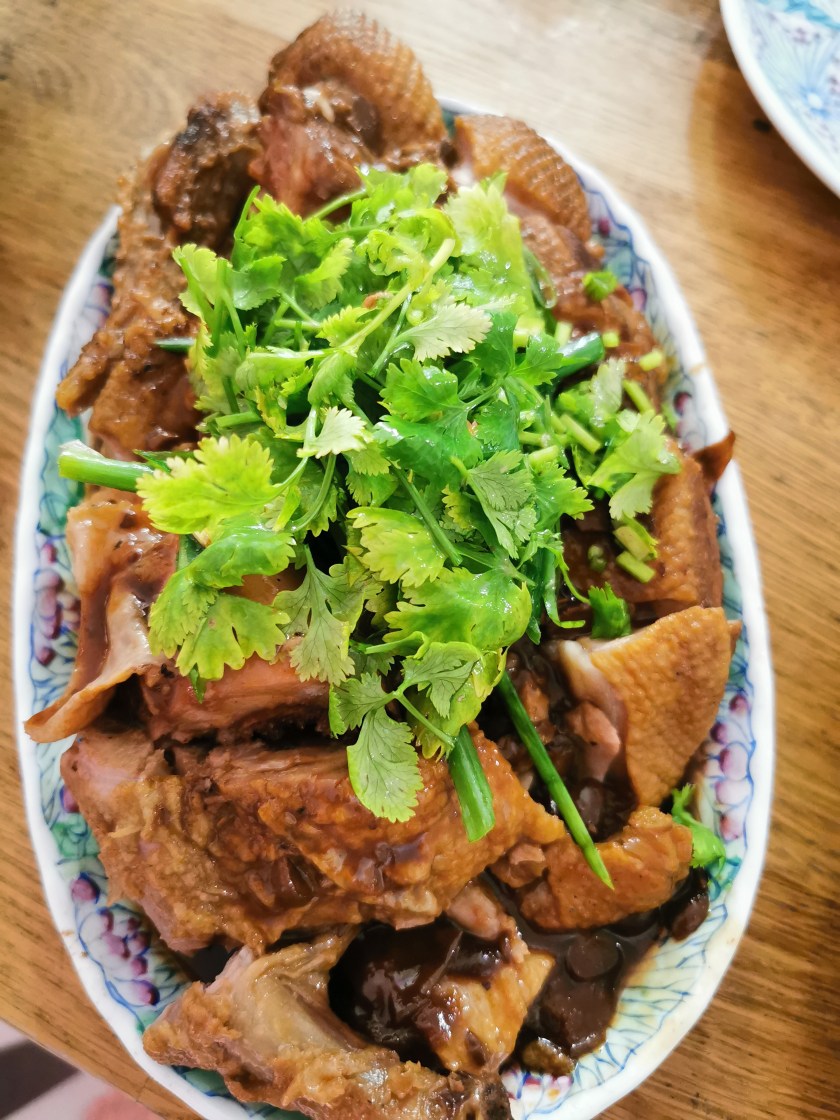
所以今次先試了做茶燻雞,但作者的版本不只是煙燻這麼簡單,用了慢煮的方法,及加入茶湯及茶葉作為底味,茶的香味更加濃,更能充分把茶香發揮得淋漓盡致吧。
After falling love in tea, I tried use Chinese tea to make this famous Chinese dish, not using traditional way, just use dried tea leaves to smoke chicken, I also use sous vide method and use drinking tea to combine with soy sauce, to make tea favour more strong and also can taste the complete tea fragrance.
今次作者用了鐵觀音來做,大家也可以用其他茶葉,自己喜歡飲的就可以了,不同茶葉出來的味道也不同。
You can use any kind of Chinese tea, different tea will give you different taste of chicken, I use OOlong tea as my tea favour.
這個食譜只是半隻雞,大家可以用全隻,請自行調整材料分量及味道。
This recipe only use half chicken, you can use whole chicken too, please adjust yourself.
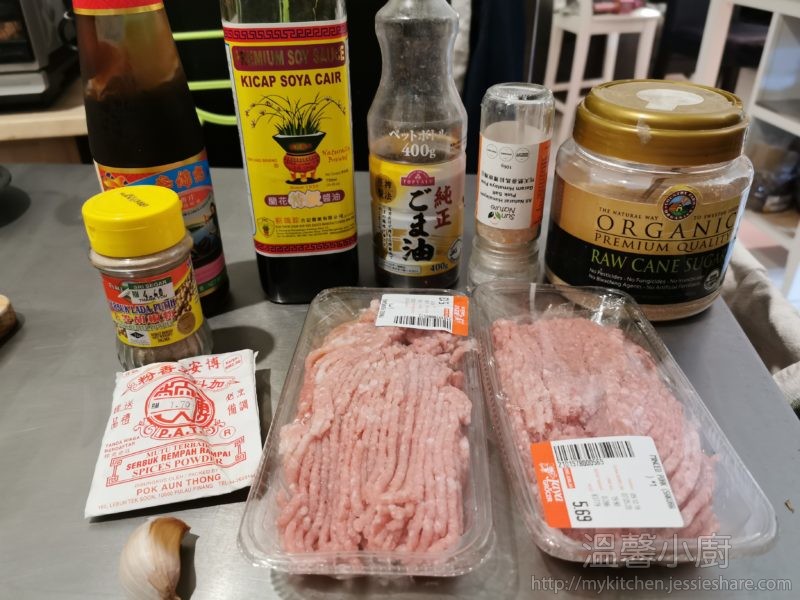
材料 (Ingredients) :

雞 (chicken) – 半隻 (half)
薑 (ginger) – 2片 (2 pcs)
蔥 (green onion) – 1條 (1 sprig)
蒜頭 (garlic) – 2瓣 (2 pcs)
紅蔥頭 (shallot) – 1個 (1 whole)
豉油 (light soy sauce) – 150ml
老抽 (dark soy sauce) – 20ml
茶湯 (drinking tea) – 150ml
八角 (star anise) – 2個 (2 whole)
丁香 (clove) – 3粒 (3 pcs)
甘草 (Licorice) 1條 (1 pc)
桂皮 (Cinnamon)- 半支 (half)
月桂葉 (Bay leaf) – 1片 (1 pc)
芫茜籽 (Coriander seed) – 10粒 (10 pcs)
花椒 (Sichuan pepper) – 15粒 (15 ps)
五香粉 (Five spices powder) – 半茶匙 (1/2 teaspoon)
冰糖 (crystal sugar) – 8g
麥芽糖 (maltose) – 1湯匙 (1 tablespoon)
鹽 (salt) – 1湯匙 (1 tablespoon)
花彫酒 (Chinese cooking wine) – 1湯匙 (1 tablespoon)
煙燻用材料 (tea smoking ingredients) :
乾茶葉 (dried tea leaf) – 15g
黃糖 (brown sugar) – 15g
白米 (rice) – 15g
斑蘭葉/焦葉 (pandan leaf/banana leaf) – 3片 (3 pcs)
做法 (Method) :
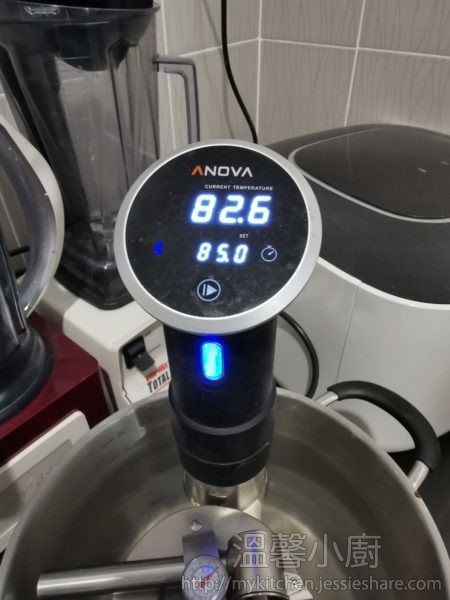
1. 準備低温慢煮棒,設定為73度
Prepare sous vide cooker, preheat it at 73 degree celsius
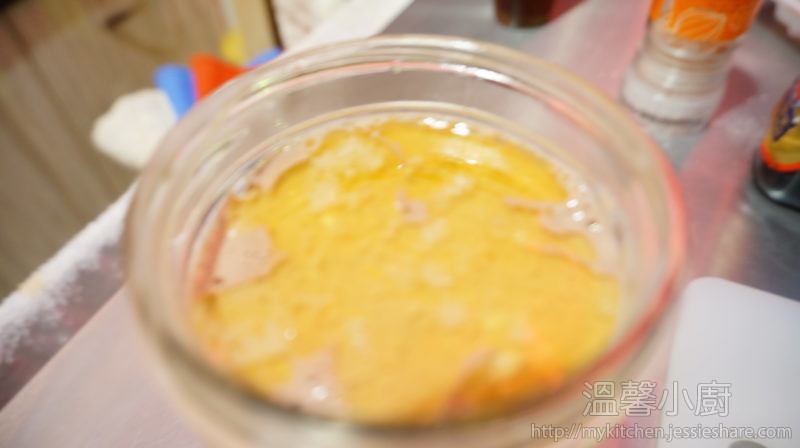
2. 先清洗一下雞,印乾水,把鹽平均灑在雞上,再用老抽上色,備用
Wash chicken and pat dry it, then put some salt and dark soy sauce to the chicken, then set aside

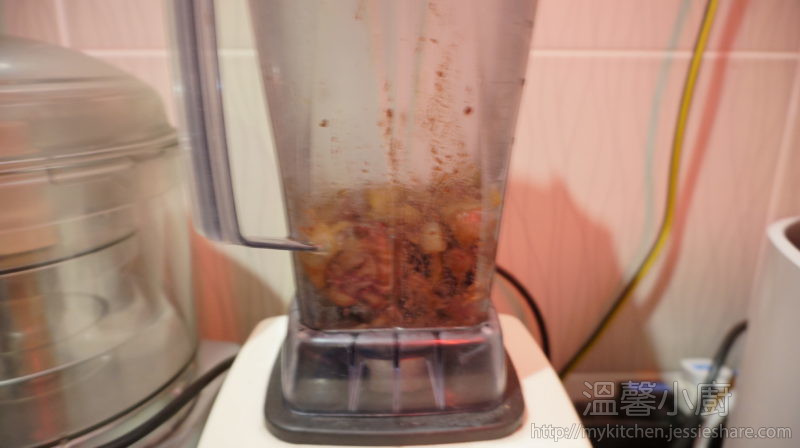
3. 沖一壺自己喜歡的茶,用第二及第三次出茶的茶湯,以及保留一些已沖泡過的茶葉
Brew a pot of your favourite tea, then only use 2 and 3 times tea, and keep some brewed tea leaves.
4. 八角、丁香、甘草、桂皮、月桂葉、芫茜籽及花椒先用白鑊小火烘至出味
Use a small pot, heat those spices without oil, until spices becomes fragrance

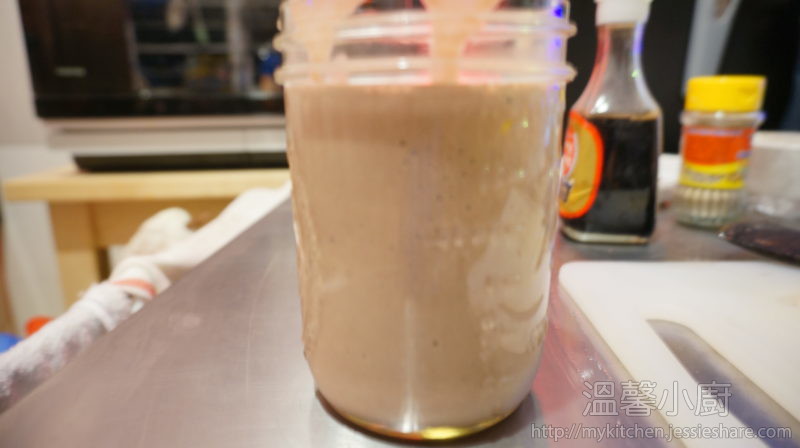
5. 加入豉油、五香粉、花彫酒、冰糖及麥芽糖,轉至中火煮至冰糖及麥芽糖完全溶解,離火後才加入茶湯,伴勻 (茶湯不要與豉油汁一起煮,不然香氣走了)
After that, add light soy sauce, five spices powder, Chinese cooking wine, crystal sugar and maltose, cook it in medium heat until sugar and maltose completely dissolved, then take off the fire, pour in the drinking tea and stir (don’t put the tea in for cooking, tea fragrance will be gone)


6. 準備真空袋,把雞放入,把薑、蔥、蒜頭、紅蔥頭、蒜頭及沖泡過茶葉放在雞腔及外面,再倒入煮好的豉油汁
Prepare sous vide bag, put the chicken in, put ginger, green onion, shallots, garlic and brewed tea leaves inside and outside of the chicken

7. 慢煮2小時30分鐘
cook it for 2 hours 30 minutes

8. 其間可以準備好煙燻爐,底部鋪上錫紙,放入白米、黃糖、乾茶葉及斑蘭葉,喜歡的話,也可以放入餘下沖泡過的茶葉,那麼煙會多一些的。
Then you can prepare the smoker, put aluminium foil at the bottom, then put some rice, brown sugar, dried tea leaves and pandan leaves on the top (if you like, you can also put some brewed tea leaves too, it will create more smoke)

9. 把煮好的雞,先倒出豉油汁,再返煮滾
After sous vide done, pour out the soy sauce into a small pot, and cook it until boiled
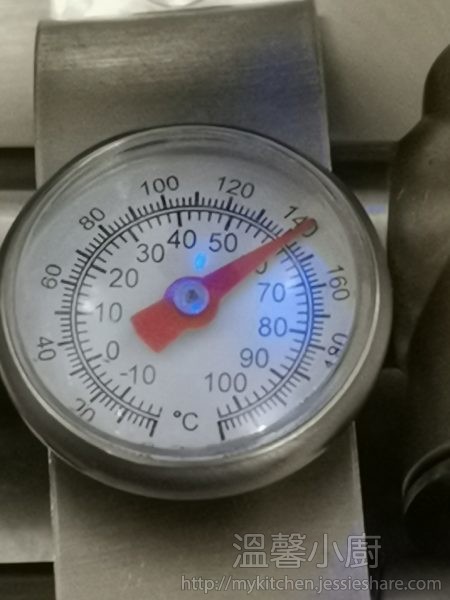
10. 然後小心地把雞放在煙燻爐上進行煙燻,開爐後,先把出風口開著,待到50度後闗閉,煙燻15分鐘,請把溫度維持在70-80度,不要太高溫,雞本已熟了。
Then put the cooked chicken to smoker carefully, and start tea smoking, open the vent until 50 degree degree, then close it and smoking for 15 minutes, please keep the temperature in between 70-80 degree celsius since the chicken already cooked, no need high temperature.

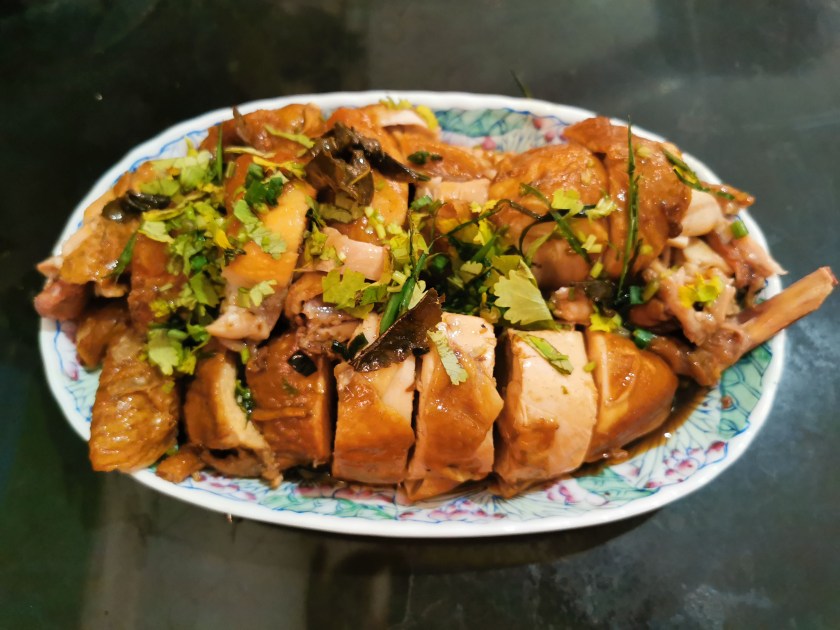
11. 煙燻好後,待多2分鐘才開蓋,放在砧板上放涼一點才切
After smoked finished, off fire and leave it for another 2 minutes, then put it on the cutting board and wait for a while until a little bit cooler and chop it into small pieces.
12. 切好後再把豉油汁倒入,即可享用。
Finally pour the boiled soy sauce on the top of chicken and enjoy.