Posted in 風乾機 (dehydrator), 食物處理器 (Food Processor), 小食 (Snacks), 氣炸鍋 (Airfryer)

[原創食譜 Original Recipe] 自製小食篇 - 薯片 (HOMEMADE SNACK – Potato Chips)

IMG_6896


這是突然的插入文章,暫且把做煙肉製作放低一下,因為最近試做了工廠式的薯片,本來想遲些才寫關於做小食的文章,但今次完成後在一些討論區上發放了相片,卻吸引了不少回響,答應整理後分享給大家。

This is an extra post that I’m not support to write it now, recently I tried to make homemade potato chips that really like factory one, and uploaded in facebook group, however, so many feedbacks hope that to write a recipe for this, thus, just put aside the post of bacon making, and today, just organised photos and share it out.


老實說,薯片製作程序真的比較麻煩,但為健康著想也是值得的。工廠式薯片加了很多調味劑、防腐劑、人做色素等等,鹽份又高,最重要係用千年油炸出來的食物,致癌物極高。

Actually, it’s so many steps for doing it, but it is healthy and worth to doing so.  Not like the package one, factory must added large amount of salt, flavourings, colourings, preservations etc, and the main point is they are using recycle oil, it is really harmful for our health.


先說薯仔,最好不要在超市買袋裝的焗薯,焗薯適合用來做餸菜及沙律,但不適合用來油炸;我們需要用新薯或稱為白薯來做,因為比較硬身及不易變黑。

First, we have to buy white potato, it’s more hard and not easy to turn black, don’t buy the package one from supermarket, that is russet potato, which is good for cooking and making salad, but not good for frying.


做法 :


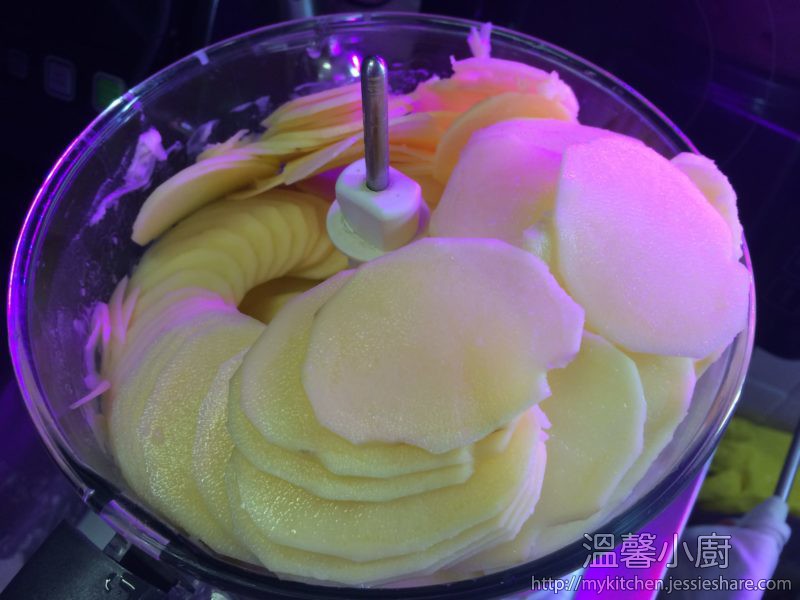
1. 首先,把薯仔去皮,清洗乾淨,用食物處理器把薯仔切成2分厚
First, peel the skin, wash it well and use food processor for cut it in slices for 2mm thickness

IMG_6898


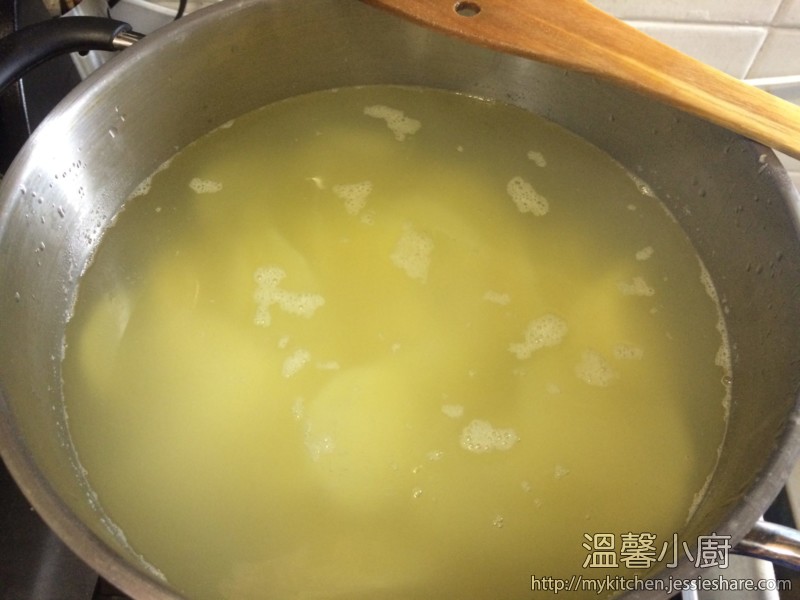
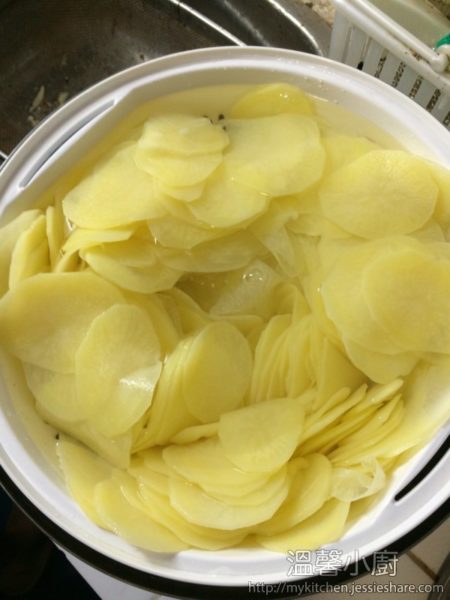
2. 準備一個鍋,加入清水煲滾,當水滾後加入白醋,水與白醋的比例是2:1,然後把新鮮薯片放入,煲15分鐘。這個步驟用來去除薯仔內的澱粉質
Prepare a pot, boil water, add white vinegar when water boiled, water and white vinegar the ratio is 2:1, then put the potato slices and boil it for 15 minutes, this steps is used to wash out the potato starch

IMG_6899


3. 準備一個篩及大碗,把篩放在大碗內,煲好後把薯片倒在篩內,先在水喉下沖洗一會,待薯片涼一點後,用清水浸著薯片並手清洗多餘的澱粉質,這個步驟需要反覆清洗及更換清水,直至看到水能清晰見底就可以了。
Then, prepare a sieve with a large bowl, put the sieve into the bowl, when the potato boiled, then use tape water to cool down a bit, then use your hand to wash out the remaining starch, repeat wash and replace water steps until water is clear.

IMG_6900


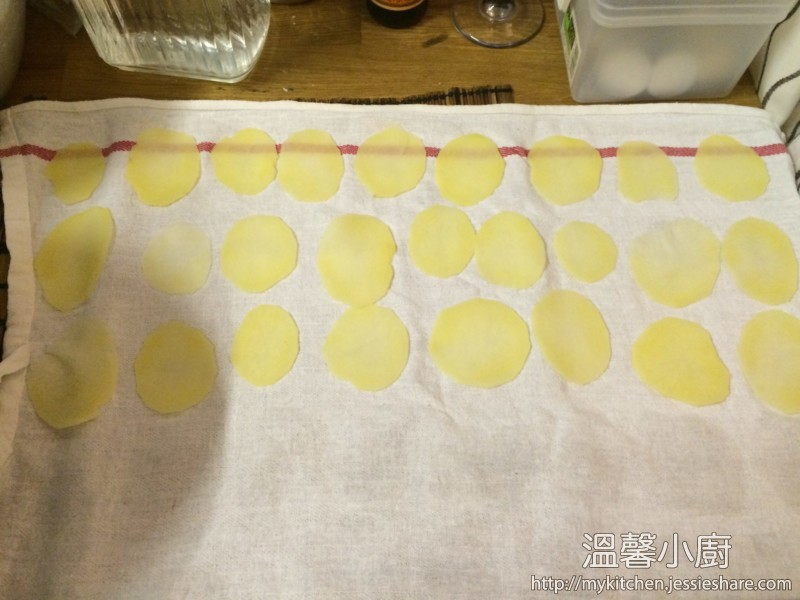
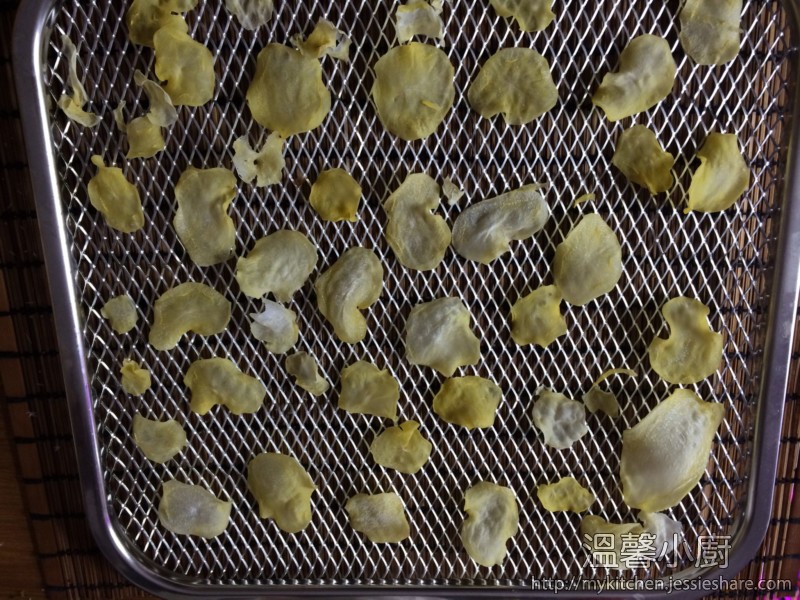
4. 跟著用紙或布印乾水份,放上風乾機,風乾至硬身。小編的風乾機用了日照晒乾模式,70度,3小時就完成了。但讀者沒有用這個風乾機,請參考您所用的風乾機手冊。
After washed, use paper or towel to dry out some water, then use dehydrator to dehydrate it until becomes hard.  Since my dehydrator is the newest model, I can select sun-dried mode for 70 degrees for 3 hours only.  So please follow your dehydrator manual if you are not using this model.

IMG_6902

IMG_6906

IMG_6908


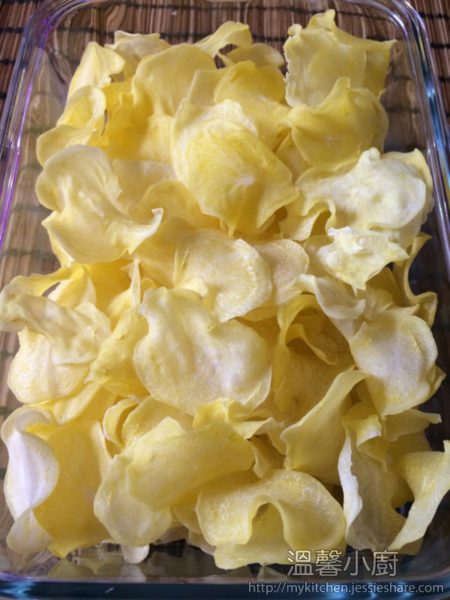
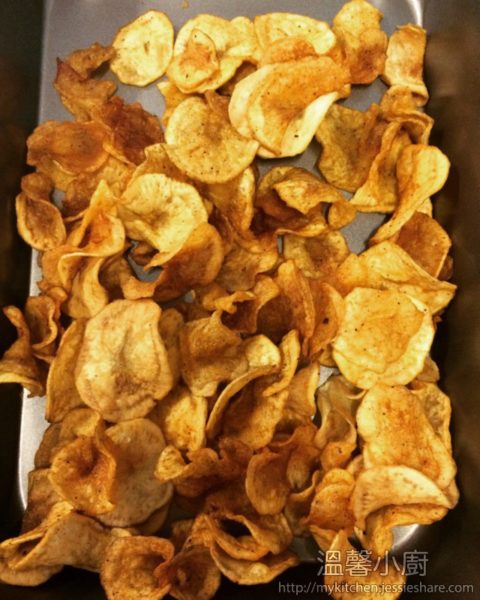
5. 風乾後可以存放很久,要吃的時候先放入熱水浸15分鐘或煲至軟身,印乾,加入油及你喜歡的調味撈勻,放入氣炸鍋,160度,10分鐘,然後再180度,3分鐘就可以享用了。
After dehydrated, you can keep in a jar for long time, when you wanna eat, just put the potato slice into a hot water for 15 minutes or boil it for a while, then mix some oil and your favourite seasonings, put into airfryer for 160degrees, 10 minutes, enjoy!

IMG_6903


p.s. 小編又試了把新鮮薯片串起,發現炸起來的效果更好
IMG_6905


[wpedon id=”1981″ align=”left”]

Posted in 風乾機 (dehydrator), 香草 (herbs), 香料 (Seasoning), 手提攪拌機 (Handheld blender)

基本製作篇 - 自製香料 (BASIC MAKING – homemade seasoning)

讀者見到標題可能會問,小編不是說過買回來嗎? 是的,大部份也要買回來,但有小數可以自製的,此外,小編分享這些可自製的香料將會時常用於日後所做的食品上,這樣成本也低很多。

As the title above, you will ask why not buy instead of homemade, it’s more convenient to do so.  Yes, most of the seasoning really need to buy from supermarket, but there are some can make it ourselves with lower cost and require to use a lot in the later stage.

說實話,小編及愛人是低收入人仕,所以在製做食品的工具上,會以物盡其用、貴買平用的心態,長遠來說是慳錢的方法。而小編每次買工具時,一定做很多資料蒐集才會買回來。

To be honest, I and my beloved are the lowest income level, therefore, we will try to fully utilized any equipments when we bought it, it is what we invest it as a long term saving money concept.  Furthermore, we will find as much as information we can before buy any equipments.

先說回今次的主題,如何自製香料呢? 其實很簡單,小編之前說過種植香草,但種植是有季節的,當香草適合的季節時,生長速度是很快的,所以我們要收割它,然後風乾,這樣可以把香草儲存。

OK, return back to topics, How to make our own seasoning? Actually, it’s very simple, as I mentioned in previous post, we are growing herbs at home, however, when those herbs in the right season, it will then growing so fast, we just harvest and dehydrated it, store it for later use.

那麼如何風乾呢? 當然我們需要一部風乾機吧。首先,如何選擇風乾機?市面上有平有貴的,有大又有細的,先簡短地解釋一下吧。現時市場上有兩款比較受歡迎的風乾機,一款是美國老品牌,款式較笨重,但設計比較好,拉屜式,風扇在後方,所以風乾平均,小型的沒有時間掣,大型才有,而價錢很貴。 另一款近年在家用很流行,因為體積細,最多可疊高至10層,價錢平很多,所以很受一般家庭使用,可是這些家用風乾機是塑料製做,加上風扇在最下方,如果一次風乾太多食物,要用多好倍時間才可完成。

How to make dehydration food? Of course, you need to buy a dehydrator.  First of all, how to select a dehydrator in the market? There are 2 types of popular dehydrators in the market, One is made in USA, it’s the famous and old brand dehydrator, it’s so bulky, but design is good, front door with drawer layers, the fan at the back, so the circulation is better, but it’s expensive; another one, which is more suitable for home use, it’s made of plastic, small, can be stand up to 10 layers and cheaper price, however, the fan is sitted in the bottom of the machine, so you are required to double or triple it’s time when dehydrating.

所以,以上兩款小編也覺得各有問題,幸好找到一款今年最新在韓國製造的風乾機,不僅外型好看,內涵也很好,價錢比美國品牌便宜些,現時只有它才有的工業式風亁機的紅外線功能,這個紅外線功能是用來冒彷日照的效果,那麼可以用來曬海鮮也可以。小編也試過曬魷魚,幾小時就完成了。

On the other word, as my point of view, I still not really satisfied for the above machines.  Luckily, after many of researches, finally, I found one that made in Korea this year with red-dot award, it’s not just stylish, also have good function on it, but the price is more affordable.  This is the first machine with built in infrared function which only available in commercial use nowadays.  The infrared used as solar/sunlight function, so you can use it to dehydrating Chinese salty food as well.  I tried to dehydrated squid, it’s only took me few hours to finish it.

IMG_6669

小編給多些資料讀者參考吓 :

More information given about the dehyrator as below :

lequip

  • 這款風乾機只用500W耗電量,開一天才幾十元電費
  • 香港同韓國電壓一樣,只需加上轉頭就可以用了
  • 這款風乾機很寧靜,只有40分貝
  • 自動濕度感應
  • 可選擇自動或自定模式
  • This hydrator only 500W, if you use it for a day, only costed you around HK$50
  • Korea voltage is same as Hong Kong, just add the plug
  • This machine have noise reduction, only 40db
  • also built-in humidity sensor
  • can select auto/manual mode

在這裏可以訂購 :

You can order here :

L’EQUIP IR D5 Food Dehydrator Dryer Stainless 5 Trays Timer(1~99hours) Temperatur Control (35~70˚C)

好了,再說回來吧。小編建議讀者自製什麼香料呢?就是蒜粉及洋蔥粉。為什麼要自製?買回來不是方便些嗎? 是的,讀者當然可以買回來用的,但小編之後有很多製作也大量用到,零售店及超市買也要$2X元一小瓶,當你需要用上大量時,那就很浪費金錢了。

Alright, back to the topic again.  What kind of seasonings that suggest for homemade? Garlic Powder and Onion Powder.  Why need for homemade? As the future posts that I will share for food making, we will need to use it a lot, if you buy from supermarket, it cost you at least $2x for a little bottle, so please don’t waste your money, it’s so simple and low cost for making it.

這兩款香料粉容易製作,只需切片,風亁及磨成粉末就可以了。如果你本有磨粉機,就容易吧。如果沒有的,小編建議一款手提型攪拌器,不僅可以磨粉,還可以用來打湯、自製蛋黃醬、雪糕等等,資料如下 :

As you know, to make garlic powder and onion powder, just cut in pieces, dehydrated it and make it as powder. If you already have a grinder, it’s much easier to do so.  However, if you don’t have one, you can consider a handheld blender, not only make powder, you can use it for blend soup, sauce, mayonnaise even ice cream etc, information as follows :

Bamix Deluxe Hand Held Food Processor, Red Metallic, 160 watts

這個配件可以磨得更幼細,還可乾濕兩用 :

You can make fine powder using this mill, you can also blend wet and dry ingredients :

Bamix Bamix PROCESSOR POWDER DISC to pulverize suitable

p.s. 小編之後會分享用風亁機製作不同零食,不但健康又便宜。

p.s. I will also share more recipes for using this dehydrator, not just healthier but low cost.