Posted in 肉類 (Meat), 食物處理器 (Food Processor), 豬肉 (Pork), 越南菜 (Vietnamese Cuisine), 小型壓肉容器 (Ham Maker), 攪拌器 (Blenders), 低溫慢煮機 (Sous Vide cooker)

[原創食譜 Original Recipe] 越南扎肉 – 低溫慢煮版 (Homemade Vietnamese Ham – Sous Vide version)

首先對不起大家,這個工具應該是在香港時介紹,可是要突然搬回馬來西亞而擱置。

First, sorry for last sharing about this tool, cos suddenly move to Malaysia, so I’ve stopped to make this.

有了這個容器,而讀者又了解清楚這類乳化肉的成品,就可以有很多食品做出來,例如 : 上海餚肉,火腿、午餐肉等,也可以自家製,再不需要吃現成的火腿片或罐頭午餐肉了。

When you have this ham maker, and after you more understand about emulsified sausage, you can make lots of meat loaf, i.e. ham, spam, meat loaf etc., no more packed ham and spam.

小型壓肉容器連溫度計 (Ham maker with thermometer)

首先第一個分享做的是越南扎肉,相信讀者應該對扎肉不陌生吧,一定在越南餐廳食過,扎肉在越南有很多食法,用來配麵食、夾法包,又或是做春卷也可以。

First to share to make vietnamese ham.  I think many people well known what is vietnamese ham, you must tried it in any vietnamese restaurants; there’re many ways to enjoy this, i.e. sandwiches, noodles or vietnamese spring roll.

扎肉是外國的大型熟香腸 (Mortadella/bologna)的變奏版,大家也是乳化肉做成的, 只是用料比較簡單,只是用上豬肉及調味料,沒有其他額外的材料。

Vietnamese mortadella is the same as mortadella/bologna, both are emulsified sausage, but vietnamese one is more simple, just use pork and seasoning, without other ingredients.

傳統做越肉扎肉是用焦葉包著打好的肉,蒸熟後放涼就可以享用。 但作者這個做法卻是用了外國的Mortadella的做法,以低溫慢煮的方法控溫來做,大家可以試吓吧。

For traditional way to make this, wrap the ham with banana leaves then steam it in a wok, then let it cool down and cut into slices.  However, I’m trying to use the method that same as mortadella/bologna, you can try it too.

材料 (Ingredients) :

豬肉 (Pork Shoulder/butt) – 1kg

蒜頭 (garlic) – 3瓣 (3 gloves)

鹽 (salt) – 15g

糖 (Sugar) – 10g

魚露 (fish sauce) – 10g

香茅 (lemongrass) – 3 pcs

水 (water) – 300ml

胡椒粉 (white pepper powder) – 5g

黑胡椒粒 (Black peppercorn) (optional) – 5g

粟粉 (corn flour) – 20g

蕉葉 (banana leaf) – 2 pcs

做法 (Method) :

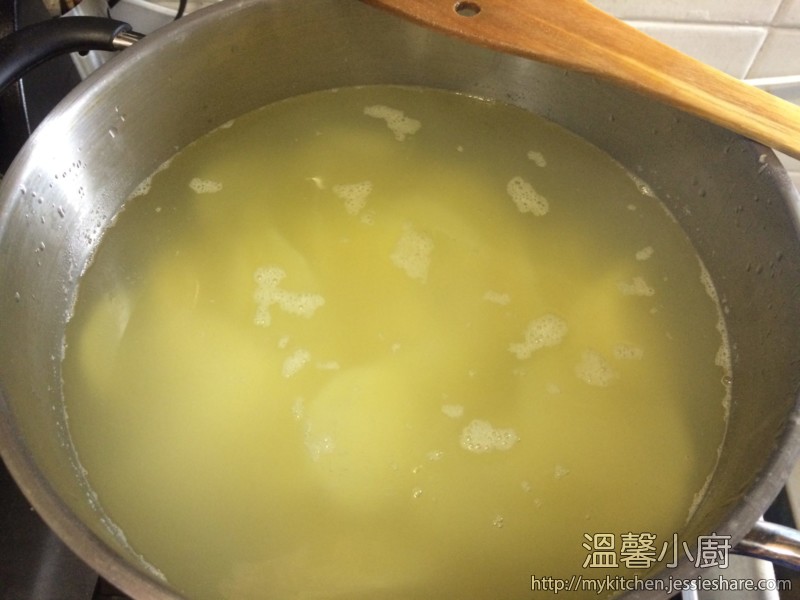
1. 先用香茅滾一鍋水,放涼後,倒入冰模雪成香茅冰

Boil a pot of water with lemongrass for 30 mins, let it cool and pour into a ice cube and freeze it until becomes ice.

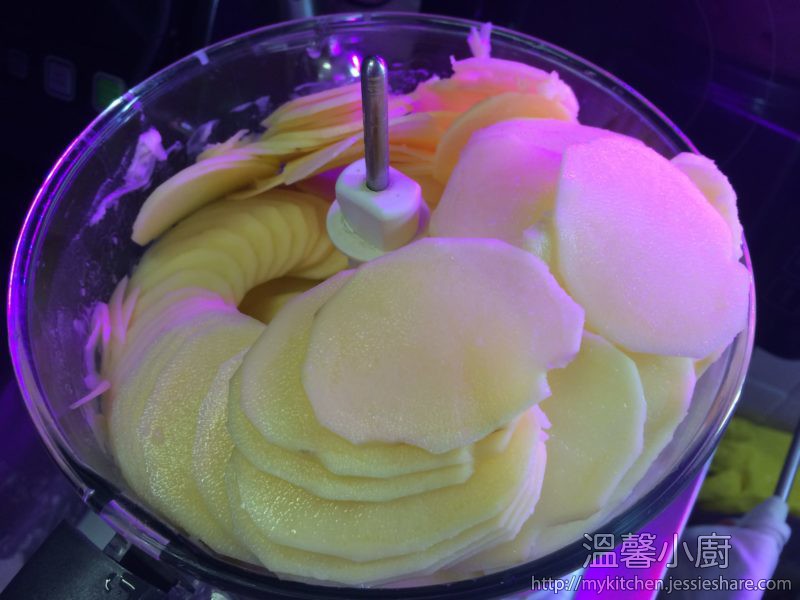
2. 豬肉切成小粒,放入攪伴機,再放入蒜頭,第一次打成蓉,不能打得太久,大約2分鐘就可以了

Cut the pork into small cubes, put it into food processor and also put garlic in as well, blend it only 2 minutes becomes little mince pork, don’t blend it too long, the pork will becomes heat.

3. 然後加入其他調味料及香茅冰,打多2-3分鐘,成為糊狀帶黏的質感

Then add other seasonings and lemongrass ice cubes, blend it another 2-3 minutes until the pork becomes smooth and sticky

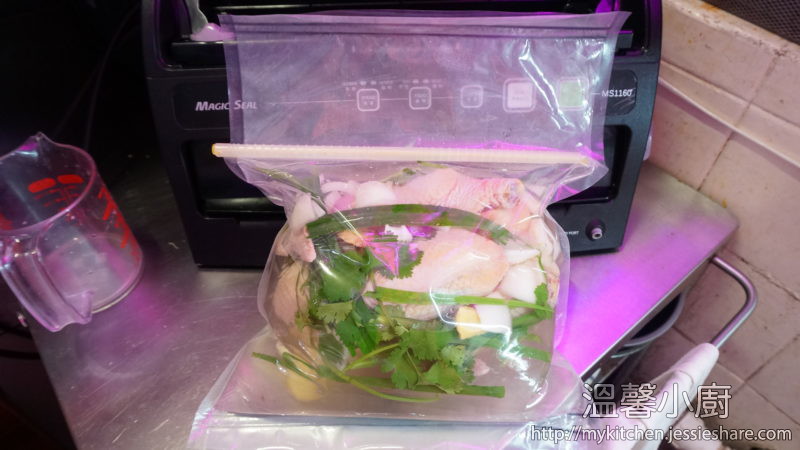
4. 準備容器,把蕉帶裁剪好容器的呎吋,放入容器,然後把打好的肉小心地倒入容器,用蓋壓實肉,蓋好後放入雪櫃一晚

Cut the banana leaf in the right size of the container and put it into the container, then pour the minced pork into the container, use the lid to press the meat and close it. Then, put the container in the refrigerator for one night.

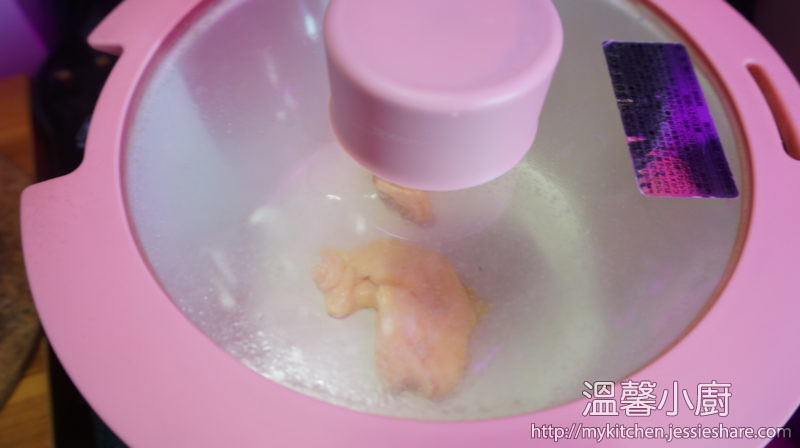
5. 第二日,準預慢煮器,預設溫度為80°C

Preheat the sous vide cooker on 80°C in the next day

6. 溫度到逹後,放入容器,慢煮3小時,當中需要觀察容器溫度計,看看容器內是否多於70°C, 否則就要加溫吧。

When the temperature reached, put the container and start cooking for 3 hours, make sure the internal temperature must be reach at least 70°C while cooking, otherwise rise up your sous vide cooker temperature.

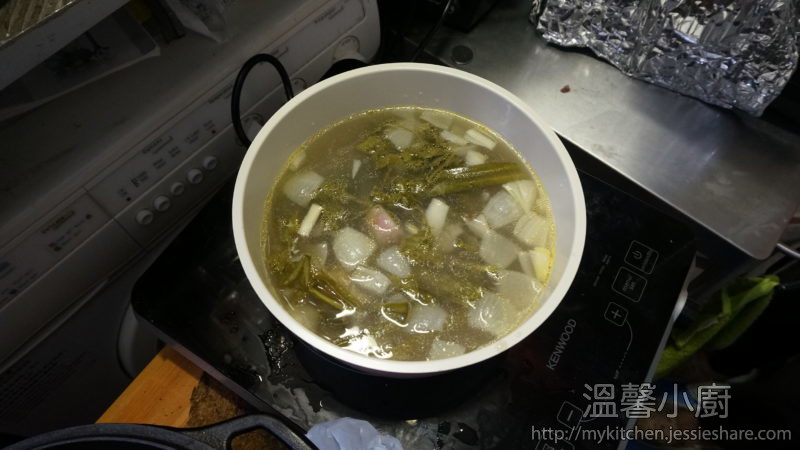
7. 慢煮好後,把整個容器取出放涼,然後再放入雪櫃一晚,翌日就可以切片享用了。

After cooked, take out the container, let it cool and put the whole container again into refrigerator for one night, then you can enjoy it next day.

[wpedon id=”1981″ align=”left”]

Posted in 肉類 (Meat), 雞類 (chicken), 食物處理器 (Food Processor), 馬來西亞菜 (Malaysia Cuisine), 工具及廚具 (Utensils and Kitchen Equipments), 低溫慢煮機 (Sous Vide cooker)

[原創食譜 Original Recipe] 馬來西亞海南雞飯 – 低溫慢煮版 (Malaysian style Hainanese Chicken Rice – Sous Vide Version )


相信很多人也吃過海南雞飯吧。坊間有很多做法及醮醬,但其實馬來西亞人只配海南辣醬來吃,所以今次只會分享這個醮醬吧。

I believed that many people have been tried this dish so many times already.  There are many cooking method and dipping sauces that you can found in different countries, however, in Malaysia, only dipping with Hainanese chilli sauce, so I will only introduce this dish with this sauce here.


至於做法,很多都覺得用飯煲做,作者都試過,但肉質沒有用低溫慢煮般滑,而去骨就沒有這樣容易。如果用最傳統的浸雞方法,就要好有經驗才可以做到,因為時間性很重要。

For the cooking method, many people shared that cooking in rice cooker, of course, I have tried it too, but to be honest, using rice cooker method, the texture not as good as using sous vide, on the other hand, the traditional method is not easy handle, cos the time capture is the most important.


然而,今次作者用低溫慢煮方法,發現可以做到大師傅的效果,煮好雞後再浸冰水,不但去骨容易,雞皮亦不容易分離及皮脆肉嫩。

So, I tried using sous vide, I found that the texture come out is exactly the one we can enjoyed in restaurant, and also easy to handle and get rid of the bone just using hand, meanwhile, the chicken fat layer not easy to lose but crispy and tender.


順帶一提,做海南雞最好用三黃雞來做,因為雞味比較濃外,亦需要雞油。

On the other hand, for cooking Hainanese Chicken, it’s better using yellow chicken, the taste is more fragrance and we also need the chicken fat to make chicken oil.


材料 (Ingredients) :


雞湯材料 (For chicken soup):

三黃雞 (Yellow chicken) – 1隻 (1 whole)

蔥 (Spring onion) – 1條 (1 pc)

薑 (ginger) – 3片 (3 slices)

紅蔥頭 (shallots) – 3個 (3 cloves)

芫茜 (coriander) – 1紮 (1 pc)

班蘭葉 (Panda leaves) – 2片 (2 pcs)

開水 (Boiled water) – 1500ml

鹽 (salt)


海南辣醬材料 (Hainnanese Chilli sauce) :

薑 (ginger) – 3片 (3 slices)

蒜頭 (garlic) – 3瓣 (3 cloves)

紅蔥頭 (shallots) – 3個 (3pcs)

長辣椒 (fresh long chilli) – 3條 (2pcs)

泰國辣椒(Thai chilli) – 2條 (2pcs)

白醋 (White vinegar) – 1湯匙 (1 table spoon)

糖 (sugar) – 2茶匙 (2 teaspoons)

鹽 (salt) – 2茶匙 (2 teaspoons)

雞油 (chicken oil) – 2湯匙 (2 table spoons)

雞湯 (chicken soup) – 100ml

青檸汁 (Lime juice) – 2茶匙 (2 teaspoons)


雞飯材料 (chicken rice):

紅蔥頭 (shallots) – 3個 (3 pcs)

薑 (ginger) – 2片 (3 slices)

蒜頭 (ginger) – 2瓣 (2 cloves)

雞油 (chicken oil) – 3茶匙 (3 tablespoons)

雞湯 (chicken soup) – 1公升 (1 litre)

米 (rice) – 260ml


做法 (Method) :

第一個最重要做的是煮雞湯,沒有雞湯,其餘的東西就不能煮了。 由於海南雞本是凍食,所以不要怕放涼。

The most important part for this dish is chicken soup, no matter what, you have to cook the chicken soup first, otherwise, you can’t process the rest of the dish.  Since Hainnanese chicken is a cold dish, don’t worry that it will became cold after cooked.


1. 預熱低溫慢煮器至73度
First, preheat your sous vide circulator to 73 degree Celsius


2. 準備一個大型慢煮袋,先把雞清洗好,用鹽擦內外,把雞、蔥段、薑、班蘭葉、紅蔥頭、開水及鹽放入袋內,用anylock封好,就可以用真空機封口,不用抽真空。
Prepare a large vacuum bag, wash the chicken and massage it with salt, both inner and outter, then put the chicken into the bag along with spring onion, ginger, panda leaves, onion slices, boiled water and salt, use the anylock to stop the bag and seal the bag without vacuum.


3. 放入慢煮器煮2小時30分鐘
Put the chicken soup bag in the circulator pot and cook for 2 hours 30 minutes


4. 然後可以準備海南辣醬材料,把紅蔥頭、蒜頭、兩款辣椒切粒,把雞肥細火慢慢炸出雞油,備用
Then you can cut the Hainnese sauce ingredients into a chunk and cook the chicken fat into chicken oil in low heat, then set aside


5. 另外雞飯所需的紅蔥頭、薑及蒜頭剁碎備用
And now, finely chopped spring onion and garlic for chicken rice, set aside


6. 準備一個小鍋及一大碗冰水,待雞煮好後,先把雞湯小心倒出,再把雞放入冰水浸一會
Prepare a small pot and ice water, after chicken is cooked, then pour out the soups and other ingredients into the pot and put the chicken in the ice water


7. 雞湯煮滾後,可以先做準備雞飯
Boil the chicken soup and prepare to cook the chicken rice first


8. 準備一個鑊,預留2湯匙雞油備用,其他可以倒入鑊內,先爆香紅蔥頭、薑及蒜炒勻
Prepare a wok, reserve 2 table spoons of chicken oil, then pour the rest into the wok, then add chopped spring onion and garlic in, stir fry until you can smell good


9. 準備飯煲,把洗好的米倒入飯煲內,把放入炒好的雞飯材料,伴勻,再加入班蘭葉,加入雞湯,米與湯比例大約1:1.3, 煲飯
Then prepare the rice cooker, put all rice mixture and panda leaves into the rice cooker, and pour in the chicken soup for ratio 1:1.3, then let the rice cook


10. 再回來海南辣醬,準備攪拌機,把紅蔥頭、蒜頭、兩款辣椒、雞油、雞湯、鹽、白醋、糖及青檸汁加入,攪勻,試味,完成
Back to the sauce, prepare a mixer, put all the sauce ingredients into the mixer and mix it well, then taste it, finished this.


11. 準備一個大碟,把青瓜切成一片片,鋪在碟上,平均地倒入少許豉油及麻油
Next, prepare a big plate, cut the cucumber in slices, then put them on the plate, glaze little bit soy sauce and sesame sauce on the top


11. 把雞切開及去骨, 然後平均地塗上少許麻油在雞皮上
Cut the chicken into pieces and pull out the bones, glaze a little bit sesame oil on the top


12. 當飯煲好就可以享用了。
When the rice is done, then you can enjoy it.


Tips : 如果讀者喜歡中式的薑蔥蓉作醮醬,磨薑蓉、切蔥粒,加少量鹽及胡椒粉,倒入滾雞油就可以了。


[wpedon id=”1981″ align=”left”]

Posted in 食物處理器 (Food Processor), 工具及廚具 (Utensils and Kitchen Equipments), 果醬 (Jam)

自製花生醬 (Homemade Peanut Butter)

IMG_7316


對於花生醬,作者由小到大都不喜歡吃,總覺得有些怪怪的味道,但自愛人親自做過後,作者試了一口,竟然沒有現成的那種怪味,還愛上吃花生醬,現時作者每天的早餐除了吃自製果醬外,加入了花生醬作為另一選擇。但注意,由於沒有添加劑,做好的花生醬需於2星期內吃完,不然會變壞的。

Actually I don’t like peanut butter since child, because I felt there is a bad smell, however, when my beloved one tried to made it once, after my first taste, I can’t find that bad smell again and begin to love with it, so other than jam, this is my second option to enjoy with my breakfast everyday. However, since this is homemade without preservation, please consume it within 2 weeks.


材料 (Ingredients) :


有機花生 (Organic Peanuts)

蜜糖 (Honey)

鹽 (sea salt)

花生油或菜油(Peanut oil/Vegetable Oil )


做法 (Method) :


1. 先將花生用焗爐或平底鍋烘焙至出香味及有少許金黃色
Roast the peanut either using oven or pan until you can smell it and a little bit brown colour

IMG_7375


2. 取出放涼後,把花生放在一個膠袋中,並用手把花生衣搓出
Let it cool down, then pour the peanuts into a plastic bag, and rub out the peanut coat


3. 耐心地揀出已去衣的花生後,放入食物處理器或攪拌器
take out the peeled peanuts patiently, then pour the peanuts into the food processor/blender, blend it around 10 second

IMG_7379


4. 然後再加入花生油、蜜糖及鹽,打至喜歡的幼滑度就可以了
Then, add peanut oil, honey and sea salt, and blend until the consistency you like


5. 最後試味是否適合自己,如加了調味就轉動幾下以便攪勻。
Taste it and tone your favourite taste and mix it well.


溫馨提示 : 如讀者喜歡有花生碎,記得在烘焙後先預留一些,當做好花生醬後加入及手動攪拌就可以了。
Warming Tips : If you wanna get chunky peanut butter, you have to reserve little quantity after roasted the peanuts, then add and mix by hand after the peanut butter finished.


[wpedon id=”1981″ align=”left”]

Posted in 風乾機 (dehydrator), 食物處理器 (Food Processor), 小食 (Snacks), 氣炸鍋 (Airfryer)

[原創食譜 Original Recipe] 自製小食篇 - 薯片 (HOMEMADE SNACK – Potato Chips)

IMG_6896


這是突然的插入文章,暫且把做煙肉製作放低一下,因為最近試做了工廠式的薯片,本來想遲些才寫關於做小食的文章,但今次完成後在一些討論區上發放了相片,卻吸引了不少回響,答應整理後分享給大家。

This is an extra post that I’m not support to write it now, recently I tried to make homemade potato chips that really like factory one, and uploaded in facebook group, however, so many feedbacks hope that to write a recipe for this, thus, just put aside the post of bacon making, and today, just organised photos and share it out.


老實說,薯片製作程序真的比較麻煩,但為健康著想也是值得的。工廠式薯片加了很多調味劑、防腐劑、人做色素等等,鹽份又高,最重要係用千年油炸出來的食物,致癌物極高。

Actually, it’s so many steps for doing it, but it is healthy and worth to doing so.  Not like the package one, factory must added large amount of salt, flavourings, colourings, preservations etc, and the main point is they are using recycle oil, it is really harmful for our health.


先說薯仔,最好不要在超市買袋裝的焗薯,焗薯適合用來做餸菜及沙律,但不適合用來油炸;我們需要用新薯或稱為白薯來做,因為比較硬身及不易變黑。

First, we have to buy white potato, it’s more hard and not easy to turn black, don’t buy the package one from supermarket, that is russet potato, which is good for cooking and making salad, but not good for frying.


做法 :


1. 首先,把薯仔去皮,清洗乾淨,用食物處理器把薯仔切成2分厚
First, peel the skin, wash it well and use food processor for cut it in slices for 2mm thickness

IMG_6898


2. 準備一個鍋,加入清水煲滾,當水滾後加入白醋,水與白醋的比例是2:1,然後把新鮮薯片放入,煲15分鐘。這個步驟用來去除薯仔內的澱粉質
Prepare a pot, boil water, add white vinegar when water boiled, water and white vinegar the ratio is 2:1, then put the potato slices and boil it for 15 minutes, this steps is used to wash out the potato starch

IMG_6899


3. 準備一個篩及大碗,把篩放在大碗內,煲好後把薯片倒在篩內,先在水喉下沖洗一會,待薯片涼一點後,用清水浸著薯片並手清洗多餘的澱粉質,這個步驟需要反覆清洗及更換清水,直至看到水能清晰見底就可以了。
Then, prepare a sieve with a large bowl, put the sieve into the bowl, when the potato boiled, then use tape water to cool down a bit, then use your hand to wash out the remaining starch, repeat wash and replace water steps until water is clear.

IMG_6900


4. 跟著用紙或布印乾水份,放上風乾機,風乾至硬身。小編的風乾機用了日照晒乾模式,70度,3小時就完成了。但讀者沒有用這個風乾機,請參考您所用的風乾機手冊。
After washed, use paper or towel to dry out some water, then use dehydrator to dehydrate it until becomes hard.  Since my dehydrator is the newest model, I can select sun-dried mode for 70 degrees for 3 hours only.  So please follow your dehydrator manual if you are not using this model.

IMG_6902

IMG_6906

IMG_6908


5. 風乾後可以存放很久,要吃的時候先放入熱水浸15分鐘或煲至軟身,印乾,加入油及你喜歡的調味撈勻,放入氣炸鍋,160度,10分鐘,然後再180度,3分鐘就可以享用了。
After dehydrated, you can keep in a jar for long time, when you wanna eat, just put the potato slice into a hot water for 15 minutes or boil it for a while, then mix some oil and your favourite seasonings, put into airfryer for 160degrees, 10 minutes, enjoy!

IMG_6903


p.s. 小編又試了把新鮮薯片串起,發現炸起來的效果更好
IMG_6905


[wpedon id=”1981″ align=”left”]