為何要分享這食譜,除了日式叉燒可以自己做外,不是買現成拉麵包回來就可以嗎? 老實說,作者分享得的,一定不會這麼簡單吧! 作者這個食譜可以說是大師級餐廳的作品,不是一般家庭會做的;所以讀者要有心理準備,要跟這個食譜,要預早一天準備,一定會很繁複及需要很長的時間製作,一定要耐心地去做。第一、二部份及日本高湯需要預早一天做好並存放在雪櫃内,其餘部份則在享用當天才做。
You may ask me why I need to sharing this recipes, other than Japanese Cha Shu, we can buy instant ramen noodle with soup in supermarket, it’s so simple, right? Of course, NOT! for me, I will not recommend you to buy instant food in the market, it’s all MSG, especially those instant soup powder. This recipe I’m sharing, if you can make it, you will becomes a master chef of ramen, this is what you can enjoy in Japanese noodle restaurants. Although it’s really complicated and may take you 2 days for preparation, so you have to patient for doing so. You have to take 1 day in advance for prepare part 1 & 2 and Dashi soup, then you can prepare the rest parts on the second day.
第一部份 ~ 醃竹筍 (Part 1 ~ Pickled Bamboo Shoot)
最簡單的,是配菜的醃竹筍,作者本也是想買現成的,但見包裝註明上有很多人工添加劑後就卻步了,最後決定自己製作,但這個只做一次就可以用很久了。
This is the most easiest part in this recipes. Originally, I wanna buy a pack from supermarket, unfortunately when I saw the ingredients of the pack, it’s really make me mad, it’s too much additional flavouring and MSG, so I finally decided to make it myself too. You can make it batch and keep in refrigerator for later use too.
材料 (Ingredients):
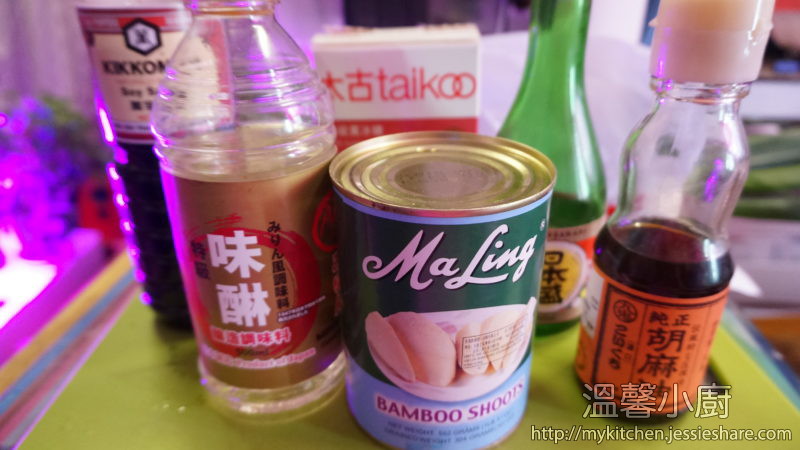
竹筍 (Bamboo shoot) – 1個 (1 pc)
日本醬油 (Japanese light soy sauce) – 2 湯匙 (2 tablespoons)
味琳 (Mirin) – 2湯匙 (2 tablespoons)
日本清酒 (sake) – 2湯匙 (2 tablespoons)
麻油 (sesame oil) – 1湯匙 (1 tablespoon)
糖 (sugar) – 1茶匙 (1 teaspoon)
日本高湯 (Dashi) – 200 ml (see below)
做法 (Method):
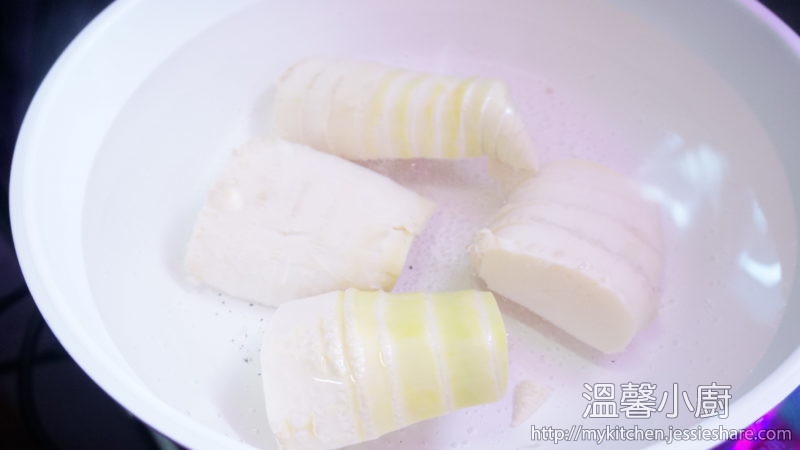
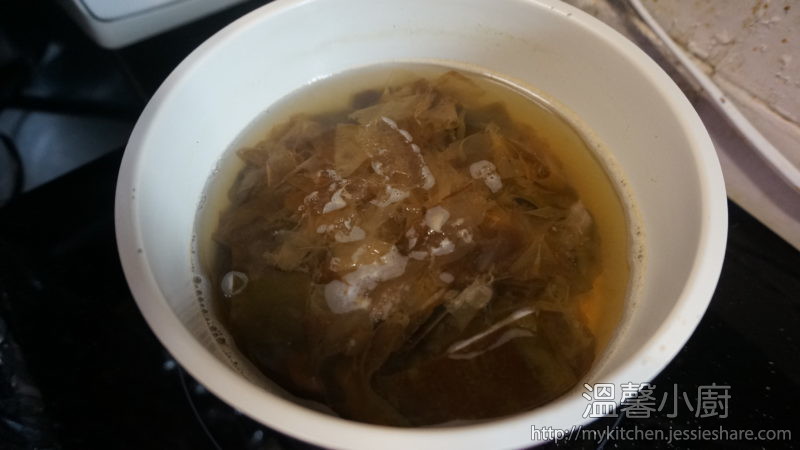
1. 竹筍先汆水(作者所住的地方沒有新鮮的,只好買來清水竹筍,但卻節省不少功夫。如果讀者買新鮮的,那就需要反覆浸泡及汆水幾次才清除苦澀味),瀝乾後切成小薄片,備用
Prepare a small pot, boil some water, put the bamboo shoot and boil it for 10 minutes. (Since I can’t find fresh bamboo shoot nearby, I just buy canned one, if you are using fresh one, please reboil it for few times to get ride of bitter taste), then cut it into small pieces and set aside.
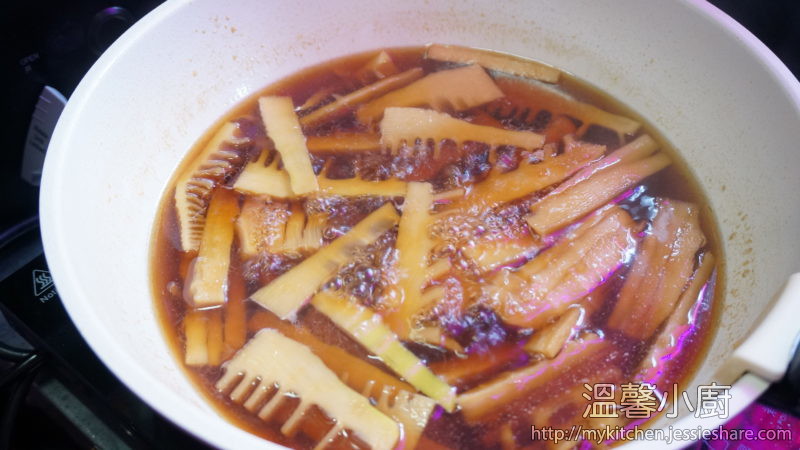
2. 準備一個鍋,加入日本高湯、日本醬油、味琳、麻油及糖,大火滾起轉為小火煮10分鐘
Prepare another pot, pour in Dashi, soy sauce, mirin, sesame oil, sugar and boil it for 10 minutes
3. 再加入竹筍再煮多10分鐘
Then add bamboo shoot in and boil more 10 minutes
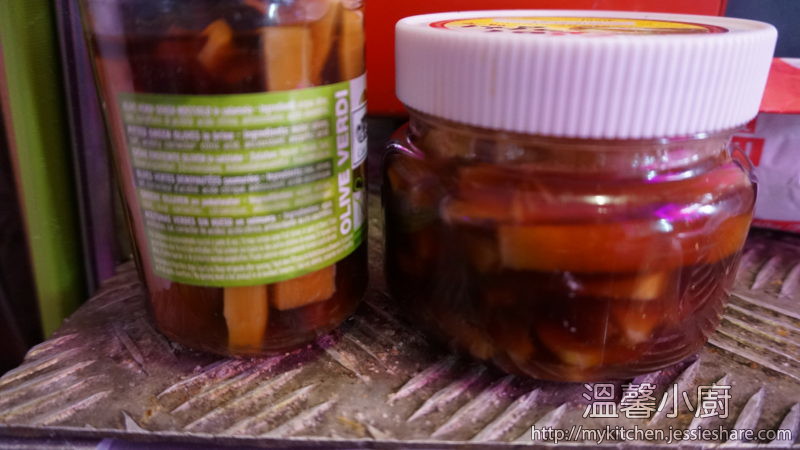
4. 放涼後,倒入瓶內,可以放入雪櫃存放
Let it cool down and put into a jar, then refrigerate it overnight.
第二部份 ~ 日式叉燒及半熟蛋 (Part 2 – Japanese Cha Shu and Half-cooked egg)
材料 (Ingredients):
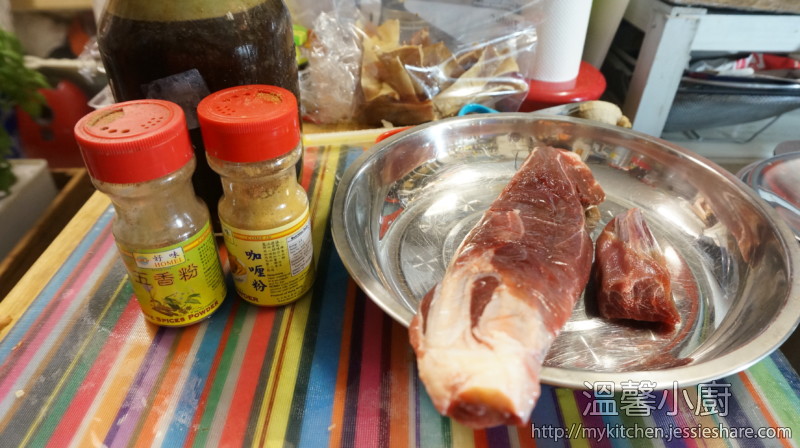
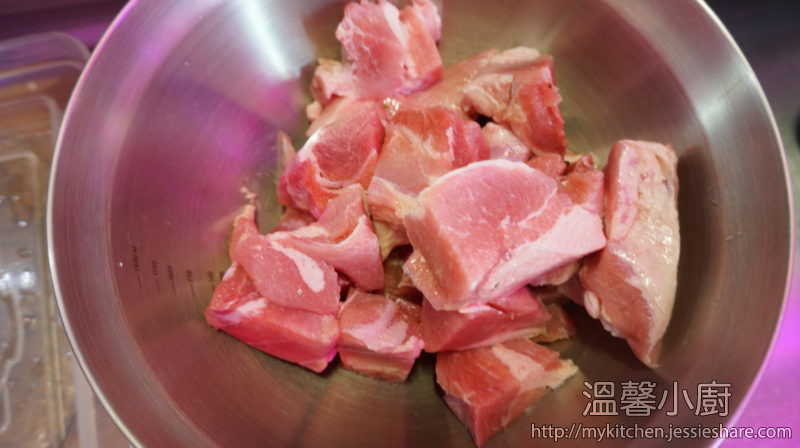
大型豬腩肉 (Large Pork Belly) – 1 件 (1pc)
雞蛋 (egg) – 2隻 (2 pcs)
日本醬油 (Japanese soy sauce) – 4湯匙 ( 4 tablespoons)
老抽 (Dark soy sauce) – 1湯匙 (1 tablespoons)
味琳 (Mirin) – 4 湯匙 (4 tablespoons)
糖 (sugar) – 1 湯匙 (1 tablespoon)
日本清酒 (sake) – 4湯匙 (4 tablespoons)
日本高湯 (Dashi) – 500ml
蔥 (green onion) – 1條 (1 pc)
薑 (ginger) – 3片 (3 slices)
蒜頭 (garlic) – 3瓣 (3 cloves)
橄欖油 (olive oil) – 3湯匙 ( 3 tablespoons)
做法 (Method):
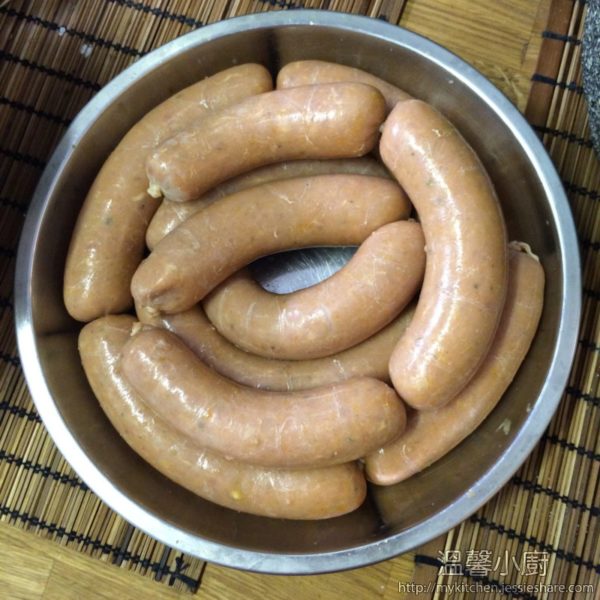
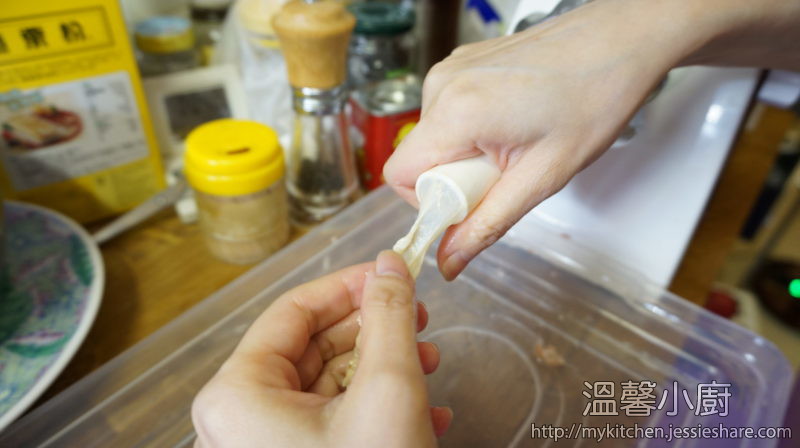
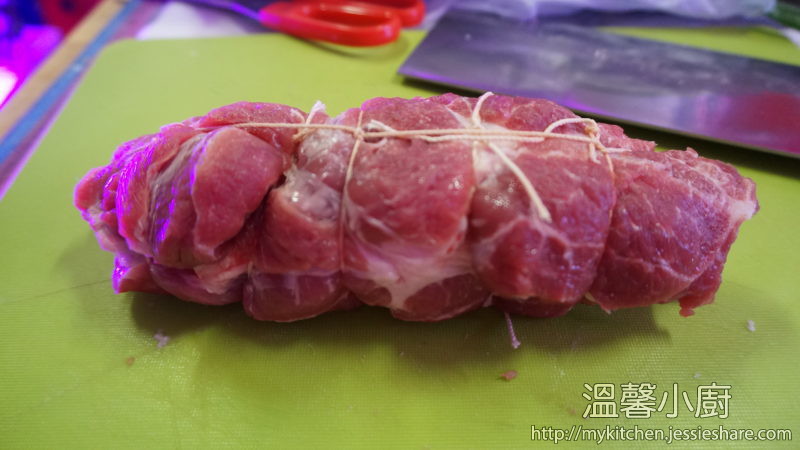
1. 把豬腩肉卷成圓型,然後用綿線紮好
Make a pork belly roll and use butcher’s strings to knot it into shape
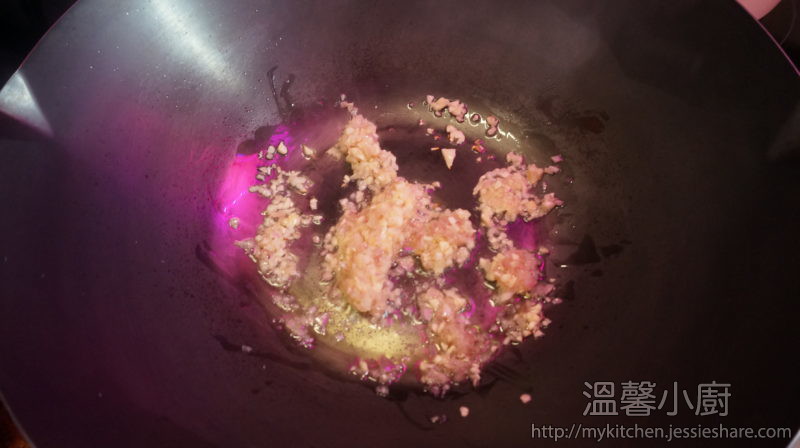
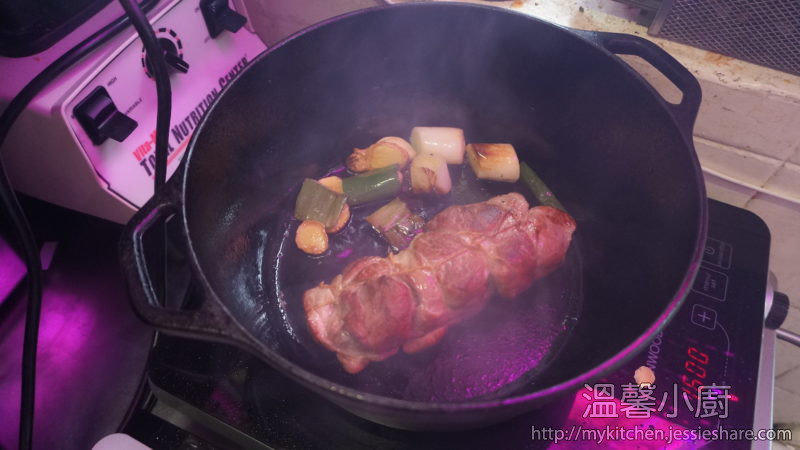
2. 準備一個鍋,下油,加入蔥段、薑片及蒜頭炒香,把紮好的豬肉大火煎封四週把肉汁鎖住
Prepare a pot, add oil in, put green onion, ginger and garlic, then stir a bit, then seal the meat in high heat
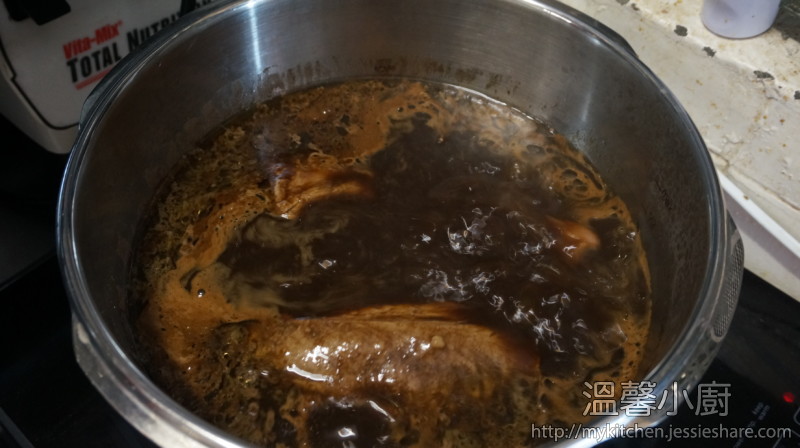
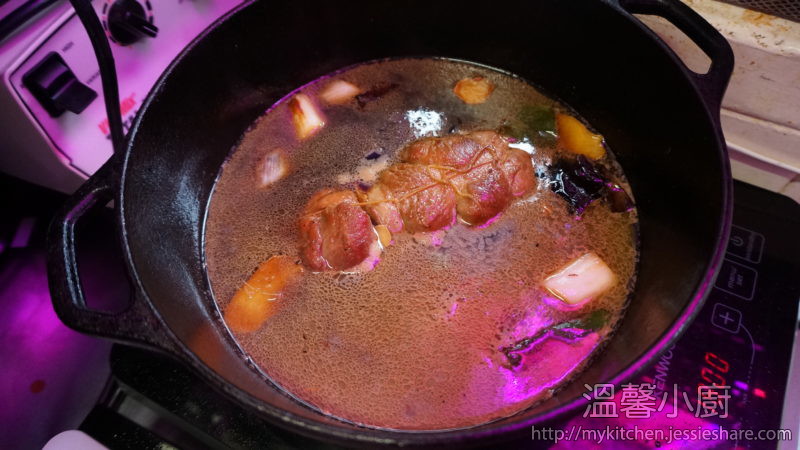
3. 然後加入日本醬油、味琳、冰糖、清酒及水,水量是要蓋過豬肉卷,調好自己喜歡的味道,滾起後轉細火,蓋上,慢煮1小時
Pour all the seasonings in, make sure cover the meat, bring it boil and taste first, then turn into low heat and lid on, cook for one hour.
4. 準備另一個小鍋,煲一鍋水,雞蛋在寬身那邊,在中間用小針穿一個小洞,水滾後把雞蛋小心地放入滾水內煲6分鐘。如果讀者只想要半熟蛋,不是鹵水蛋,這個及下一個步驟就可以食用當日才做。
On the other hand, prepare another small pot, make a very small hole on the bottom of the egg using needle, then boil some water, put the egg in gently and boil it for 6 minutes (If you just want a half-cooked egg without sauce, you can do this step 4 and 5 later when you take your meal on that day).
5. 同時準備一碗冰水,把煲好後的雞蛋立即撈起放入冰水內,5分鐘後撈起並小心地退殼
Meanwhile, prepare a cold water, put the boiled egg in immediately, then get out the egg shells when cool down.
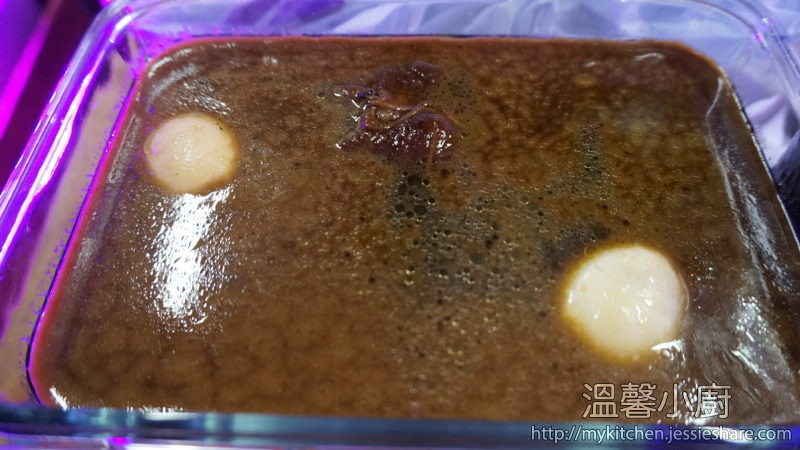
6. 把煮好的豬肉,半熟蛋連調味汁放入儲存的器皿內,放涼後就可以放入雪櫃存放。
When the pork belly is cooked, cool down and put the pork belly, half-cooked egg and the sauce into a container, then refrigerate it overnight
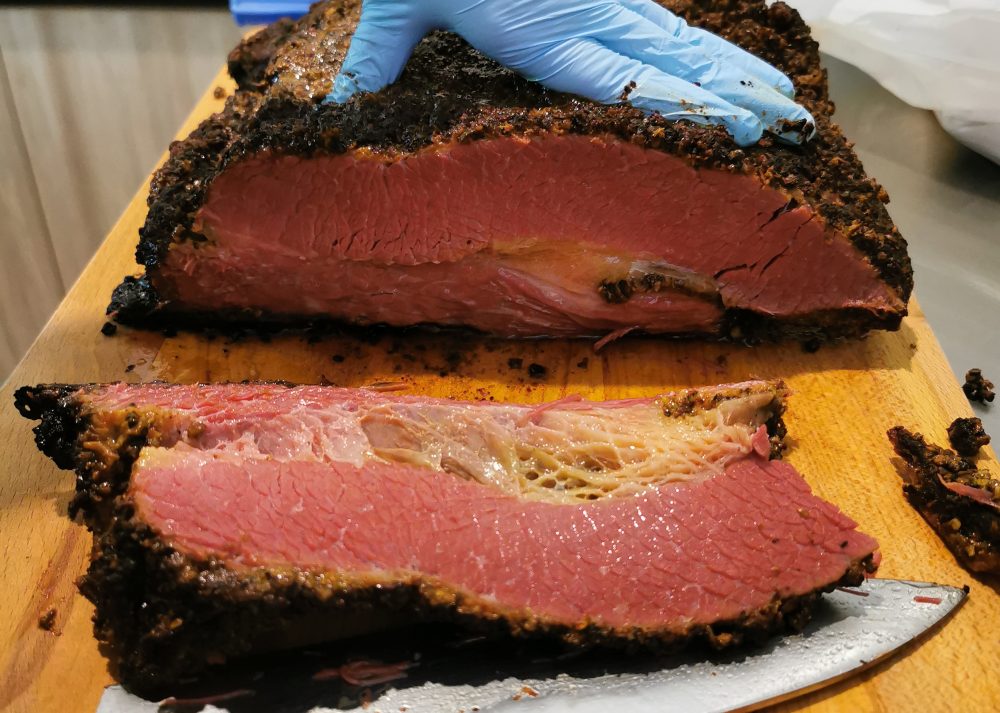
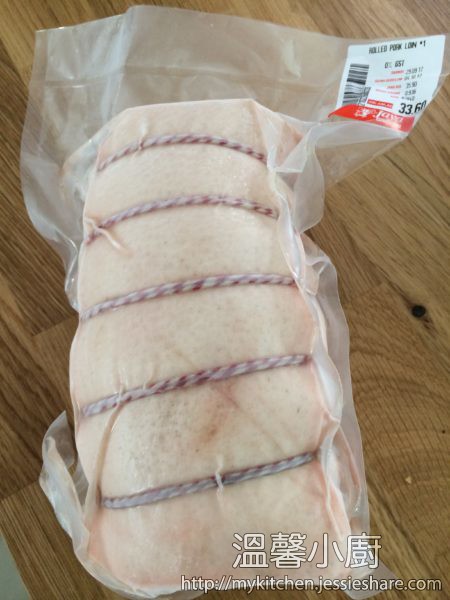
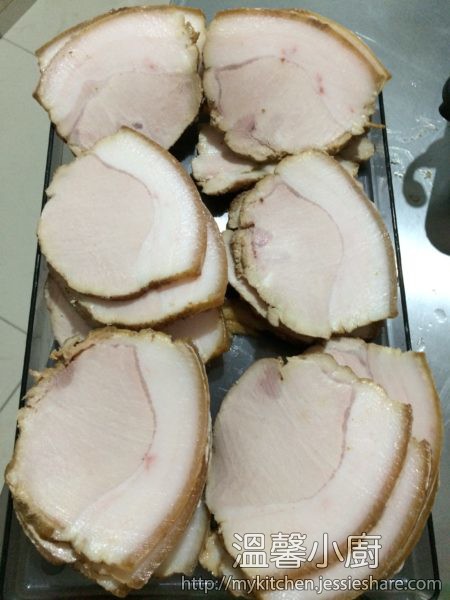
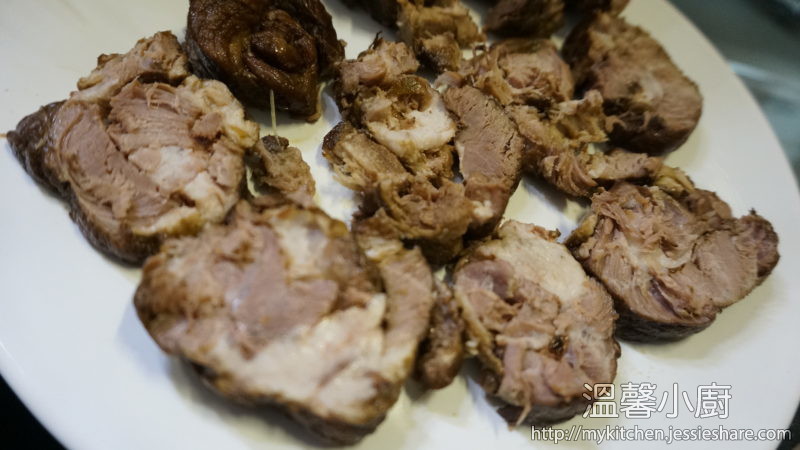
後加記錄 : 作者在馬來亞西的超市找不到大塊的豬腩肉,但卻有一大舊的豬扒肉出售,所以作者亦作新嘗試,這次用了低溫慢煮的方法,由於是用上有機豬肉,所以出來的效果反比豬腩肉優勝得多。
p.s. : I can’t find pork belly in supermarket Ipoh, but I’ve found pork loin instead, so I tried to this for making Japanese Cha shu instead and using sous vide method, finally, it came out better a lot than pork belly here.
做法 (Method):
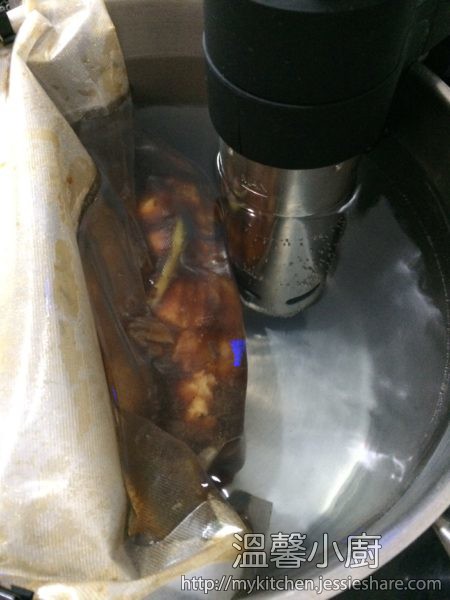
1. 先預熱慢煮棒至60度
Preheat your sous vide circulator to 60 degree celsius
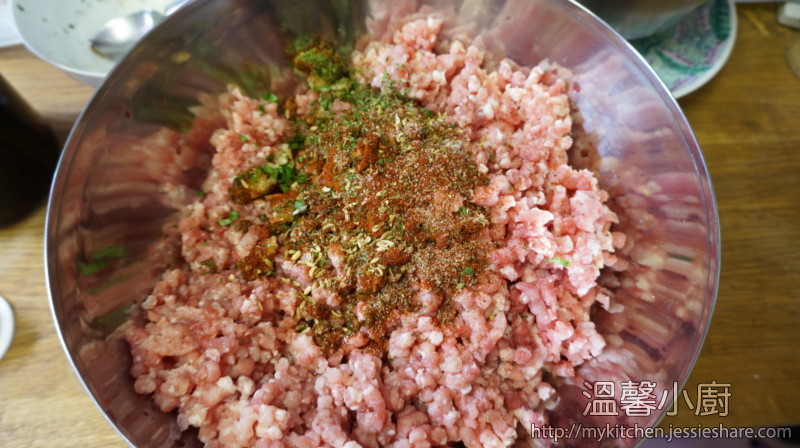
2. 然後煮一鍋醬汁 (材料如上),滾起後待涼備用
Then, cook for the marinated sauce (ingredients as above), stop it until the sauce is boiled, let it cool down and set aside
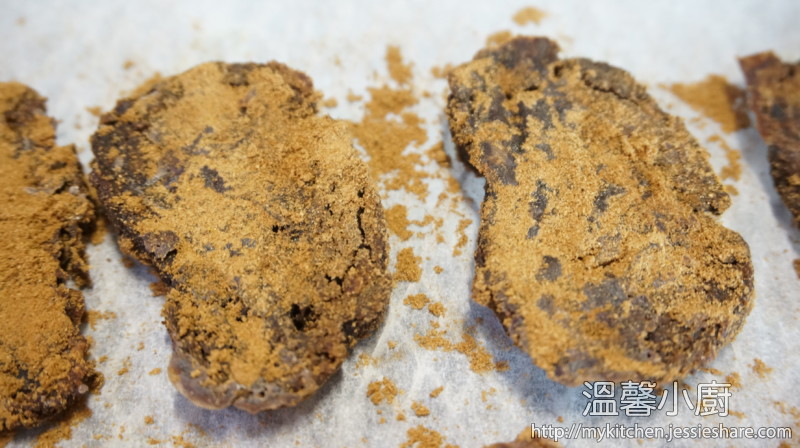
3. 先用大火煎封表面四週
Sear the surface of the meat in high heat

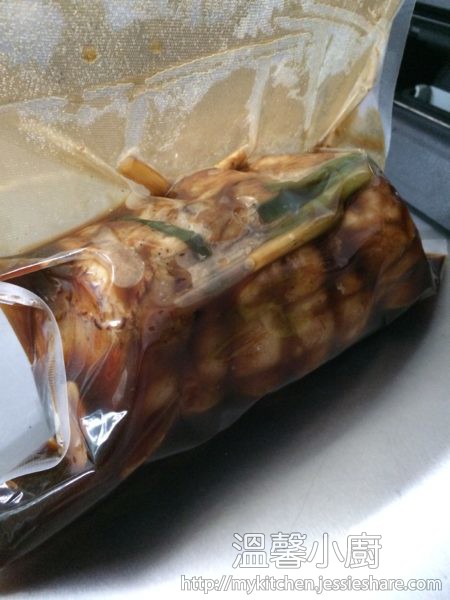
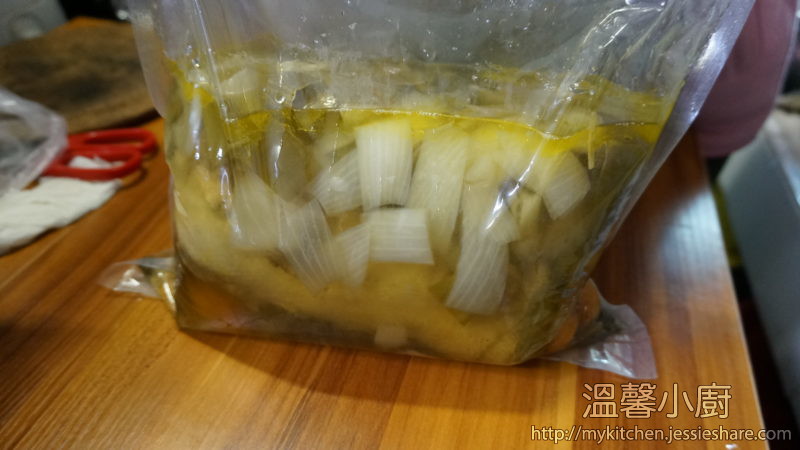
4. 把煎封好的豬扒肉及醬汁真空
Then put the seared meat with sauce in the bag and vacuum it
5. 開始低溫慢煮8小時
Cook for 8 hours
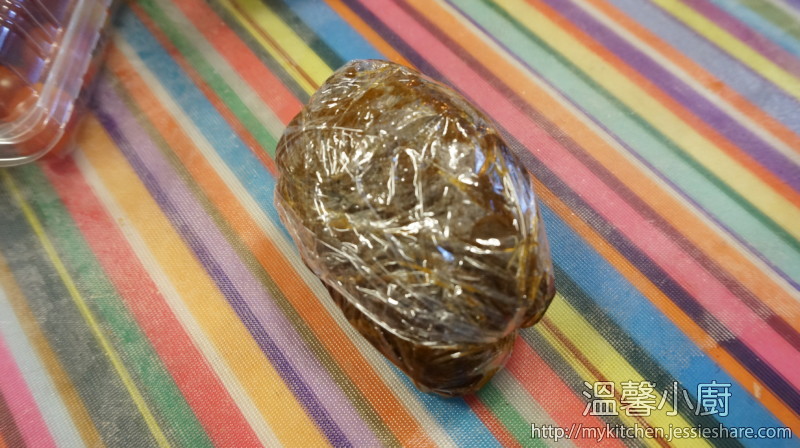
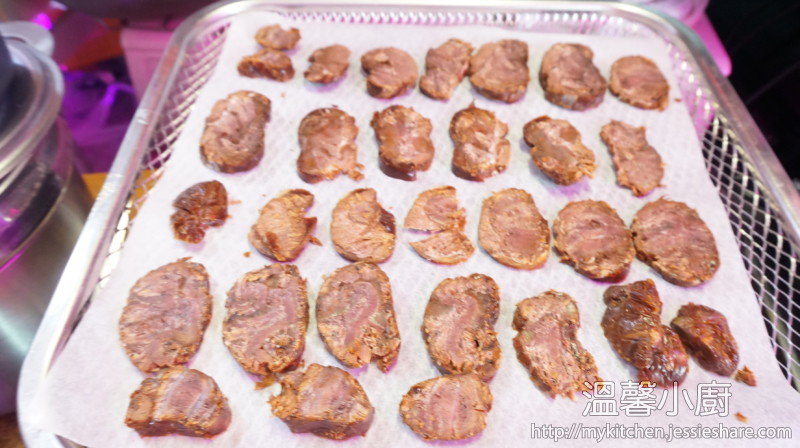
6. 煮好後,放涼,連袋一起放入雪櫃一晚,第二天切件就可以了
Let it cool down after cooked, then put it in the fridge for a night with vacuum bag, then slice it in pieces in next day.
第三部份 ~湯底 (Part 3 – stocks)
湯底一 ~ 日本高湯 (stock 1 – Dashi)
材料 (Ingredients):
柴魚碎 (Shaved dried bonito)
乾昆布 (Konbu)
水 (water)
做法 :
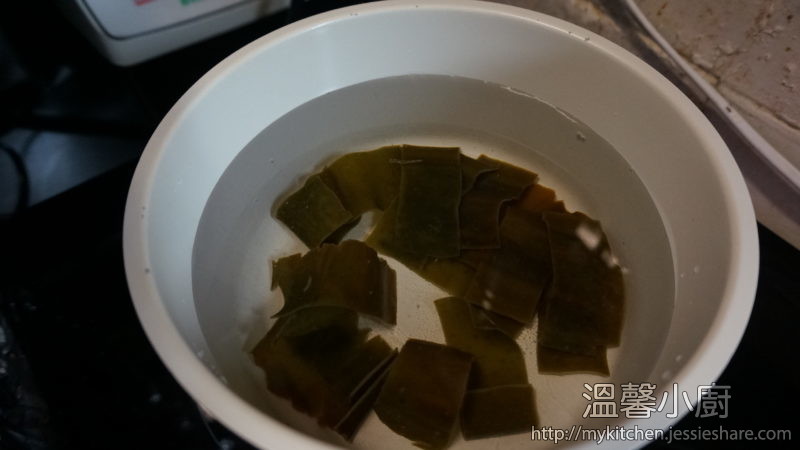
1. 把昆布用濕布抺走塵埃,再剪成小塊
Use wet towel to clean the surface of konbu, and cut into small pieces
2. 準備一個小鍋,煲滾水後,放入昆布碎再煮多30分鐘
Prepare a small pot, boil some water, then put in the konbu pieces and cook for 30 minutes
3. 放入柴魚碎煮多10分鐘
Then put the dried bonito in and cook 10 minutes more
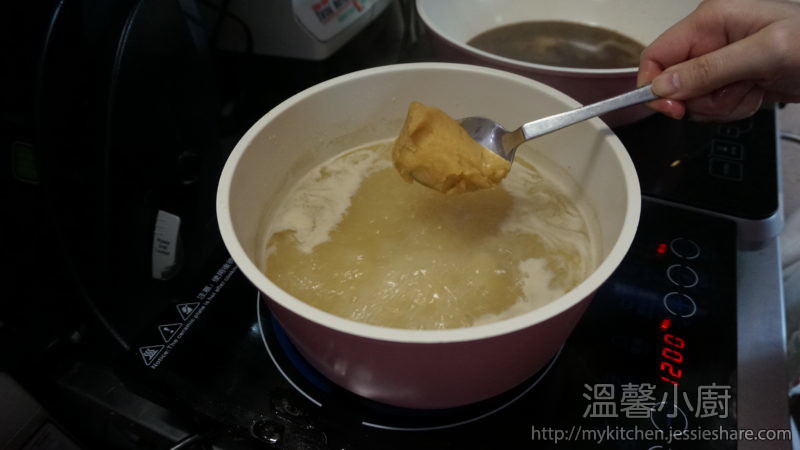
4. 過濾所有材料,高湯備用
Filter the ingredients and get the dashi soup stock
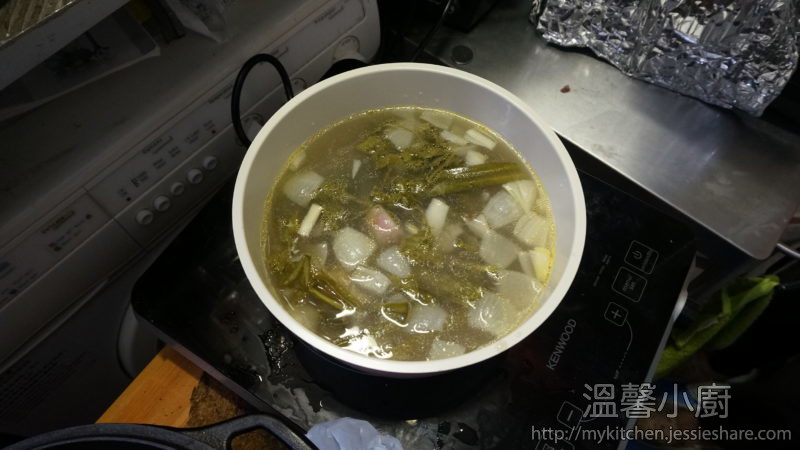
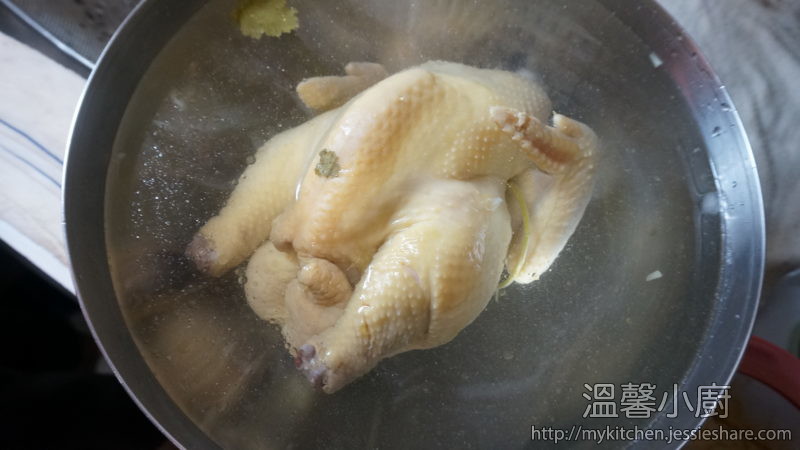
湯底二 ~ 雞湯 (請參考舊文 : http://mykitchen.jessieshare.com/?p=503) [Stock 2 – Chicken stock, please reference in above)
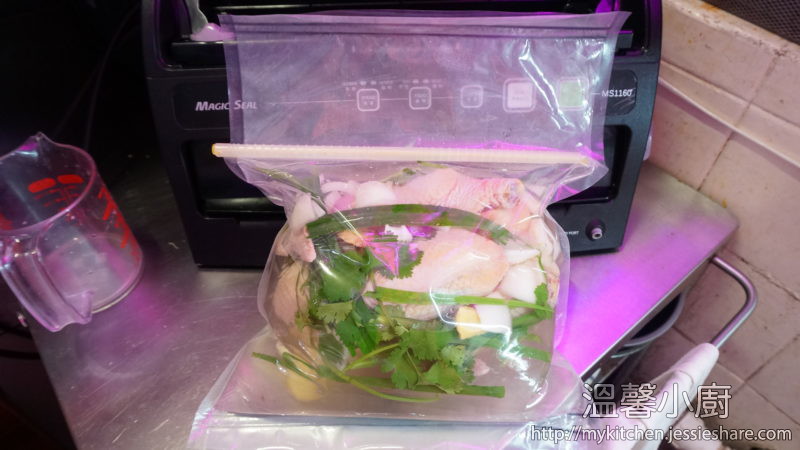
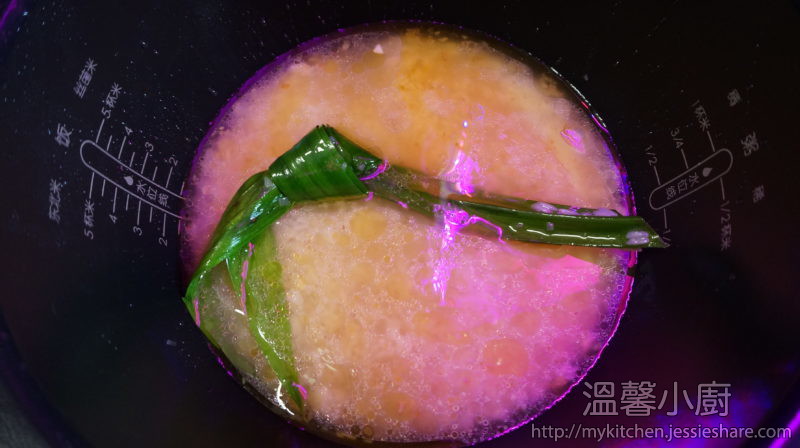
或可以用低溫慢煮方法,把所有材料連開水放入袋中,用anylock封好再封口,以82度煮12小時。
You can also using sous vide method, put all the ingredients and boiled water into the bag, use anylock to prevent water come out and seal it, then cook the stock in 82 degree Celsius for 12 hours
湯底三 ~ 味噌湯 (Stock 3 – Miso soup)
材料 (Ingredients):
日本高湯 (Dashi)
雞湯 (Chicken stock)
白味噌 (white Miso)
做法 (Method):
1. 倒入日本高湯及雞湯煮滾
Pour in Dashi and chicken stock and bring it to boil
2. 再加入味噌,攪勻及煮多5分鐘 (加入味噌後不要煮得太久,否則變酸)
Add Miso paste into the stock and mix it well, and cook more 5 minutes (only 5 minutes, otherwise the white miso will becomes sour taste)
第四部份 ~拉麵 (2-3人分量) (Part 4 – Ramen Noodles ~ 2-3 pax)
材料 (Ingredients):
高筋麵粉 (strong flour) – 155g
低筋麵粉 (cake flour) – 75g
黑麥粉 (Rye flour) – 20g
梳打粉 (Baking soda) – 3g
水 (Water) – 100g
鹽 (salt) – 3g
做法 (Method):
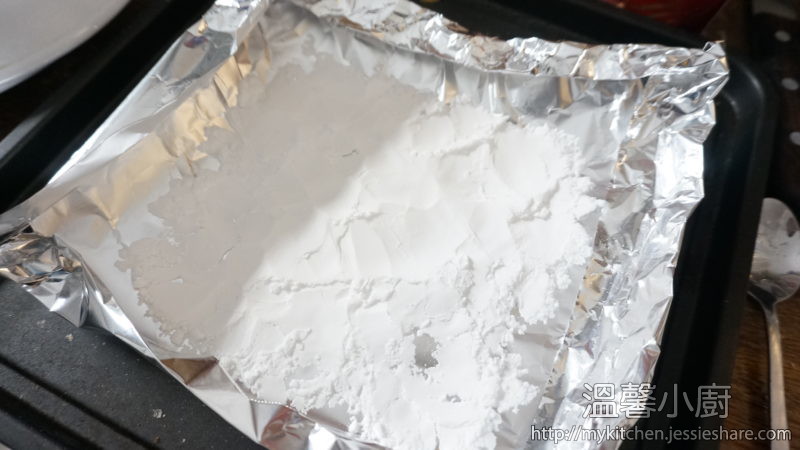
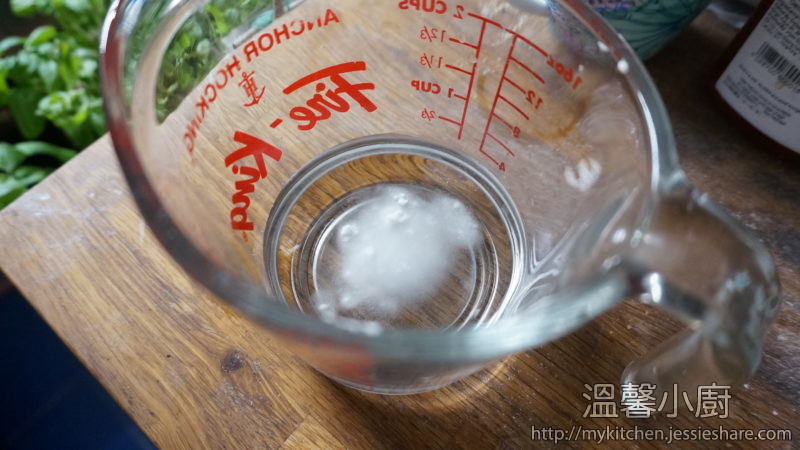
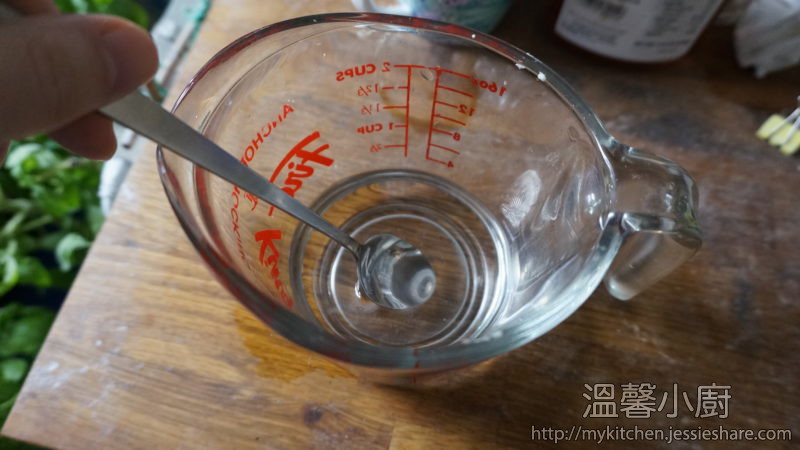
1. 先做食用鹼水(如果讀者買到現成的就可逃過這步驟) ,準備焗爐盤,放上焗爐紙,打梳打粉平均地灑在盤上,用120度烤1小時,取出放涼,每100g水加3g焗好的梳打粉攪勻就可以了。
If you already have alkaline water, you can skip this step. First we make alkaline water first , prepare the baking tray, put the baking soda evenly, and baking it for an hour using 120 degree celsius, after baked, let it cool down, then use a small cup, mix the baked baking soda with 100g water and set aside
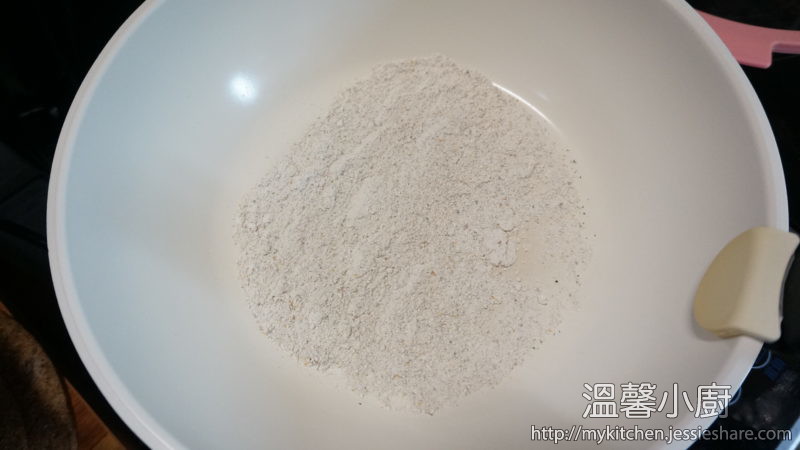
2. 另外準備平底鍋,用細火把黑麥粉乾烘至香味發出(香氣一出就要關火,免得烘焦),待涼
Prepare a sauce pan, toast the rye flour until you can smell fragrance, then let it cool down and set aside
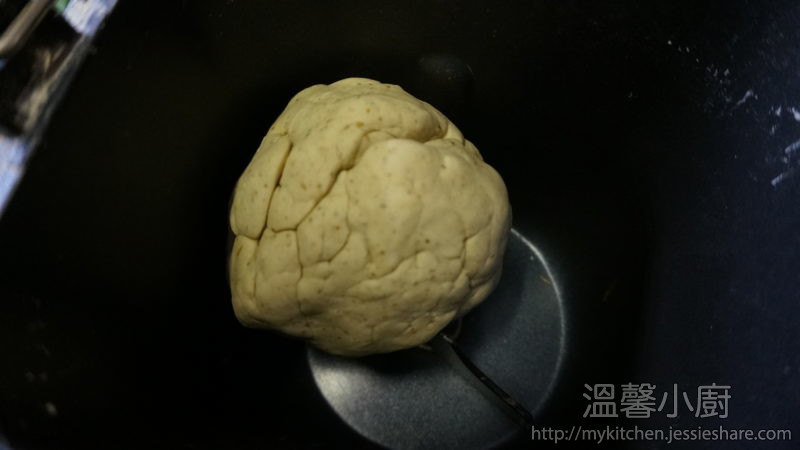
3. 把所有材料放在麵包機或人手搓成麵糰後,讓麵糰休息1小時
You can either handmade or put all the ingredients into bread machine to make a dough and let the dough rest for an hour
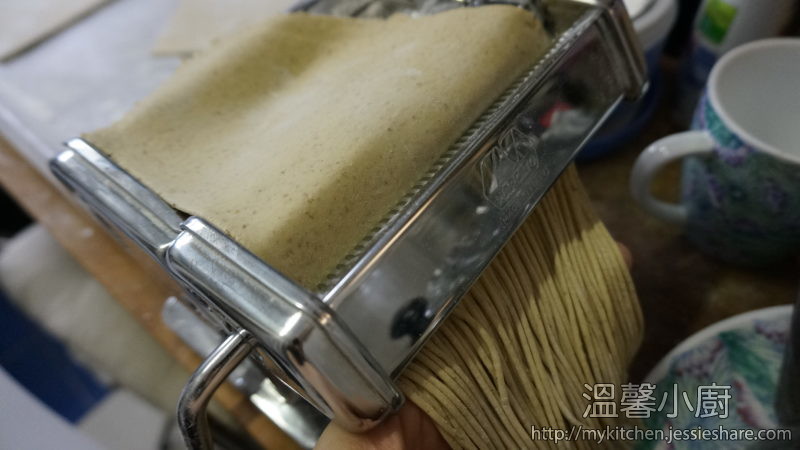
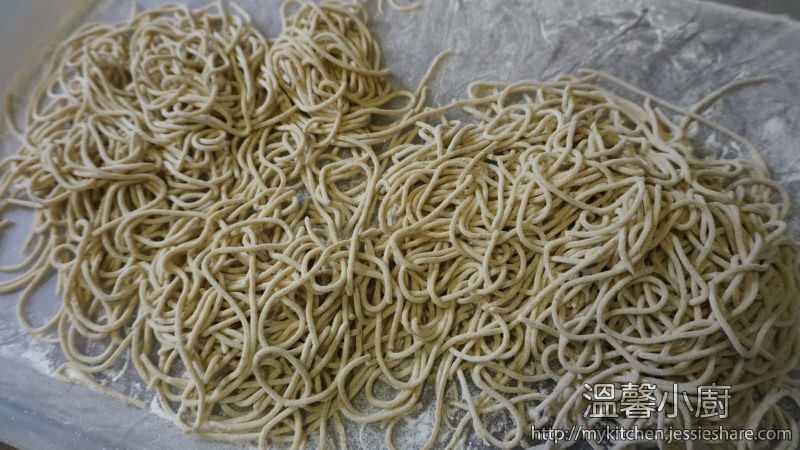
4. 可用麵條機或人手切成麵條就可以了
Then, you can use pasta machine or hand cut to cut into noodles
第五部份 ~ 合併 (Merge all Ingredients)
材料 (Ingredients) :
日式叉燒 (Japanese Cha Siu)
醃蛋 (Marinated eggs)
醃竹筍 (Marinated bamboo shoot)
味噌湯底 (Miso soup)
豬油 (pork fat)
雞油 (chicken fat)
拉麵 (Ramen)
紫菜片 (Seaweed pieces)
芝麻 (sesame)
大蔥或小蔥 (green onion or spring onion)
做法 (Method):
1. 先把前一天做好的日式叉燒、醃蛋及醃竹筍放在至室溫
Take back the marinated Cha Siu, eggs and bamboo shoot into room temperature
2. 準備小鍋,把倒入叉燒調味汁,再煮滾
Prepare a small pot, pour in the marinated sauce and let it boil
3. 先把叉燒取出,解繩及切片,之後最好微溫蒸熱叉燒,或用浸過的醬油翻滾後把叉燒來回熨幾次,不然變凍食了
Take out the Cha Siu and cut into pieces, then pour the sauce into Cha Siu for several times, otherwise it will like cold cut
4. 把醃蛋切半
Cut the marinated egg into half carefully
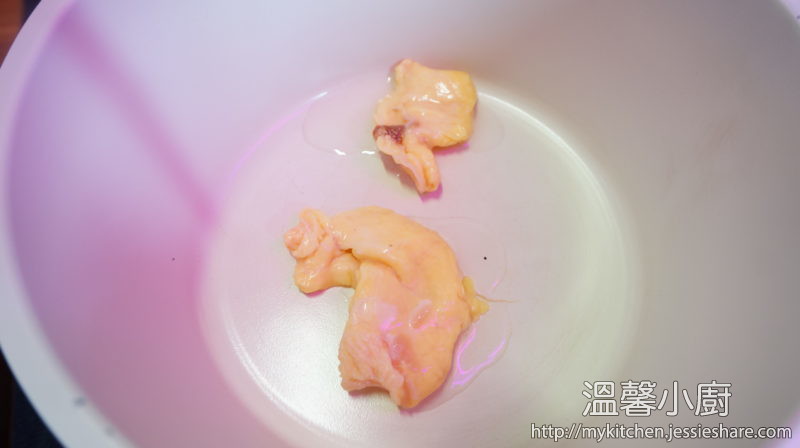
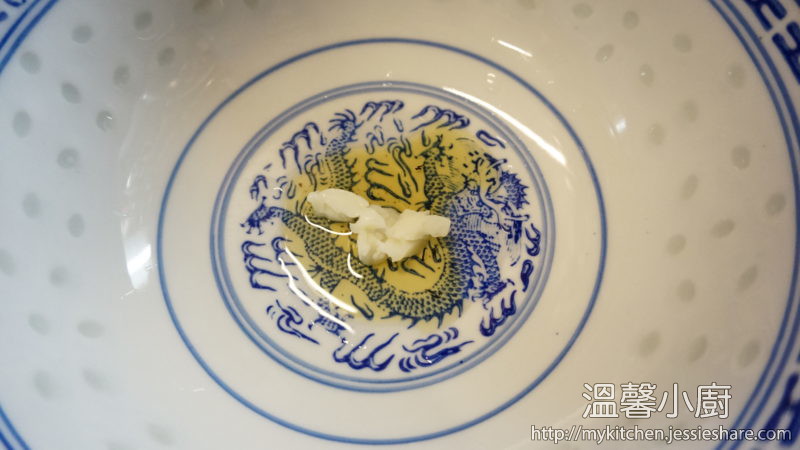
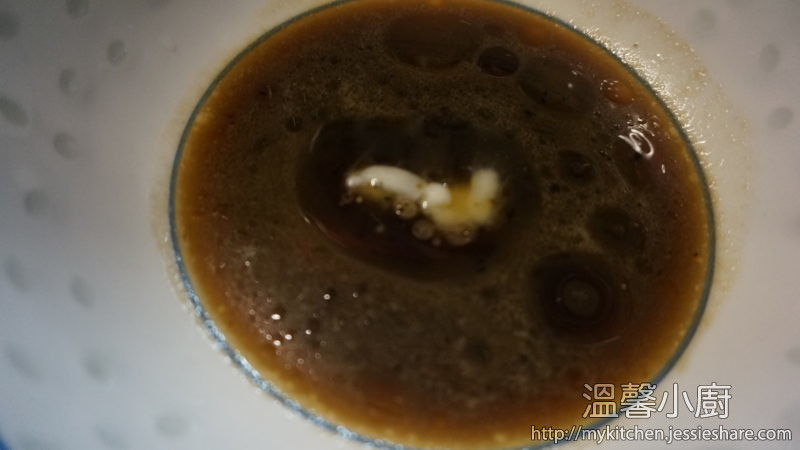
5. 準備一個大碗,先把雞油、豬油放入最底層
Prepare a bowl, put some chicken fat and pork fat in the bottom
6. 倒入少量加熱了的叉燒調味汁
Then pour in some marinated sauce
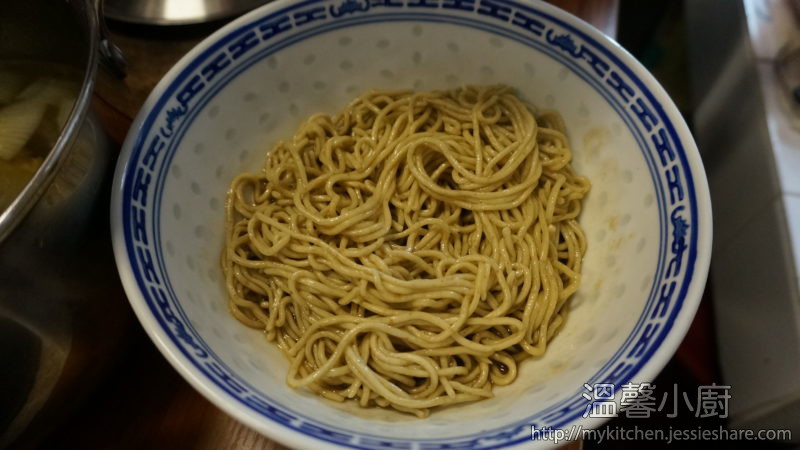
7. 放入煮好了的拉麵
Put the noodle on
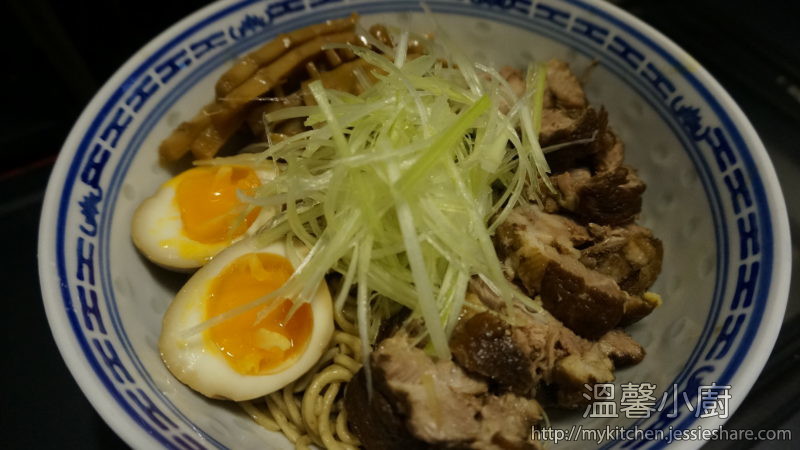
8. 把叉燒、蛋、醃竹筍放最上層
Put Cha Siu, marinated egg, marinated bamboo shoot on the top
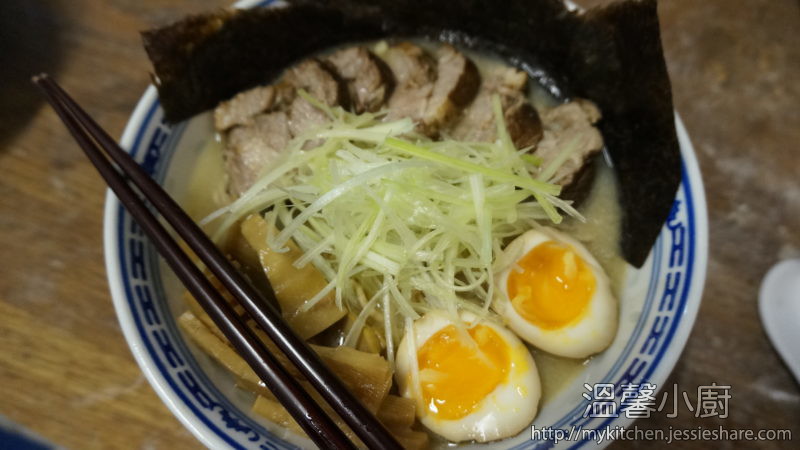
9. 倒入味噌湯底
Pour in Miso soup
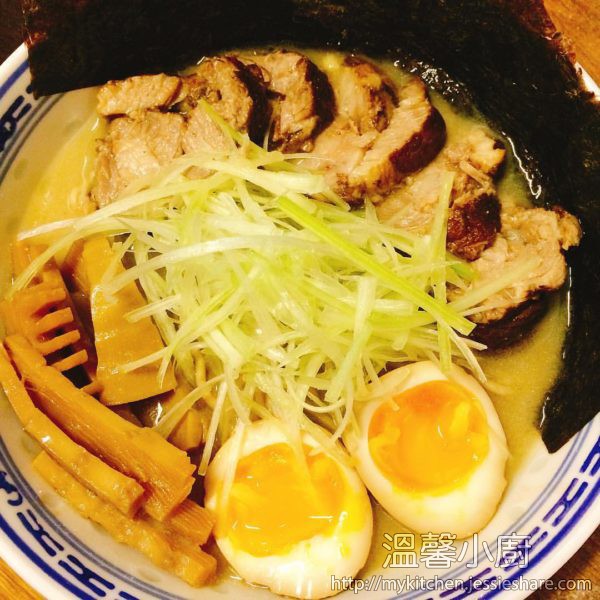
10. 放入紫菜、芝麻、大蔥就完成了。
Add seaweed pieces, sesame and green onion, finished.
[wpedon id=”1981″ align=”left”]