
這個麵食應該不陌生吧。作者很喜歡食,當然以前一定出街才吃,現在不外出用餐,但又很想吃啊。由於作者沒有什麼慢煮鍋,又只得電磁爐,想做也不能做,但自試驗過海南雞的做法,今次作者大膽地嘗試長時間,用低溫慢煮的方法來做一個越南牛湯底,幸好地完全沒有問題,所以今次就算第一次試做,但也可以分享做法給大家。
I think I don’t have to introduce this vietnamese noodle, you should knew about it, nowadays, since I don’t like to go out for dining, so I just try to make what I want to eat. However, I don’t have crock-pot and just using induction cooker, so what I can do is try using sous vide method. I have tried to make Hainanese chicken before using same method, so this time, I also try the same, but higher temperature and longer time, luckily, there’s no problem at all, the procedure overall are smooth, so I can also write the recipe for you.
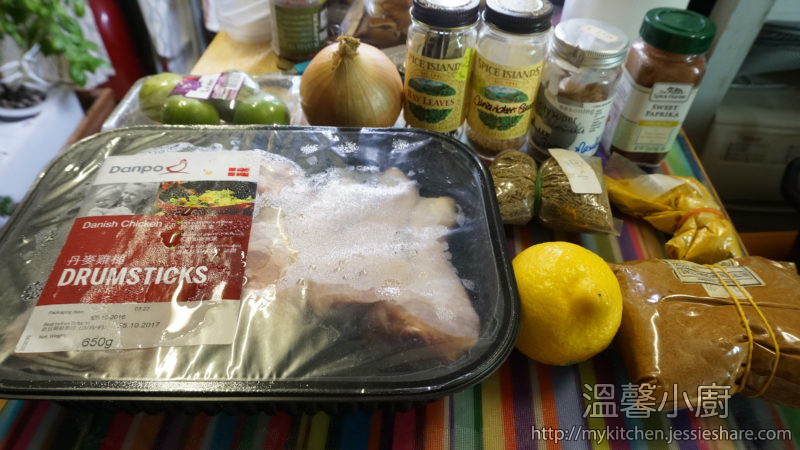
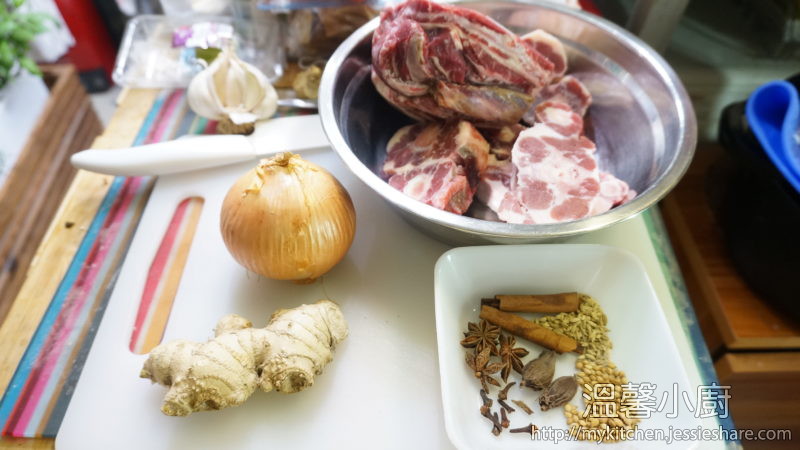
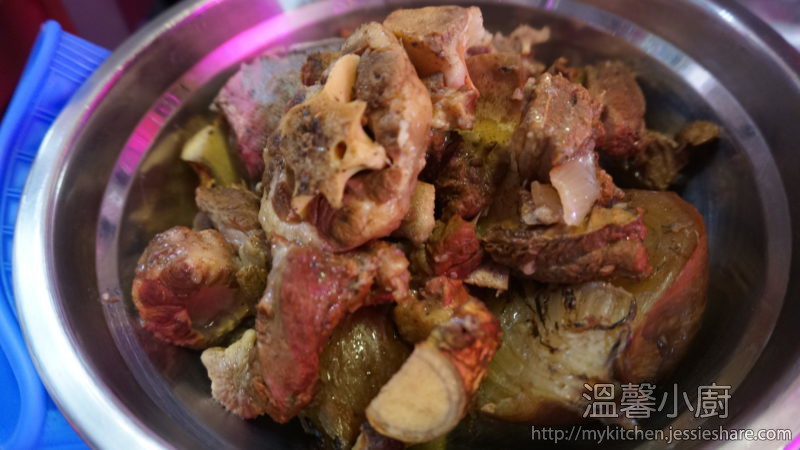
但作者住的小島沒有牛骨,所以今次用了牛肋條及牛尾來煮,讀者可以買到牛骨是最好的,但其實什麼骨也可以吧。
Practically, using marrow bone is the best choice, unfortunately, the island i’m living without butcher, so I can only brought oxtail and short ribs instead, but any kind of bone also can cook it too.
材料 (Ingredients):
牛湯底 (Vietnamese Beef stock) :
牛骨/牛尾/牛肋條 (marrow bone/oxtail/short ribs) – 2磅 (2 pounds)
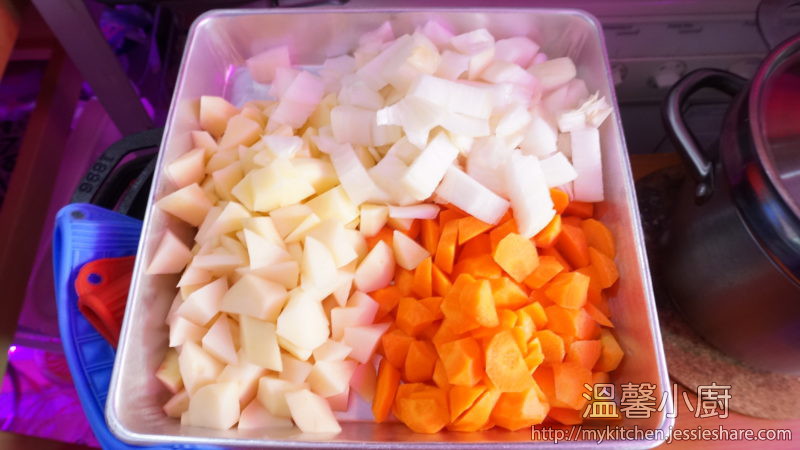
洋蔥 (onion) – 1個 (1 pc)
薑 (ginger) – 1件 (1 pc)
芫茜 (coriander) – 1-2條 (1-2 strigs)
茴香籽 (Fennel seeds) – 3湯匙 (3 tablespoons)
芫茜籽 (Coriander seeds) – 3湯匙 (3 tablespoons)
草果 (Black Cardamon) – 2個 (2 pcs)
桂皮 (Cinnamon) – 4片 (4 pcs)
八角 (Star Anise) – 5個 (5 pcs)
熱水 (Boiled water) – 1500ml
冰糖 (rock sugar) – 10-15g
魚露 (fish sauce) – 4湯匙 (4 tablespoons)
湯河材料 (Vietnamese noodle ingredients) [份量隨個人喜好 – potions depends on personal preference]
越南河粉/金邊粉 (Vietnamese noodles)
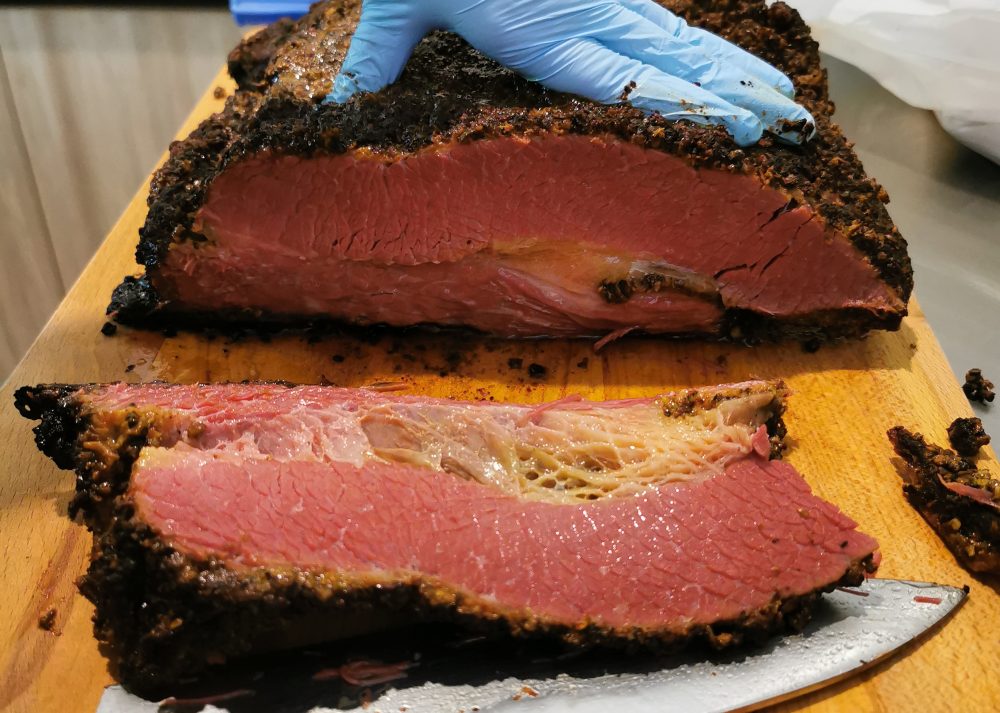
牛肉 (beef slices)
牛丸 (beef ball)
芽菜 (bean spouts)
洋蔥 (Onion)
金不換 (Thai basil)
薄荷葉 (Mints)
蔥 (spring onion)
芫茜 (Coriander)
辣椒 (Chilli)
做法 (Method) :
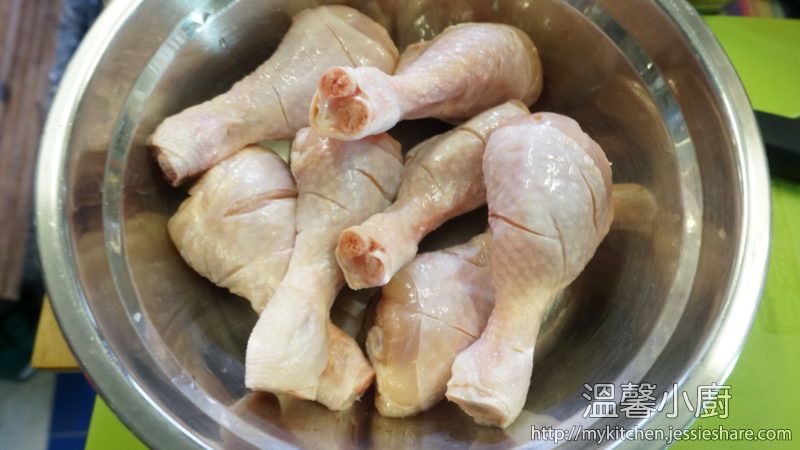
1. 先準備湯底材料 :把所有牛骨汆水,大約5分鐘左右,盛起後在水喉下清洗乾淨,備用
Prepare beef stock first : Put all the bones into boiling water, let it run out all the dirts for around 5 minutes, then use trap water to clean it well, set aside
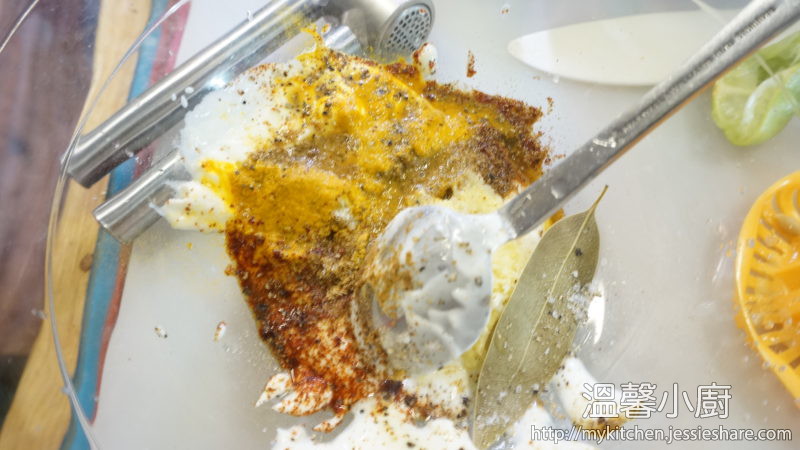
2. 湯底香料先用平底鍋,不用下油,炒至所有香料出味,放涼後,放入一個茶袋,備用
Use a sauce pan, put all the spices into it and stir it until smell fragrance, then let it cool down a bit and put all the spices in a tea bag, set aside
3. 洋蔥及薑再平底鍋煎至焦香,如果讀者用明火,可以把直接放在爐上燒至焦香就可以了
Use the same sauce pan, roast the onion and ginger until brown; if you are using open fire, you can put the the whole onion and ginger directly into the fire and grill until brown

4. 預熱低溫慢煮器至90度,建議倒入剛煲好的水,那麼預熱時間可縮短很多
Preheat your sous vide cooker for 90 degree celsius, suggest to pour in hot boiled water to shorten the preheat time
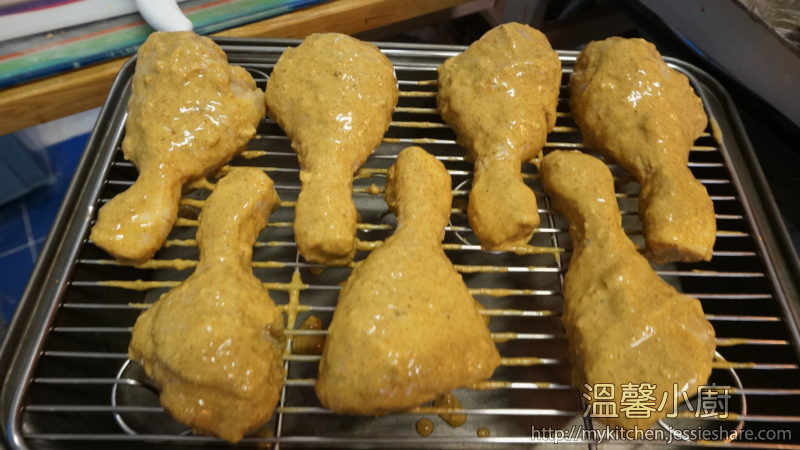
5. 準備好低溫慢煮袋,把之前所有準備好的湯底材料放入袋內,倒入熱水,小心地用anylock鎖好,再用真空機封口
Prepare a large thick layer sous vide bag, put all the ingredients in, pour in warm water, secure the bag using anylock, then seal it well
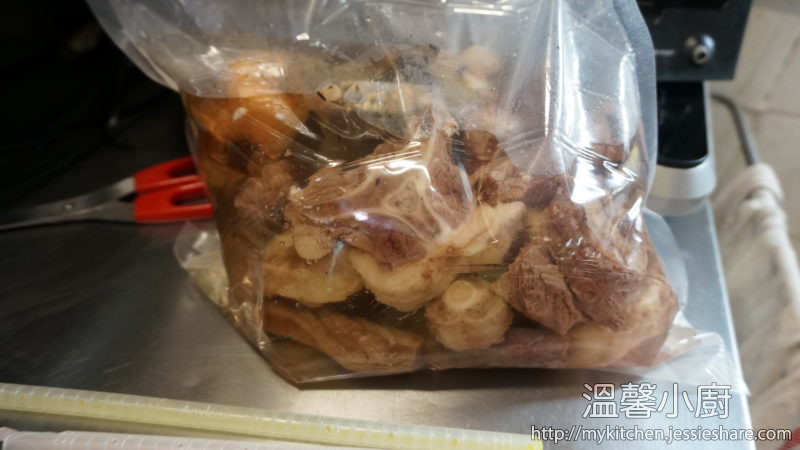
6. 到90度後,放入湯袋,開始慢煮16小時
When the water reach 90 degree, put the bag in and start cooking for 16 hours
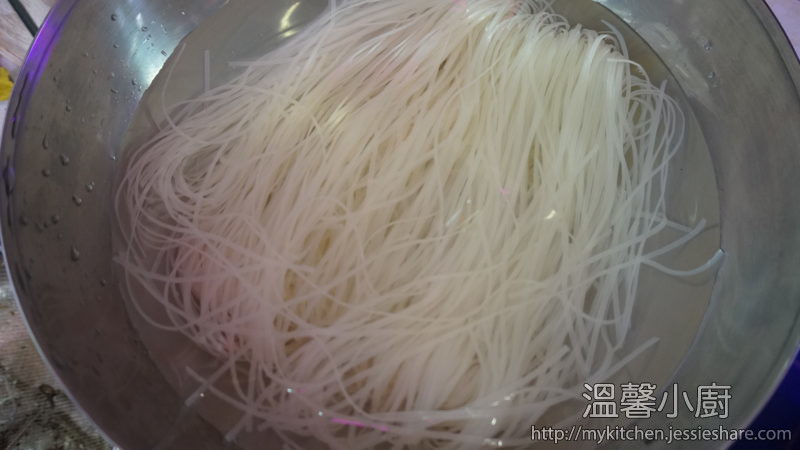
7. 翌日在用餐前,先把河粉用水浸至軟身
Next day preparation : soak the dry noodle until soften
8. 芽菜摘走根部,浸水備用
Take off the root of bean spouts, soak in water and set aside
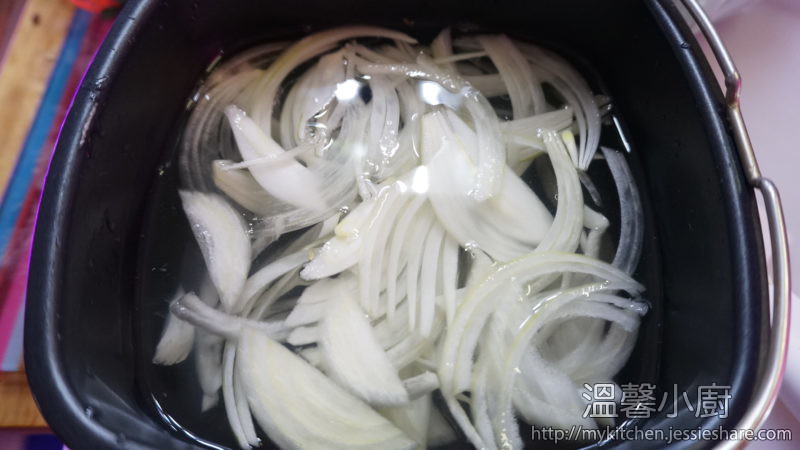
9. 洋蔥切薄片,浸水,備用
slice the onion into thin slice, and soak into water, set aside
10. 芫茜、蔥及辣椒切碎,備用
chop the coriander, spring onion and chilli, set aside
11. 牛肉切片,備用
Slice the beef into very thin slices, set aside
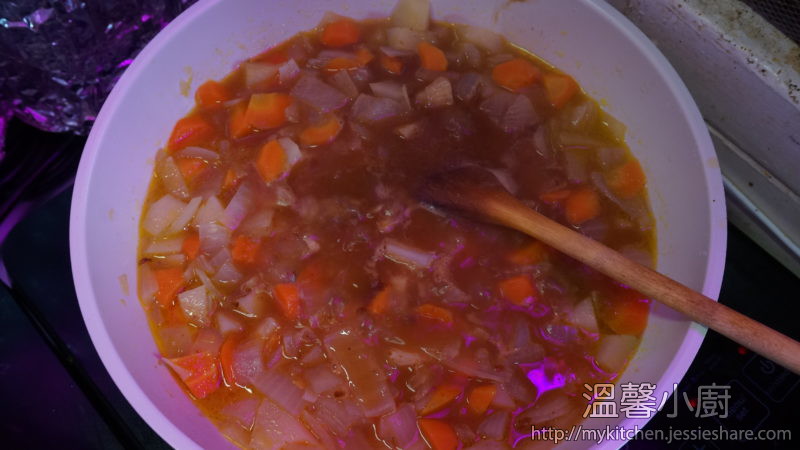
12. 回到湯底,煮好後,準備一個湯鍋,先把湯小心地倒出,湯料用另一個大碗盛著, 慢慢地分出最上層的肥油
Back to the stock, carefully pour out the stock into a pot, then put the ingredients into a bowl, trim off the fat on the top layer

13. 先滾起湯底,加入芫茜、魚露及冰糖攪拌至冰糖溶化,試味後保溫備用
Take the stock boiling again, add coriander, fish sauce and rock sugar, mix well and taste it, then keep the stock warm
14. 用滾水煮好河粉,放入碗內
On the other hand, use another pot to cook the noodle until soft, then put it into a bowl
15. 用一鍋水,灼芽菜,放在河粉上
Use the same pot and cook the bean spouts for a short while, then put at the top of the noodle
16. 牛肉逐一放在牛湯內灼一下,只是一下就盛起,放在河粉上
Use the beef stock, to just put the beef slice in and cook not more than 30 second, then put it at the top of the bowl
17. 牛丸在牛湯內煮熱,放在河粉上
Beef ball also cook using beef stock, and put into the bowl too
18. 洋蔥及辣椒也放上
Then put the onion slices and chilli as well
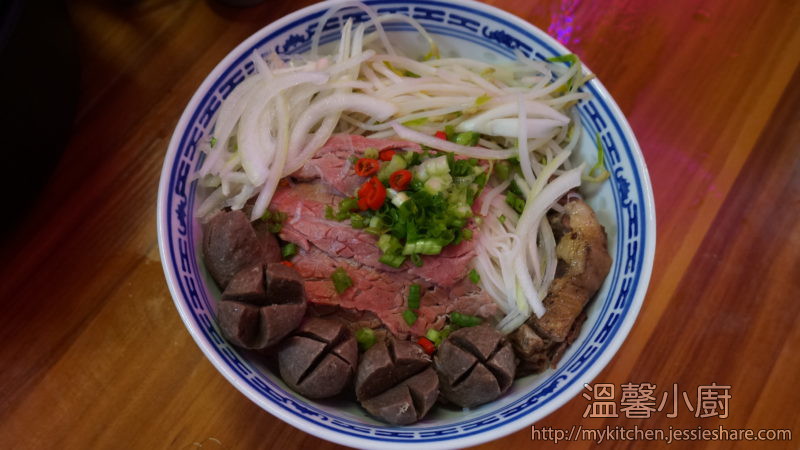
19. 小心地倒入牛湯
And pour in the beef stock
20. 最後放上金不換、薄荷葉、蔥及芫茜就完成了。
Finally, put the thai basil, mints, spring onion and coriander for garish, finished.
[wpedon id=”1981″ align=”left”]