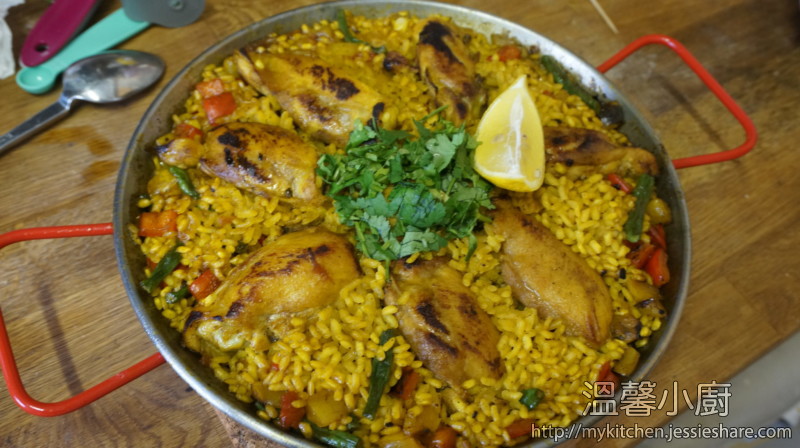
一般在餐廳吃到的西班牙燴飯會是以海鮮為主,其實在西班牙最經典的是雞肉及兔肉做的燉飯,但由於很多其他國家人也不吃兔肉,所以亦可以純以雞肉或雞肉加豬肉代替的。此外,燴飯所用的蔬菜也可以因個人喜好改變的,所以這菜式在材料上有很多變化,只是在調味料上卻是不變吧了。
Generally, you can find Spanish seafood paella in any spanish restaurants, however, the classic paella is made of chicken and rabbit meat, unfortunately, not all people love rabbit meat, so you can change it to all chicken or chicken with pork too. On the other hand, you can use whatever veggies you love to cook on it. The only thing that not change for all kind of paella is seasoning.
因此,這只是分享其做法,讀者可以隨自己喜好去變化食材。
Therefore, this demo is just to share the cooking method of paella, you can change whatever ingredients you love to eat.
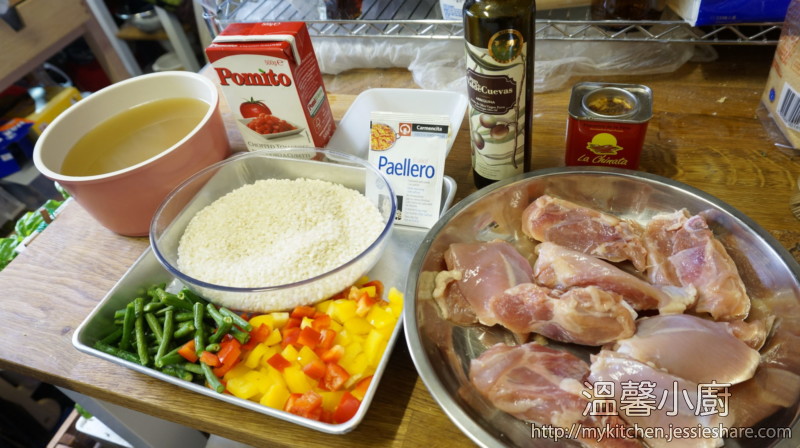
材料 (Ingredients) :
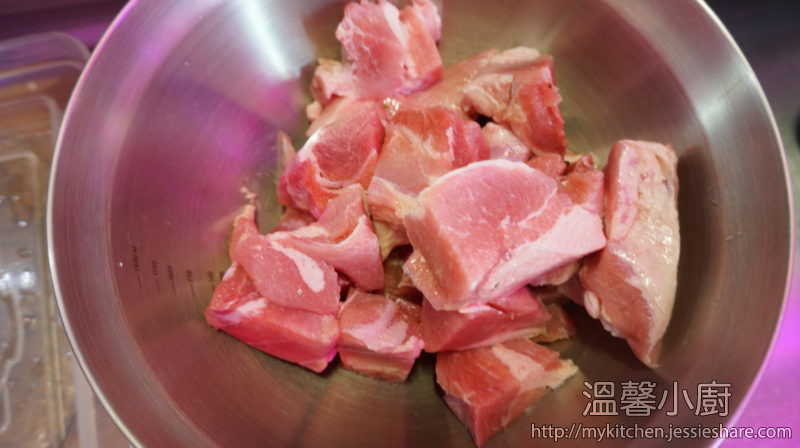
雞肉 (chicken with bone in and skin) – 6件 (6 pcs)
西班牙米 (Spanish rice) – 200g
豆角 (Long Bean) – 4-6條 (4 sprigs)
彩椒 (Bell pepper – different colour) – 2個 (2 pcs)
雞湯 (chicken stock) – 500ml
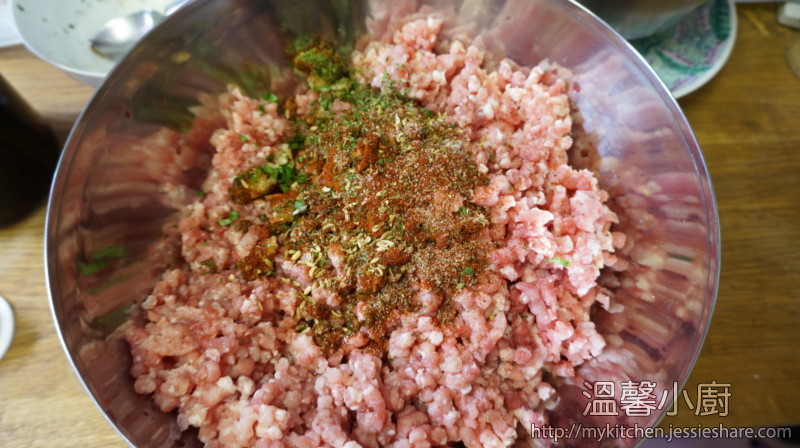
西班牙煙燻甜椒粉 (smoked paprika) – 2湯匙 (2 tablespoons)
蒜頭 (garlic) – 2瓣 (2 cloves)
藏紅花 (saffron) – 少許 (few)
鹽 (salt) – 少許 (few)
蕃茄粒 (chopped tomato) – 2湯匙 (2 tablespoon)
迷迭香 (rosemary) – 3條 (3 sprigs)
橄欖油 (Olive Oil) – 少許 (few)

做法 (Method) :
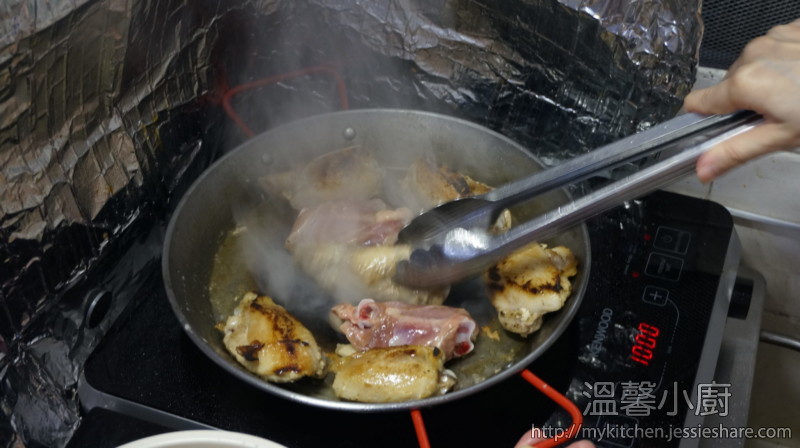
1. 準備一個燴飯専用的平底鍋,加入油,先用大火,把雞肉煎至焦黃
Prepare a saucepan, add oil, high heat and put the chicken in and cook and seal the meat until dark golden brown

2. 再加入豆角及彩椒粒並炒至軟身
Then add bean pod and bell pepper until soft and little bit brown colour
3. 轉小火,加入蒜蓉、鹽、甜椒粉及蕃茄粒,伴勻
turn the heat down, and add garlic, salt and chopped tomato, stir it well
4. 倒入雞湯及加入藏紅花,煮至雞湯開始有滾,就可以加入西班牙米,再伴勻
Pour in chicken stock and saffron, and cook a while, then add rice and stir well again

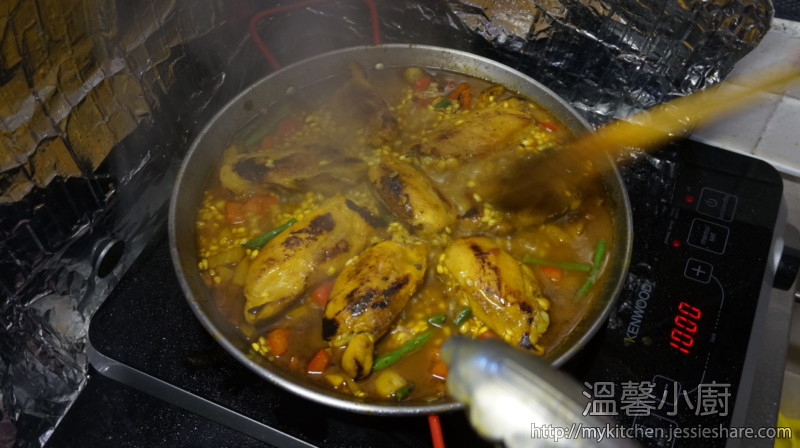
5. 轉回大火,大約煮十分鐘,再轉小火,繼續煮多6分鐘左右
Turn the heat up and cook for about 1o minutes and then turn the heat down again and cook another 6 minutes
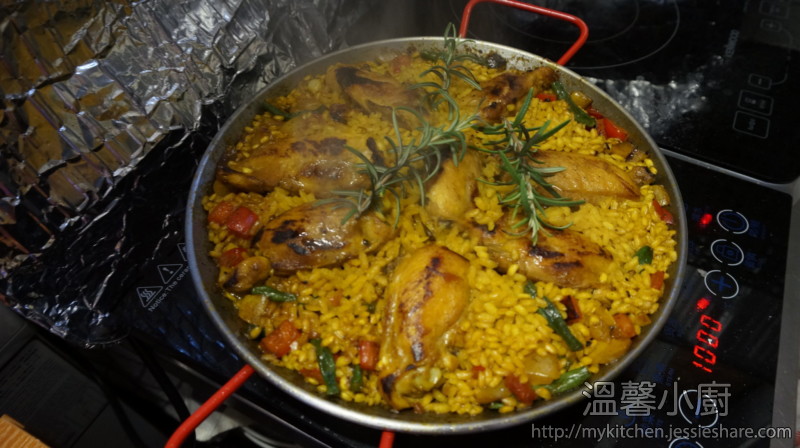
6. 加入迷迭香在上面,然後上蓋再煮多5分鐘,關火並焗多5分鐘,就完成了。
Finally, add the rosemary on the top, lid on and cook more 5 minutes, then gas off and remain lid on for the last 5 minutes, finished.


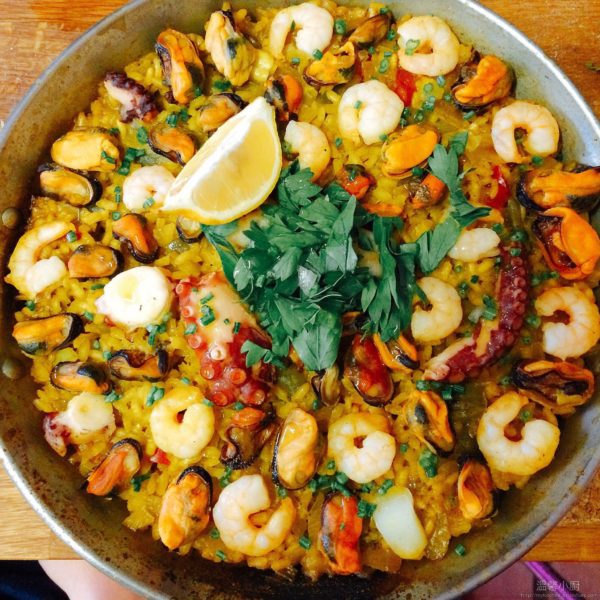
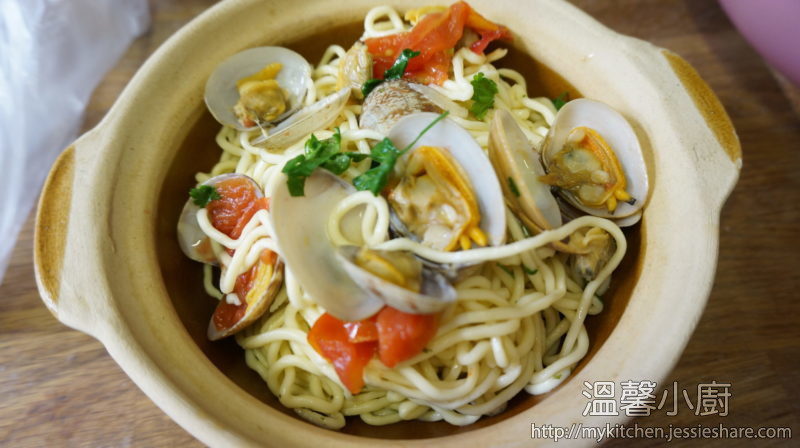
另奉上海鮮版本 :

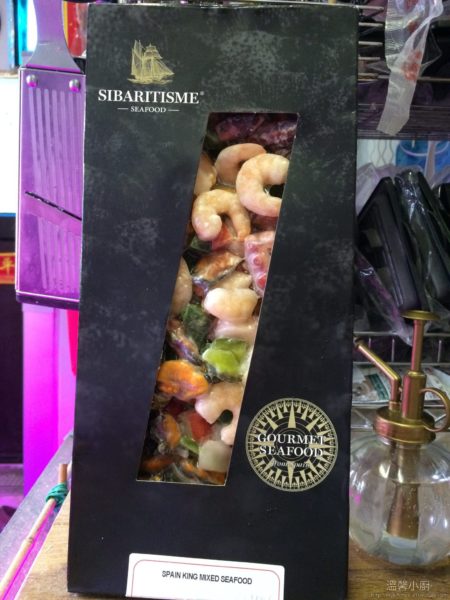
作者在C記買來西班牙急凍雜錦海鮮,內有大量青口、小蝦、幾件白爪魚小件、小量洋蔥及彩椒,老實說,以急凍海鮮來說,味道真的不錯,讀者可以一試,但用新鮮食材當然是最好的。
One day, I found a pack of frozen mixed seafood in one of the high-end supermarket, there are lots of mussels, small shrimp, few little octopus legs, few onion and bell peppers included in the pack. Although it is frozen one, but the taste is quite good, you can give it a try, of course, the fresh one is the most perfect one.
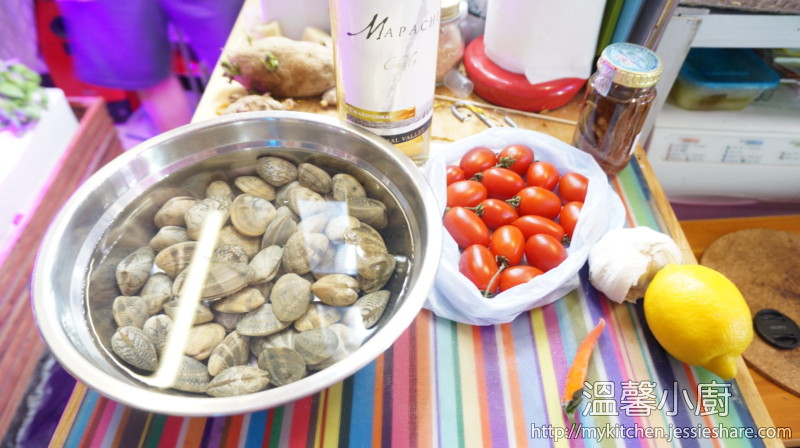
材料 (Ingredients) :
雜錦海鮮 (Mixed seafood) – 1盒 (1 pack)
白酒 (White Wine) – 150ml
西班牙米 (Spanish rice) – 200g
洋蔥 (Onion) – 半個 (half)
雞湯 (Chicken Stock) – 500ml
西班牙煙燻甜椒粉 (smoked paprika) – 2湯匙 (2 tablespoons)
蒜頭 (garlic) – 2瓣 (2 cloves)
藏紅花 (saffron) – 少許 (few)
鹽 (salt) – 少許 (few)
橄欖油 (Olive Oil) – 少許 (few)

做法 (Method) :
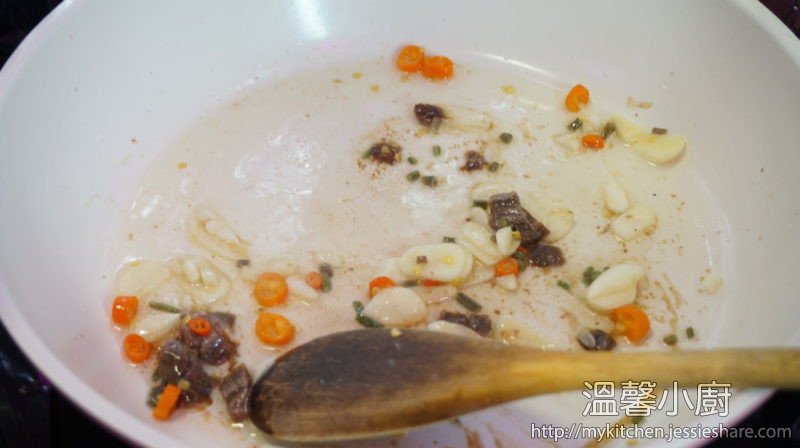
1. 下橄欖油,先把洋蔥炒至軟身,再加入其他蔬菜一起炒一會
Add olive oil, put the onion in and stir until soft, then add other vegetables and stir it well
2. 再加入蒜頭、藏紅花、鹽及甜椒粉炒勻
Then add garlic, saffron, salt and smoked paprika and stir well
3. 加入西班牙米伴勻
Add spanish rice and stir well
4. 倒入白酒並讓它揮發酒精一會
pour in white wine and let it evaporate a bit
5. 加入雞湯,大火煮十分鐘
Add chicken stock and cook it in high fire for around 10 minutes
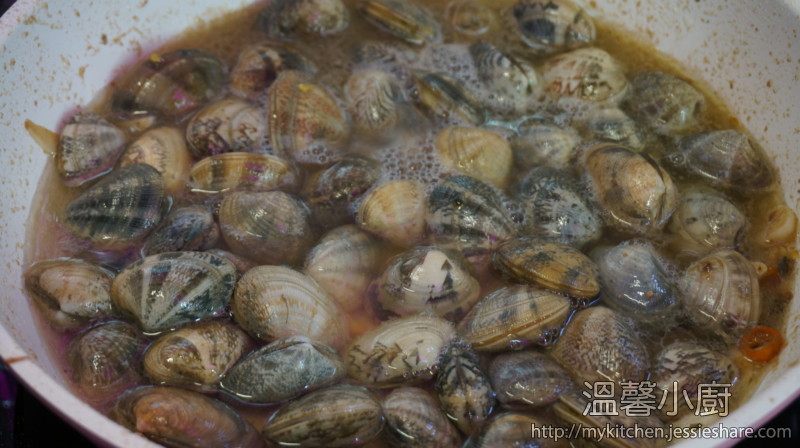
6. 煮至水份差不多收乾,加入所有海鮮,
Cook until the stock almost gone and see some bubbles, then add mixed seafood
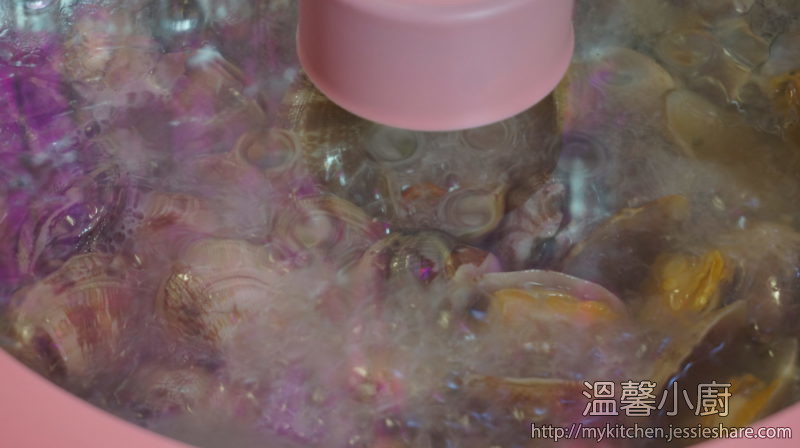
7. 再轉慢火,煮至水份完全收乾後,關火並焗5分鐘就完成
then turn to low fire, cook until all stock is gone and close fire, lid on for 5 minutes and finished.
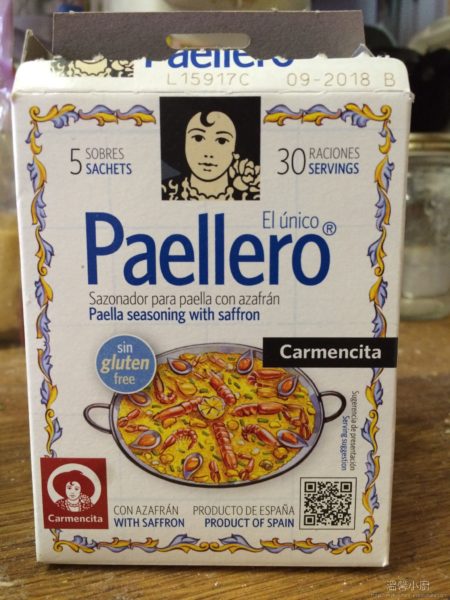
溫馨提示 : 讀者覺得藏紅花太貴,可以在C記買到平價調味包,作者試過,真的不錯,但記住,當你用懶人包時,就不用再自行調味,一包的味道已經很足夠及味道很平衡的。
Tips : If you feel Saffron too expensive, you can also found a box of seasonings, I feel this seasonings pack taste is OK, but beware, if you use this, you don’t have to add any seasonings on top, one pack is more than enough and the taste is so balance too.

[wpedon id=”1981″ align=”left”]