Posted in 肉類 (Meat), 雞類 (chicken), 食物處理器 (Food Processor), 馬來西亞菜 (Malaysia Cuisine), 工具及廚具 (Utensils and Kitchen Equipments), 低溫慢煮機 (Sous Vide cooker)

[原創食譜 Original Recipe] 馬來西亞海南雞飯 – 低溫慢煮版 (Malaysian style Hainanese Chicken Rice – Sous Vide Version )


相信很多人也吃過海南雞飯吧。坊間有很多做法及醮醬,但其實馬來西亞人只配海南辣醬來吃,所以今次只會分享這個醮醬吧。

I believed that many people have been tried this dish so many times already.  There are many cooking method and dipping sauces that you can found in different countries, however, in Malaysia, only dipping with Hainanese chilli sauce, so I will only introduce this dish with this sauce here.


至於做法,很多都覺得用飯煲做,作者都試過,但肉質沒有用低溫慢煮般滑,而去骨就沒有這樣容易。如果用最傳統的浸雞方法,就要好有經驗才可以做到,因為時間性很重要。

For the cooking method, many people shared that cooking in rice cooker, of course, I have tried it too, but to be honest, using rice cooker method, the texture not as good as using sous vide, on the other hand, the traditional method is not easy handle, cos the time capture is the most important.


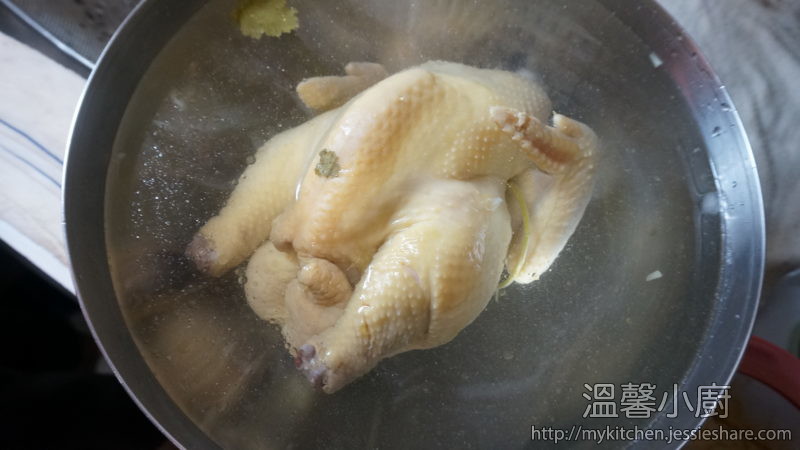
然而,今次作者用低溫慢煮方法,發現可以做到大師傅的效果,煮好雞後再浸冰水,不但去骨容易,雞皮亦不容易分離及皮脆肉嫩。

So, I tried using sous vide, I found that the texture come out is exactly the one we can enjoyed in restaurant, and also easy to handle and get rid of the bone just using hand, meanwhile, the chicken fat layer not easy to lose but crispy and tender.


順帶一提,做海南雞最好用三黃雞來做,因為雞味比較濃外,亦需要雞油。

On the other hand, for cooking Hainanese Chicken, it’s better using yellow chicken, the taste is more fragrance and we also need the chicken fat to make chicken oil.
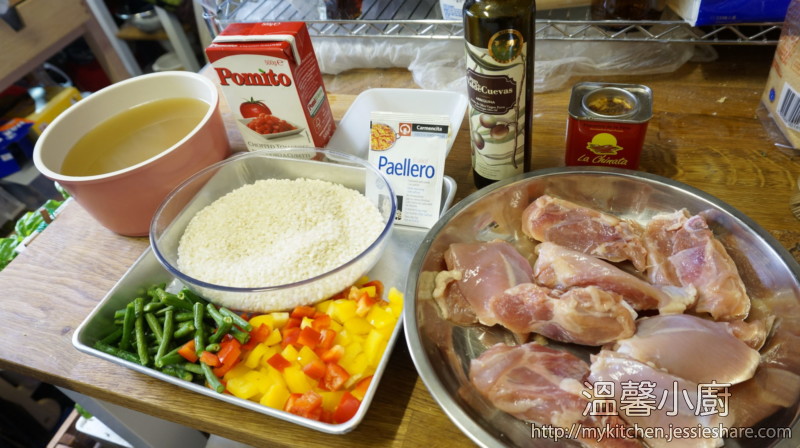
 

材料 (Ingredients) :


雞湯材料 (For chicken soup):

三黃雞 (Yellow chicken) – 1隻 (1 whole)

蔥 (Spring onion) – 1條 (1 pc)

薑 (ginger) – 3片 (3 slices)

紅蔥頭 (shallots) – 3個 (3 cloves)

芫茜 (coriander) – 1紮 (1 pc)

班蘭葉 (Panda leaves) – 2片 (2 pcs)

開水 (Boiled water) – 1500ml

鹽 (salt)


海南辣醬材料 (Hainnanese Chilli sauce) :

薑 (ginger) – 3片 (3 slices)

蒜頭 (garlic) – 3瓣 (3 cloves)

紅蔥頭 (shallots) – 3個 (3pcs)

長辣椒 (fresh long chilli) – 3條 (2pcs)

泰國辣椒(Thai chilli) – 2條 (2pcs)

白醋 (White vinegar) – 1湯匙 (1 table spoon)

糖 (sugar) – 2茶匙 (2 teaspoons)

鹽 (salt) – 2茶匙 (2 teaspoons)

雞油 (chicken oil) – 2湯匙 (2 table spoons)

雞湯 (chicken soup) – 100ml

青檸汁 (Lime juice) – 2茶匙 (2 teaspoons)


雞飯材料 (chicken rice):

紅蔥頭 (shallots) – 3個 (3 pcs)

薑 (ginger) – 2片 (3 slices)

蒜頭 (ginger) – 2瓣 (2 cloves)

雞油 (chicken oil) – 3茶匙 (3 tablespoons)

雞湯 (chicken soup) – 1公升 (1 litre)

米 (rice) – 260ml


做法 (Method) :

第一個最重要做的是煮雞湯,沒有雞湯,其餘的東西就不能煮了。 由於海南雞本是凍食,所以不要怕放涼。

The most important part for this dish is chicken soup, no matter what, you have to cook the chicken soup first, otherwise, you can’t process the rest of the dish.  Since Hainnanese chicken is a cold dish, don’t worry that it will became cold after cooked.


1. 預熱低溫慢煮器至73度
First, preheat your sous vide circulator to 73 degree Celsius


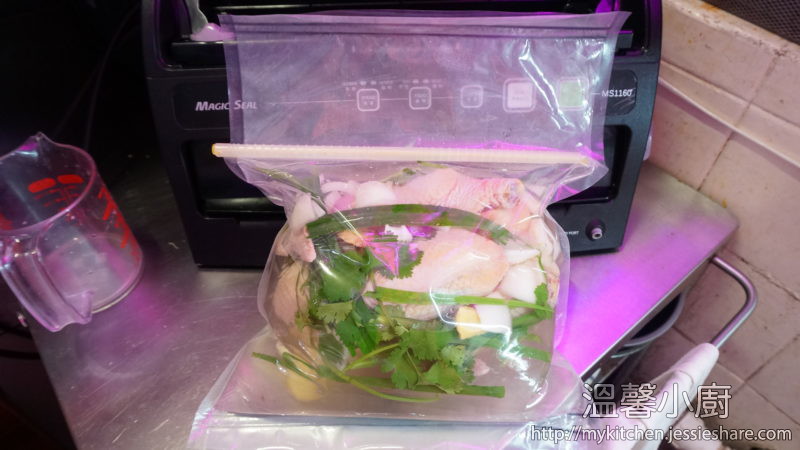
2. 準備一個大型慢煮袋,先把雞清洗好,用鹽擦內外,把雞、蔥段、薑、班蘭葉、紅蔥頭、開水及鹽放入袋內,用anylock封好,就可以用真空機封口,不用抽真空。
Prepare a large vacuum bag, wash the chicken and massage it with salt, both inner and outter, then put the chicken into the bag along with spring onion, ginger, panda leaves, onion slices, boiled water and salt, use the anylock to stop the bag and seal the bag without vacuum.


3. 放入慢煮器煮2小時30分鐘
Put the chicken soup bag in the circulator pot and cook for 2 hours 30 minutes


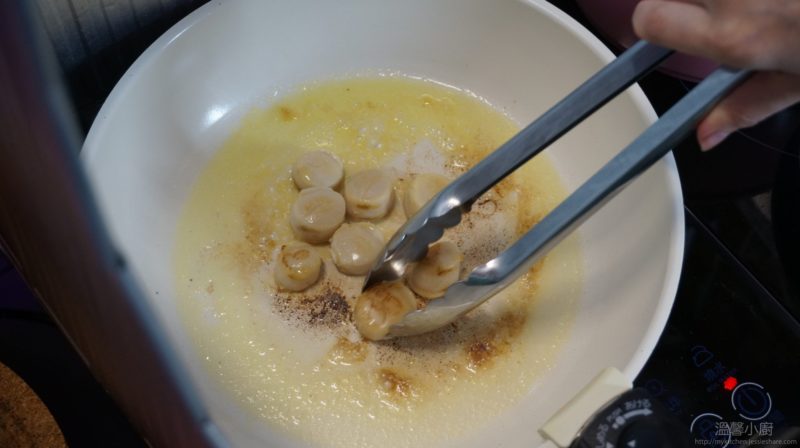
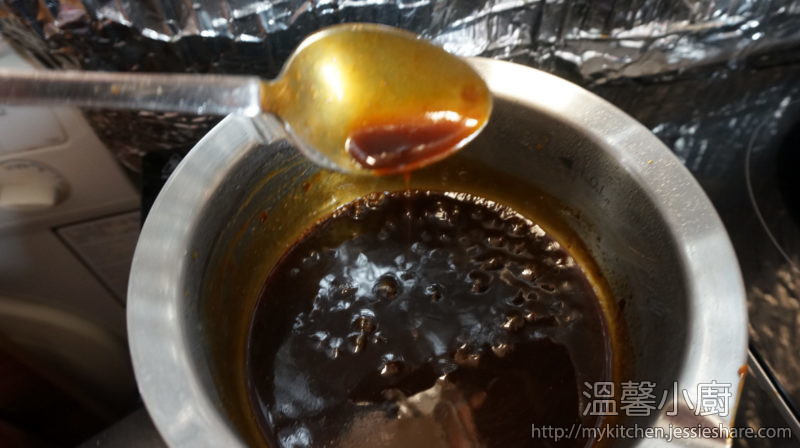
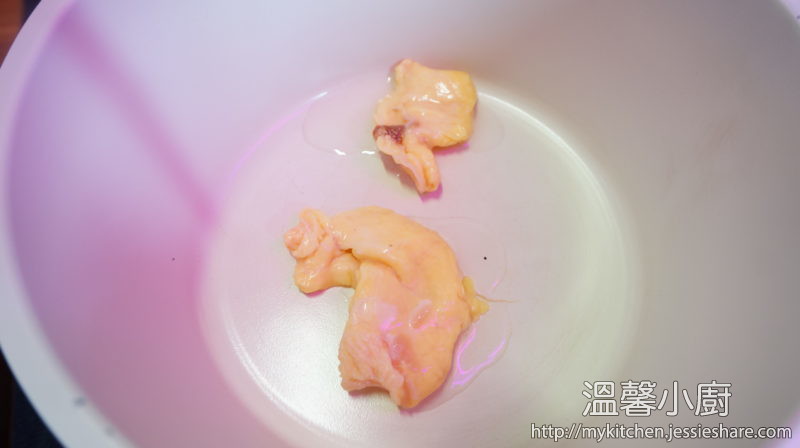
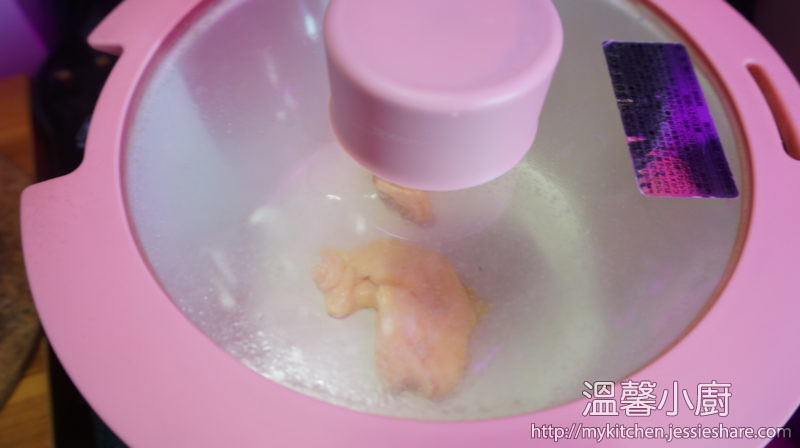
4. 然後可以準備海南辣醬材料,把紅蔥頭、蒜頭、兩款辣椒切粒,把雞肥細火慢慢炸出雞油,備用
Then you can cut the Hainnese sauce ingredients into a chunk and cook the chicken fat into chicken oil in low heat, then set aside


5. 另外雞飯所需的紅蔥頭、薑及蒜頭剁碎備用
And now, finely chopped spring onion and garlic for chicken rice, set aside


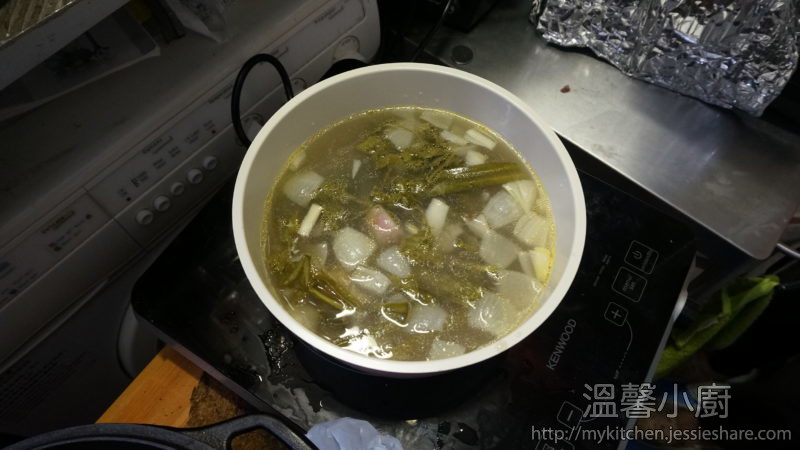
6. 準備一個小鍋及一大碗冰水,待雞煮好後,先把雞湯小心倒出,再把雞放入冰水浸一會
Prepare a small pot and ice water, after chicken is cooked, then pour out the soups and other ingredients into the pot and put the chicken in the ice water


7. 雞湯煮滾後,可以先做準備雞飯
Boil the chicken soup and prepare to cook the chicken rice first


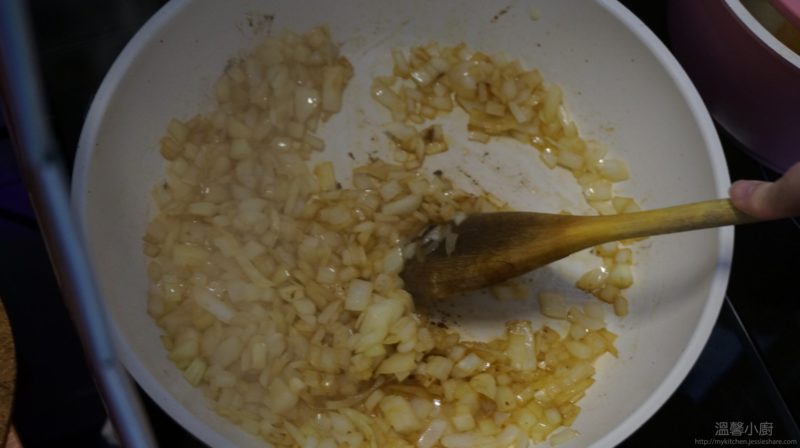
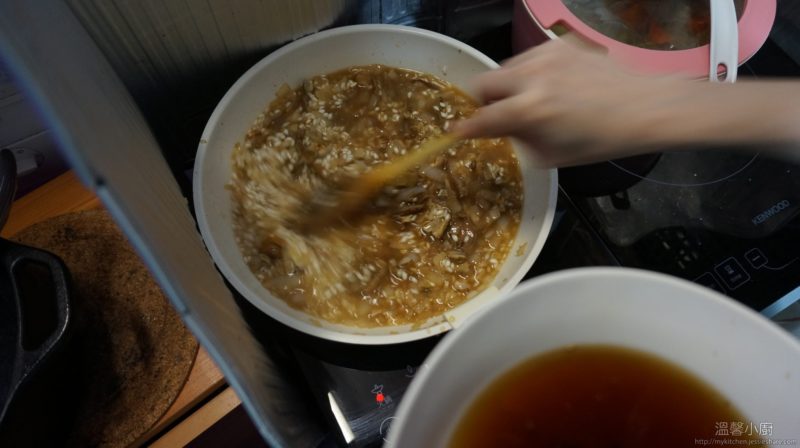
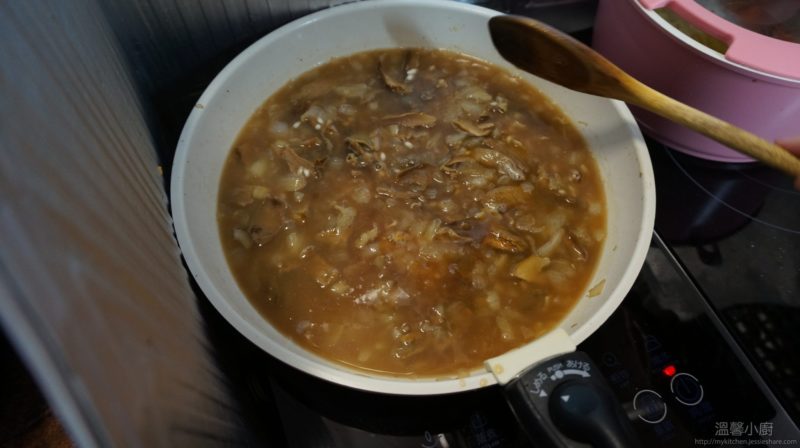
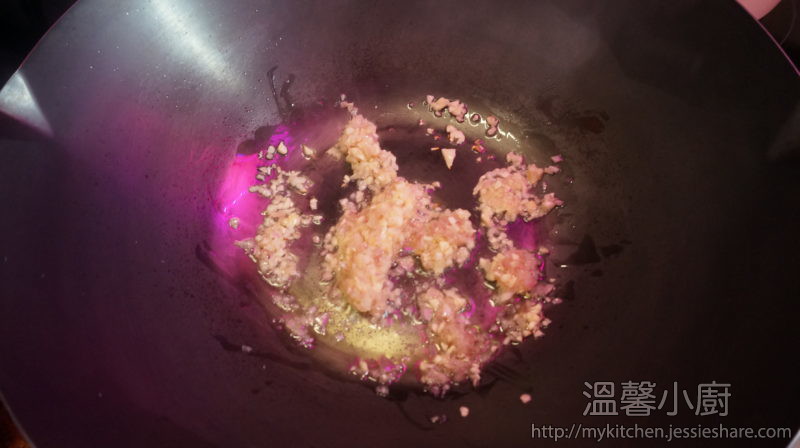
8. 準備一個鑊,預留2湯匙雞油備用,其他可以倒入鑊內,先爆香紅蔥頭、薑及蒜炒勻
Prepare a wok, reserve 2 table spoons of chicken oil, then pour the rest into the wok, then add chopped spring onion and garlic in, stir fry until you can smell good


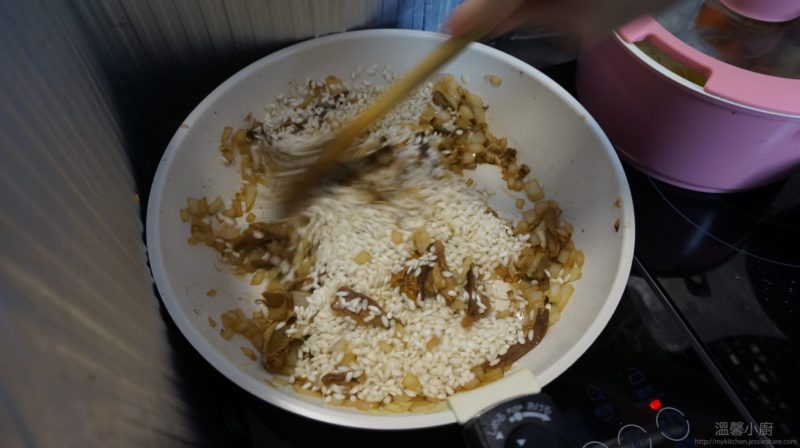
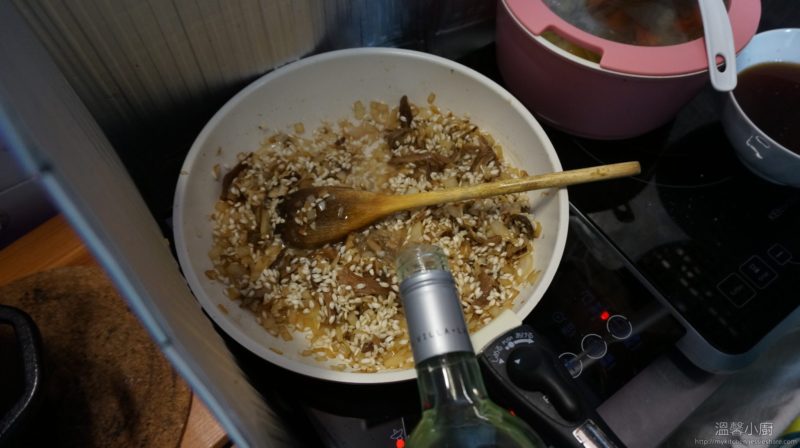
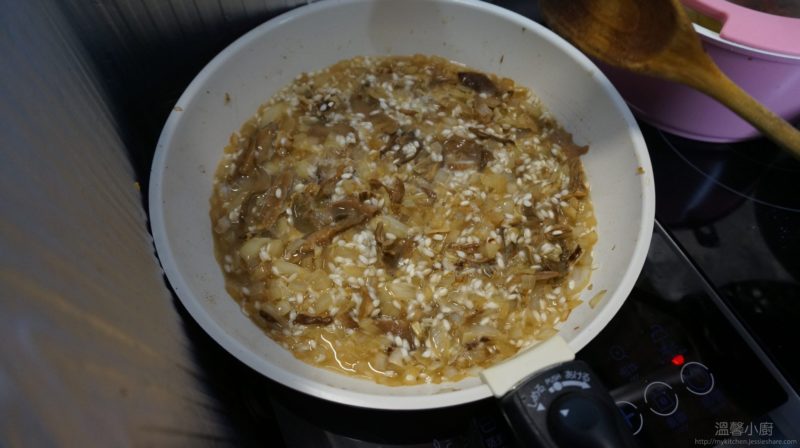
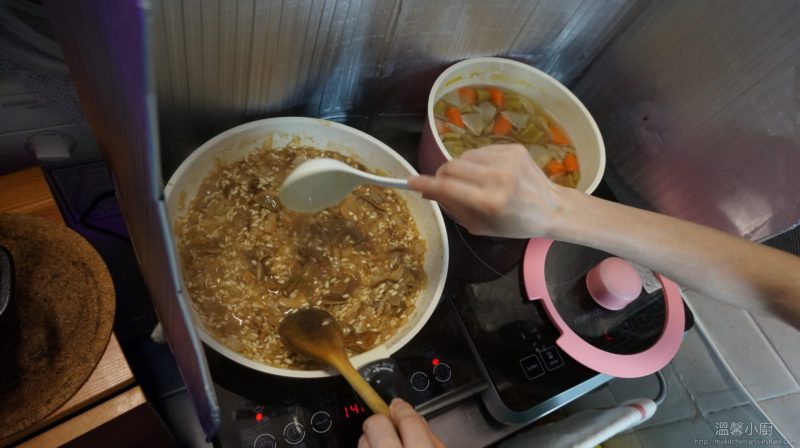
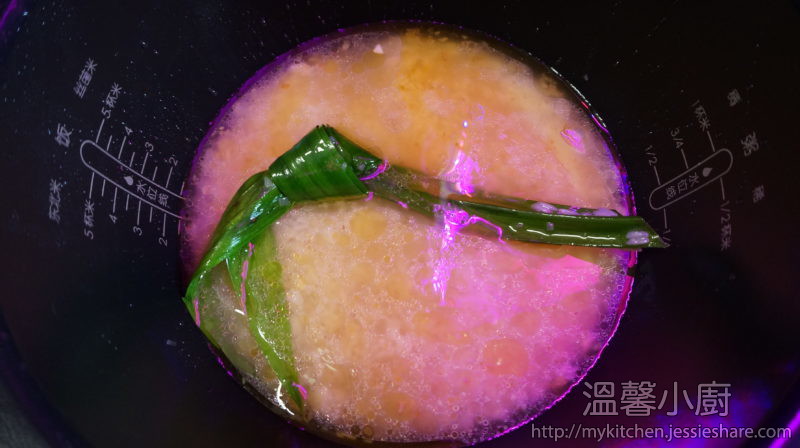
9. 準備飯煲,把洗好的米倒入飯煲內,把放入炒好的雞飯材料,伴勻,再加入班蘭葉,加入雞湯,米與湯比例大約1:1.3, 煲飯
Then prepare the rice cooker, put all rice mixture and panda leaves into the rice cooker, and pour in the chicken soup for ratio 1:1.3, then let the rice cook


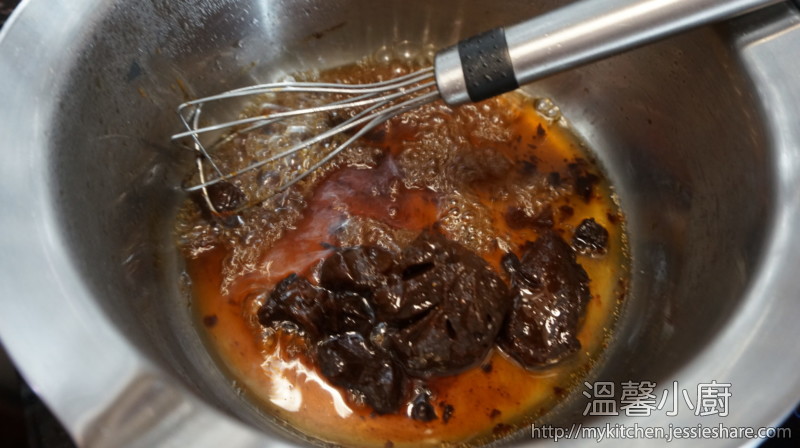
10. 再回來海南辣醬,準備攪拌機,把紅蔥頭、蒜頭、兩款辣椒、雞油、雞湯、鹽、白醋、糖及青檸汁加入,攪勻,試味,完成
Back to the sauce, prepare a mixer, put all the sauce ingredients into the mixer and mix it well, then taste it, finished this.


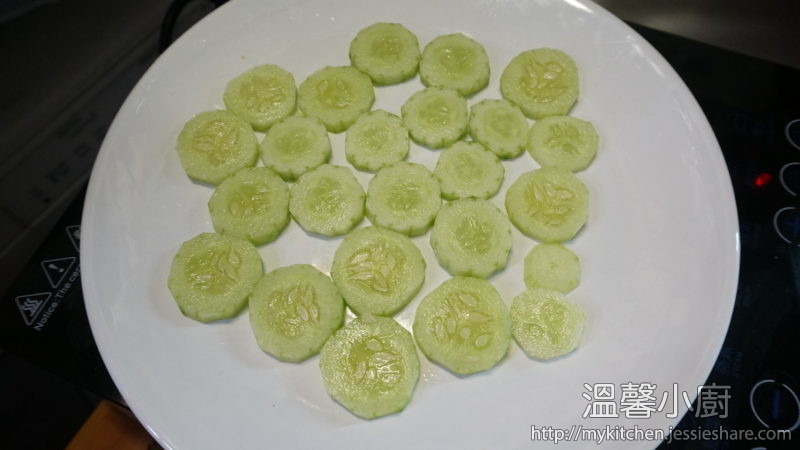
11. 準備一個大碟,把青瓜切成一片片,鋪在碟上,平均地倒入少許豉油及麻油
Next, prepare a big plate, cut the cucumber in slices, then put them on the plate, glaze little bit soy sauce and sesame sauce on the top


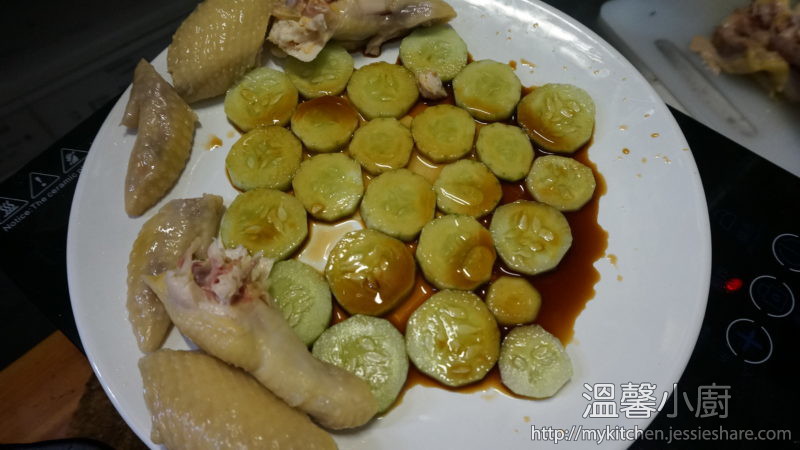
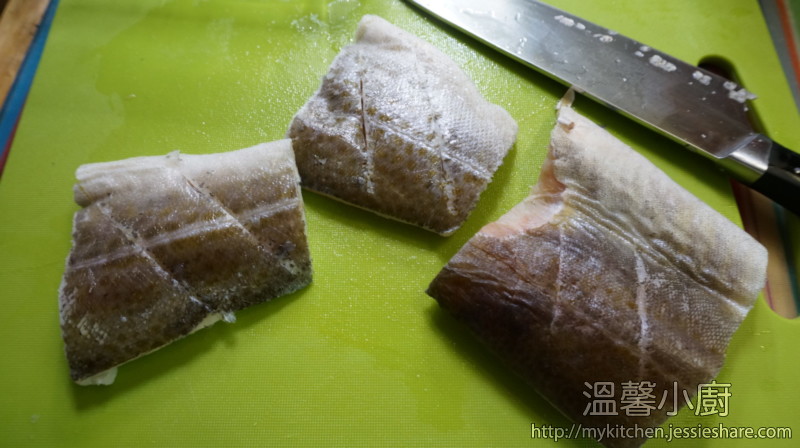
11. 把雞切開及去骨, 然後平均地塗上少許麻油在雞皮上
Cut the chicken into pieces and pull out the bones, glaze a little bit sesame oil on the top


12. 當飯煲好就可以享用了。
When the rice is done, then you can enjoy it.


Tips : 如果讀者喜歡中式的薑蔥蓉作醮醬,磨薑蓉、切蔥粒,加少量鹽及胡椒粉,倒入滾雞油就可以了。


[wpedon id=”1981″ align=”left”]

Posted in 菇類 (Mushroom), 蔬菜 (Vegetable), 帶子 (Scallops), 意大利菜 (Italian Cuisine), 意大利飯 (Risotto), 海鮮 (Seafood)

黑松露牛肝菌帶子意大利飯 (Black Truffles and Porcini risotto with scallops)

img_7730


關於意大利米,作者也在這篇簡單地細說一下吧。其實意大利米分別有幾款 : Arborio, Baldo, Carnaroli, Maratelli, Padano, Roma, and Vialone Nano, Carnaroli及Maratelli,它們的吸水程度也不同,例如 : Vialone Nano係所有米種中吸水力最強的,他們煮的時候就要快及比較水性,好樣我們中國人的湯飯似的,不是我們常見比較黏性的那樣,所以在意大利人會把用途分得很細緻。然而在香港可以找到也只得3款,大致是 Arborio, Carnaroli and Vialone Nano,一般比較容易控制的是Arborio, 其餘兩款也吸水性強,很易煮得過火,所以大多數人也會用Arborio來煮意大利飯。

We can talk briefly about Italian rice here, practically there are various types of risotto : Arborio, Baldo, Carnaroli, Maratelli, Padano, Roma, and Vialone Nano, Carnaroli, Maratelli.  Different rice have its own absorbs condiments, i.e. Vialone Nano is the most absorbs condiments among others, so it easy to overcooked and required fast cooking than others.  Actually, you can only find 3 common types of risotto : Arborio, Carnaroli and Vialone Nano in Hong Kong supermarket, but most of people cooking risotto with Arborio, because it’s more easy to control while cooking, the rest of two are easy to overcooked though.


煮意大利飯時,其實有一個既定的程序,亦在煮的過程中也要小心留意,必須一邊攪一邊加湯,不可一次性加入,否則會黏底及吸水不好;此外,記得意大利米一定不能洗米的。

While cooking risotto, they have a standard procedure, you have to look into it, you must have to stir it always and add stock little by little, otherwise it will stick the pan and not cook throughly, also, you don’t have to waste risotto before cooking.


好了,讀者應該也大概明白小小意大利米的知識,就開始我們今天的菜式吧。

OK, let’s go start cooking dish now.


材料 (Ingredients) :


原粒黑松露 (Fresh/preserved whole black truffles) – 1個 (1 pc)


黑松露醬 (black truffles sauce) – 1湯匙 (1 tablespoons)


乾牛肝菌 (fried ceps) – 20g


帶子 (scallops) – 4隻 (4 pcs)


意大利米 (Arborio rice) – 150g


洋蔥 (onion) – 1個 (1 pc)


白酒 (white wine) – 150ml


菜湯 (vegetable stock) – 1公升 (1 litre)


牛油 (butter) – 150g


羊奶芝士 (pecorino cheese) – 少量 (few)

dsc02244

dsc02259


做法 (Method) :


1. 把乾牛肝菌浸於水中20分鐘、洋蔥切小粒、清洗帶子及吸走水份
soak the dried ceps into water for 20 minutes, cut the onion into small cubes, wash and pat dry scallops

dsc02245


2. 準備一個平底鍋,放入牛油,當牛油溶化,加入帶子煎至兩邊金黃,盛起備用
Prepare a saucepan, add butter, add scallops and cook until two sides are golden brown, take out and set aside

dsc02248


3. 在同一個鍋,加入橄欖油,加入洋蔥炒至軟身
In the same pan, add some olive oil, add onion and cook until soft

dsc02249


4. 加入牛肝菌,伴勻後再加入意大利米,再伴勻
Add fried ceps, stir well and add rice, and stir well again

dsc02252

dsc02253


5. 倒入白酒,並讓它揮發一會
Add white wine and let it evaporate for a while

dsc02254

dsc02255


6. 再加入浸牛肝菌的水,一邊煮一邊攪
Add the dried ceps water, stir it while cooking

dsc02256

dsc02258


7. 當水份不足時,就加入菜湯,大約加3-4次
When not enough water, add vegetable stock little by little, stir it gently, and add around 3-4 times

dsc02261


8. 見意大利飯開始差不多脹大一倍以上,試試是否適合自己的口感,可以的話就可以熄火

When you see the risotto rise for double size, taste it whether its OK or not, if OK, then turn off the heat


9. 加入黑松露醬、牛油及羊奶芝士碎,伴勻,蓋上,待2-3分鐘
Add black truffles sauce, butter and pecorino cheese, stir well and lid on for 2-3 minutes

dsc02266

dsc02267


10. 分好碟後,放上帶子,把原粒黑松露一片片的刨在上面就完成。
Put it on the plate, put the scallops on top and slice the black truffles on the top and finished.

dsc02268


[wpedon id=”1981″ align=”left”]

Posted in 魚類 (Fish), 日本料理 (Japanese Cuisine), 海鮮 (Seafood)

味噌鱈魚 (Miso Cod Fish)

IMG_7583

這道味噌鱈魚是一間很出名的日本料理的名菜,最近作者嘗試烹煮,雖然不是用上白味噌,但也很好吃,也是一道很好伴飯的菜式。但一定要預算2-3天醃製魚肉,入味後才好吃的。

This miso glazed cod dish is created by a famous Japanese restaurant in New York, I tried to cook it myself but using Khumbu red miso instead of white miso, it’s so delicious too and good to eat with rice.  However, please reserve 2-3 days for marinate of the fish to make it more tasty.


材料 (Ingredients) :


鱈魚 (cod fish/black cod) – 3-4件 (3-4 pcs)


味噌 (White miso/Khumbu red miso) – 3湯匙 (3 tablespoon)


日本米酒 (sake) – 3湯匙 (3 tablespoon)


味琳 (mirin) – 3湯匙 (3 tablespoon)


糖 (sugar) – 2湯匙 (2 tablespoon)


DSC02207


做法 (Method) :


1. 準備一個小鍋,把米酒及味琳倒入,煮大約20秒讓酒精揮發
Prepare a small pan, pour in sake and mirin and cook for about 20 minutes

DSC02208


2. 再加入味噌,把味噌煮溶
Add miso in and cook it until melt

DSC02210


3. 加入糖調味,再把糖煮溶後,試味,適合自己的味道後放涼
Add sugar and cook until melt, taste it, if it is suitable for you, then set aside and let it cool

DSC02211


4. 用刀在鱈魚身(有皮那邊)輕輕𠝹兩刀方便入味
For cod fish, use the knife to cut a little bit into the skin

DSC02213


5. 把魚放入一個容器或密實袋,再倒入味噌汁,放入雪櫃存放2-3天
Put the fish into a store container or ziploc bag, pour the miso glaze and let it marinate in refrigerator for 2-3 days

DSC02214

DSC02215


6. 醃好後,取出,稍稍除去鱈魚上多餘的汁
After marinate, swipe off some miso glazes before baking


7. 預熱焗爐200度
Preheat oven in 200 degree celsius


8. 準備一個可以入焗爐的平底鍋,把魚放在上面,焗大約10分鐘,最好中途翻轉一下烤焗會比較平均,醬汁另外分開焗
Prepare a oven-proof sauce pan, put in the fillet, then bake for around 10 minutes, better flip over to make it even both sides, and bake the sauce separately


9. 焗好後上碟,在魚面上加醬汁就完成了。
Glaze the sauce on top of the fish before serving, enjoy.


[wpedon id=”1981″ align=”left”]

Posted in 煙燻機 (Food Smoker), 肉類 (Meat), 醃製及煙燻 (Curing and Smoking), 醬汁 (Sauce), 豬肉 (Pork), 其他西餐 (Other Western cuisine)

[原創食譜 Original Recipe] 煙燻豬肋骨配自家製燒烤醬 (Smoked Ribs with Homemade BBQ Sauce)

IMG_7128


之前說過自家製的煙肉及煙燻牛肉,作者大約每隔一段時間就會做一批,所以煙燻爐也算是比較多用,相信一般家庭沒有像作者一樣吧。平時也可以用煙燻爐做出很多美食,不要由它放著啊,因此,作者今次介紹這個大家也很喜愛的食物,可以在週末或假期食得開心,而自家做卻比餐廳便宜得多吧。 作者建議買丹麥入口那款,雖然沒有美國那麼多肉及大件,但每人一排的份量是剛好,不會覺得膩,但又滿足口福。

I have talked about making bacon and pastrami at home before, however, I will make a batch for some certain time, so I use the stovetop smoker quite often, but I don’t think the readers here will do so, then it seems quite a waste for the great tool; therefore, I’m introduce this dish here that most people will love it, you can make it at home during weekends or holiday, it’s much less expensive compared to restaurants.  On the other hand, I prefer to buy ribs that imported from Danish, it’s not as meaty and large potion as US one, but it’s good for Asian that everyone have its own full rib, not so greasy, will feel full and enough delicious.


對不起,今次沒有做法的附圖,希望讀者也明白吧。

So sorry that I don’t have attached photos for how to make it, hope you will understand my wordings.


材料 (Ingredients):

豬肋骨 (Baby back ribs) – 2條 (2 full pcs)

蒜頭 (Garlic) – 4瓣 (4 cloves) <– 蒜蓉 (Minced)

茄汁 (Ketchup) – 4湯匙 (4 tablespoons)

豉油 (Soy Sauce) – 4湯匙 (4 tablespoons)

蜜糖 (Honey) – 4湯匙 (4 tablespoons)

蔗糖 (demerara sugar) – 60g

芥末粉 (Dried English Mustard) – 1茶匙

辣汁 (tabasco sauce) – 2茶匙

Jack Daniel’s 煙燻燒烤醬 (Jack Daniel’s Full Smoky Flavour BBQ Sauce) – 4湯匙 (4 tablespoons)


做法 (Method) :

1. 把所有調味材料放入小鍋,煮至醬汁至喜歡的稠度及試味,放涼待用
Prepare a small pan, pour all the sauce ingredients into the pan and cook until sticky, taste it.  Set aside and let it cool down

2. 把準備好的豬肋骨放上一個長盤,把煮好了的醬汁平均地塗在肉上,醃一個小時
Put the ribs into a long rack, glaze the sauce into the ribs and let it marinade for an hour

3. 準備好煙燻爐,把醃好的肉放入並進行煙燻一小時 (請保持在100度左右)
Prepare the stovetop smoker, let it smoke for one hour (maintain the temperature at around 100 degree celsius)

4. 在煙燻完成前,請準備好焗爐,預熱為200度
Before smoking complete, prepare the oven at 200 degree celsius

5. 待煙燻完成後,再次塗上醬汁,放入預熱好的焗爐焗20分鐘
After smoking completed, glaze the sauce again and transfer the ribs into oven and cook for 20 minutes

6. 焗好前最好再次把醬汁微微煮滾 (因為之前曾沾過生肉,所以安全為上而已)
Reboil the sauce again

7. 待焗好後再度塗上醬汁,待15分鐘後就完成。
Take out from oven, glaze the last sauce on the ribs and wait for 15 minutes and finished.


[wpedon id=”1981″ align=”left”]

Posted in 雞類 (chicken), 西班牙菜 (Spanish Cuisine), 海鮮 (Seafood)

經典西班牙飯 (Spanish Paella)

DSC02199


一般在餐廳吃到的西班牙燴飯會是以海鮮為主,其實在西班牙最經典的是雞肉及兔肉做的燉飯,但由於很多其他國家人也不吃兔肉,所以亦可以純以雞肉或雞肉加豬肉代替的。此外,燴飯所用的蔬菜也可以因個人喜好改變的,所以這菜式在材料上有很多變化,只是在調味料上卻是不變吧了。

Generally, you can find Spanish seafood paella in any spanish restaurants, however, the classic paella is made of chicken and rabbit meat, unfortunately, not all people love rabbit meat, so you can change it to all chicken or chicken with pork too.  On the other hand, you can use whatever veggies you love to cook on it. The only thing that not change for all kind of paella is seasoning.


因此,這只是分享其做法,讀者可以隨自己喜好去變化食材。

Therefore, this demo is just to share the cooking method of paella, you can change whatever ingredients you love to eat.


材料 (Ingredients) :


雞肉 (chicken with bone in and skin) – 6件 (6 pcs)


西班牙米 (Spanish rice) – 200g


豆角 (Long Bean) – 4-6條 (4 sprigs)


彩椒 (Bell pepper – different colour) – 2個 (2 pcs)


雞湯 (chicken stock) – 500ml


西班牙煙燻甜椒粉 (smoked paprika) – 2湯匙 (2 tablespoons)


蒜頭 (garlic) – 2瓣 (2 cloves)


藏紅花 (saffron) – 少許 (few)


鹽 (salt) – 少許 (few)


蕃茄粒 (chopped tomato) – 2湯匙 (2 tablespoon)


迷迭香 (rosemary) – 3條 (3 sprigs)


橄欖油 (Olive Oil) – 少許 (few)


DSC02188


做法 (Method) :


1. 準備一個燴飯専用的平底鍋,加入油,先用大火,把雞肉煎至焦黃
Prepare a saucepan, add oil, high heat and put the chicken in and cook and seal the meat until dark golden brown

DSC02194

2. 再加入豆角及彩椒粒並炒至軟身
Then add bean pod and bell pepper until soft and little bit brown colour

3. 轉小火,加入蒜蓉、鹽、甜椒粉及蕃茄粒,伴勻
turn the heat down, and add garlic, salt and chopped tomato, stir it well

4. 倒入雞湯及加入藏紅花,煮至雞湯開始有滾,就可以加入西班牙米,再伴勻
Pour in chicken stock and saffron, and cook a while, then add rice and stir well again

DSC02195

5. 轉回大火,大約煮十分鐘,再轉小火,繼續煮多6分鐘左右
Turn the heat up and cook for about 1o minutes and then turn the heat down again and cook another 6 minutes


6. 加入迷迭香在上面,然後上蓋再煮多5分鐘,關火並焗多5分鐘,就完成了。
Finally, add the rosemary on the top, lid on and cook more 5 minutes, then gas off and remain lid on for the last 5 minutes, finished.

DSC02196

DSC02197


另奉上海鮮版本 :

img_7704


作者在C記買來西班牙急凍雜錦海鮮,內有大量青口、小蝦、幾件白爪魚小件、小量洋蔥及彩椒,老實說,以急凍海鮮來說,味道真的不錯,讀者可以一試,但用新鮮食材當然是最好的。

One day, I found a pack of frozen mixed seafood in one of the high-end supermarket, there are lots of mussels, small shrimp, few little octopus legs, few onion and bell peppers included in the pack. Although it is frozen one, but the taste is quite good, you can give it a try, of course, the fresh one is the most perfect one.


材料 (Ingredients) :


雜錦海鮮 (Mixed seafood) – 1盒 (1 pack)

白酒 (White Wine) – 150ml

西班牙米 (Spanish rice) – 200g

洋蔥 (Onion) – 半個 (half)

雞湯 (Chicken Stock) – 500ml

西班牙煙燻甜椒粉 (smoked paprika) – 2湯匙 (2 tablespoons)

蒜頭 (garlic) – 2瓣 (2 cloves)

藏紅花 (saffron) – 少許 (few)

鹽 (salt) – 少許 (few)

橄欖油 (Olive Oil) – 少許 (few)

img_7701

做法 (Method) :


1. 下橄欖油,先把洋蔥炒至軟身,再加入其他蔬菜一起炒一會
Add olive oil, put the onion in and stir until soft, then add other vegetables and stir it well

2. 再加入蒜頭、藏紅花、鹽及甜椒粉炒勻
Then add garlic, saffron, salt and smoked paprika and stir well

3. 加入西班牙米伴勻
Add spanish rice and stir well

4. 倒入白酒並讓它揮發酒精一會
pour in white wine and let it evaporate a bit

5. 加入雞湯,大火煮十分鐘
Add chicken stock and cook it in high fire for around 10 minutes

6. 煮至水份差不多收乾,加入所有海鮮,
Cook until the stock almost gone and see some bubbles, then add mixed seafood

7. 再轉慢火,煮至水份完全收乾後,關火並焗5分鐘就完成
then turn to low fire, cook until all stock is gone and close fire, lid on for 5 minutes and finished.


溫馨提示 : 讀者覺得藏紅花太貴,可以在C記買到平價調味包,作者試過,真的不錯,但記住,當你用懶人包時,就不用再自行調味,一包的味道已經很足夠及味道很平衡的。

Tips : If you feel Saffron too expensive, you can also found a box of seasonings, I feel this seasonings pack taste is OK, but beware, if you use this, you don’t have to add any seasonings on top, one pack is more than enough and the taste is so balance too.


[wpedon id=”1981″ align=”left”]