這個應該是作者在香港生活的最後一個食譜吧。 待作者在大馬生活穩定後,一定再為大家分享多些不同的食譜。
I think this is the last recipe I am sharing while living in Hong Kong. I will share more special recipes later when I’m settled down in Malaysia.
作者一向認識的冬蔭湯也是用蝦及草菇煮成,所以我但在香港大多說冬蔭功,當中的「功」在泰文是 goong, 是蝦的意思, 一般只會說冬蔭。 但在泰國卻是很多配搭,可以是豬肉、雞肉或牛肉,亦有很多其他冬蔭做法,而主要材料也是香茅、南薑、檸檬葉、魚露、辣椒、青檸汁。至於冬蔭醬,其實當地人比較少用,他們主要用新鮮香料再加入一種辣椒醬,所以看上去是清湯的; 但在世界其他地方,冬蔭湯主要味道來源是冬蔭醬,因為味道比較濃及方便。
As I know like most of the people, Tom Yum only added shrimp and mushroom, we called tom yum goong, but the word “goong” means shrimp, so we should call tom yum only. Actually, you can find Tom Yam with meats as well in Thailand household and variety kind of tom yum too. The main ingredients for Tom Yum are lemongrass, galangal, kaffir lime leaves, Chilli, fish sauce and lime juice, therefore, they are mostly clear broth instead red one. Tom Yum paste only widely use outside Thailand, because it enhance flavour and more convenient.
作者所住的小島上,很多泰國人聚居,不時也有泰國人在島上開小餐館,因此認識了比較家庭式的冬蔭食法,不太似我們在城市裏的餐廳味道,但感覺很地道,配搭肉類也是不錯的。
In the island that I’m living, there are many Thai people living here too, sometimes they will open a small restaurant to serve localized Thai cuisine, some dishes are not famous in popular Thai restaurant, it’s not home cook style one, so I learn this from them too.
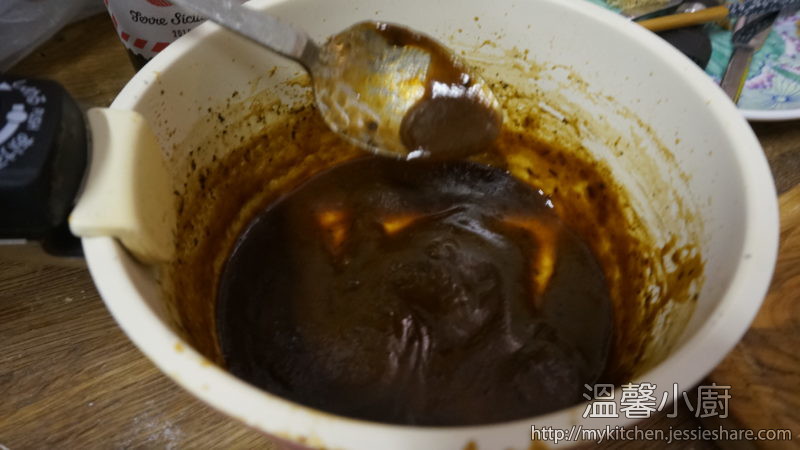
最近作者所住的小島又有泰國人開了新食品店,店主是泰國人,親自回泰國入貨的,所以介紹了一款冬蔭醬,她指餐廳也是用這個品牌; 當作者試過後,真的很不同,以前從超市買回來的冬蔭醬,只有鹹味,用一包也沒有冬蔭那種酸辣的味道,然而用了這個品牌,只需要2湯匙已經足夠一鍋2-3人份量的冬蔭湯底味道了。
Recently, there’s a Thai grocery store opened in the island, it’s also operated by Thai people and import goods themselves directly from Thailand. She introduced a brand of Tom Yam paste for me which also widely used in Thai restaurants too. After I tried, it’s really unbelievable taste too, compared with previously bought from supermarket, it’s only taste salty but without hot, spicy and sour character that Tom Yam should be, but this only use 2 tablespoons which enough flavour to serve 2-3 pax of soup.
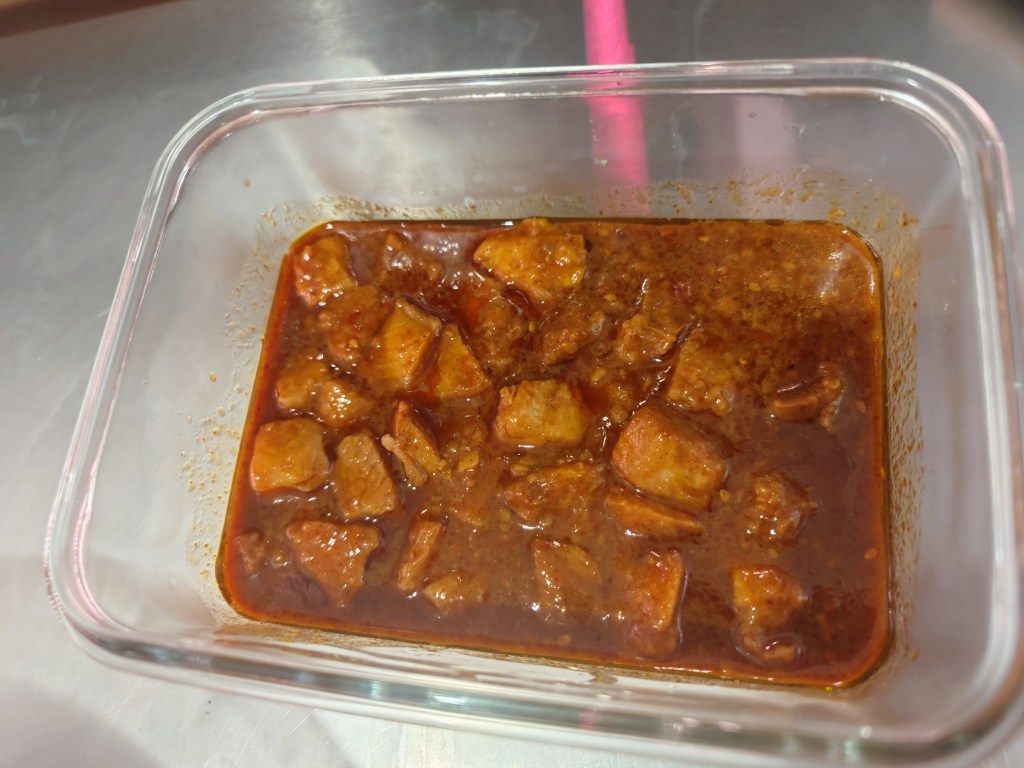
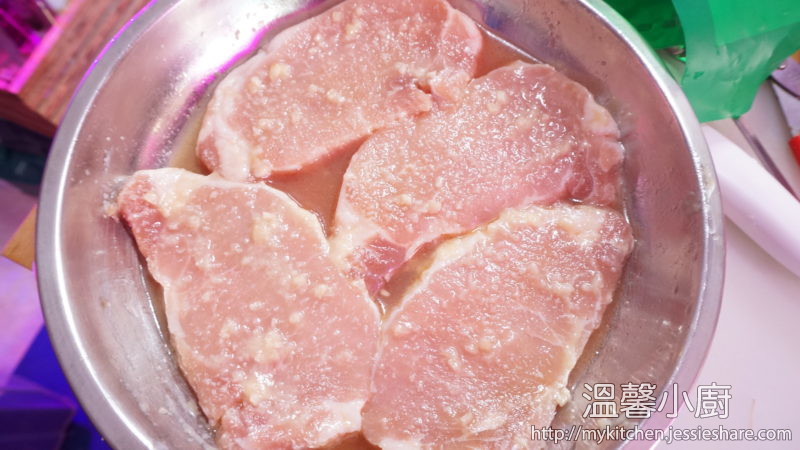
這次真的簡單版,作者也只是買來超市預醃的泰式豬頸肉吧了,但用了低溫慢煮方法,肉質比較鬆軟。
This is very very simple recipe that I also bought a pre seasoned meat from supermarket, but using sous vide method that meats are tender and juicy.
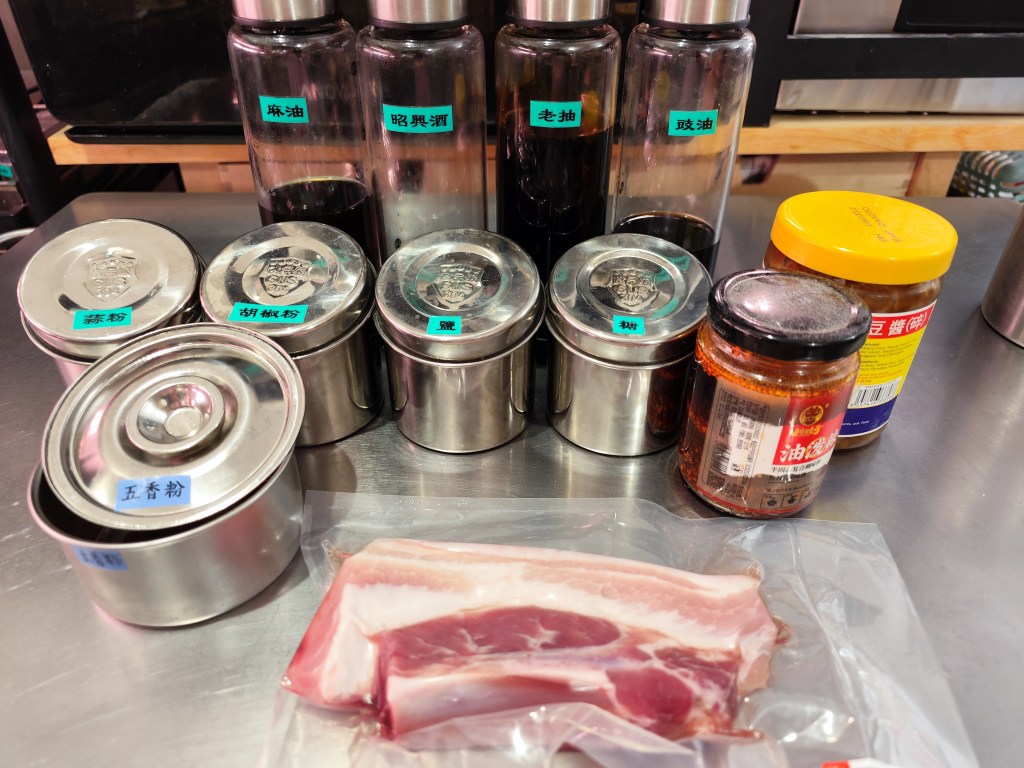
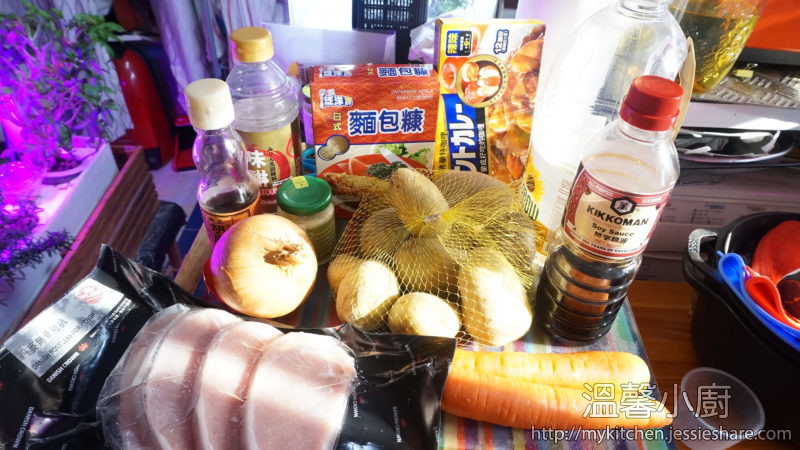
材料 (Ingredients) :

泰式豬頸肉 (Thai style pork jowl) – 1包 (1 pack)
冬蔭醬 (Tom Yam paste) – 2湯匙 (2 tablespoons)
冬蔭香料包 (Tom Yam herbs pack) – 1包 (1 pack)
蝦皮/蝦殼 (Shrimp shells) – 8-10 隻 (8-10 pieces)
雞湯 (Chicken stock) – 1公升 (1 Liter) [做法參考 : http://mykitchen.jessieshare.com/?cat=98]
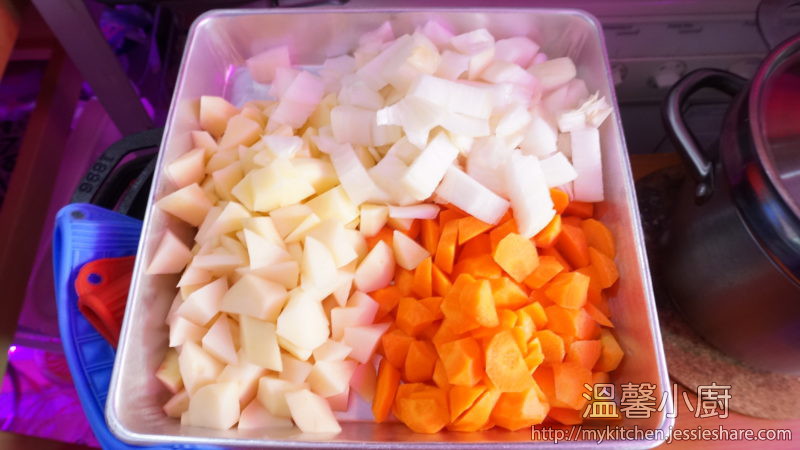
番茄 (Tomato) – 1-2個 (1-2 pcs)
魚露 (fish sauce) – 適量 (as taste)
青檸汁 (Lime jucie) – 適量 (as taste)
菜油 (Vegetable oil) – 少許 (little)
椰奶/淡奶 (coconut milk / evaporated milk) – 適量 (as taste)
泰國米粉 (Thai Rice noodle)
草菇/蠔菇 (straw mushroom / oyster mushroom)
芫茜 (Coriander) – 適量 (for garnish)
做法 (Method):
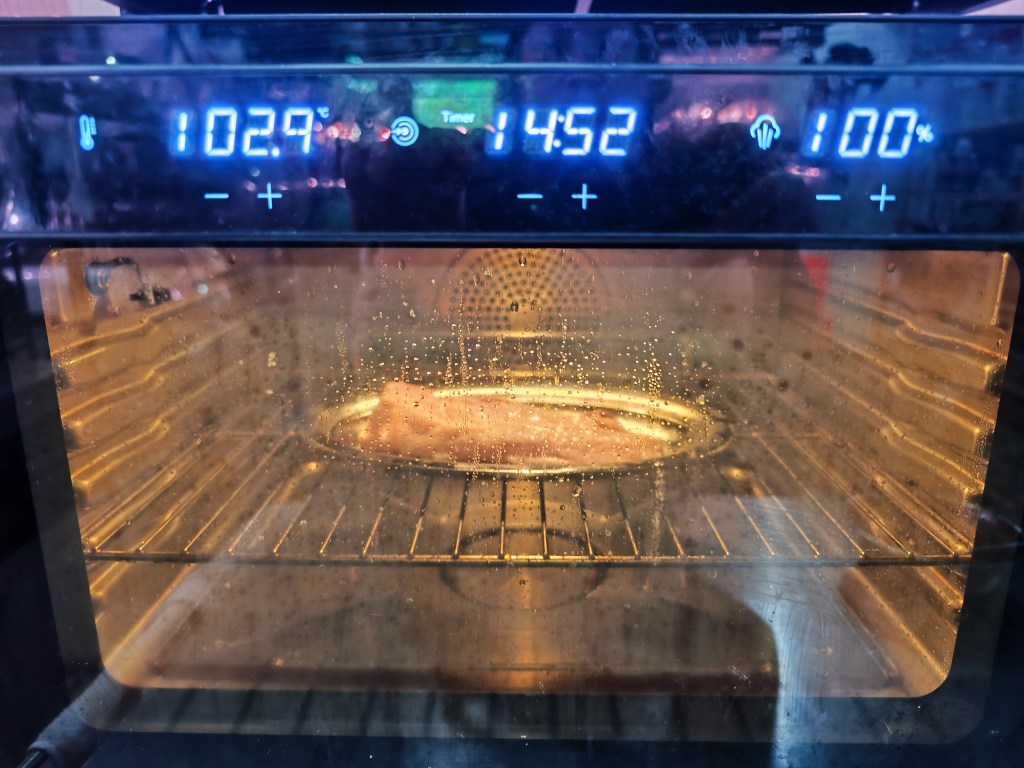
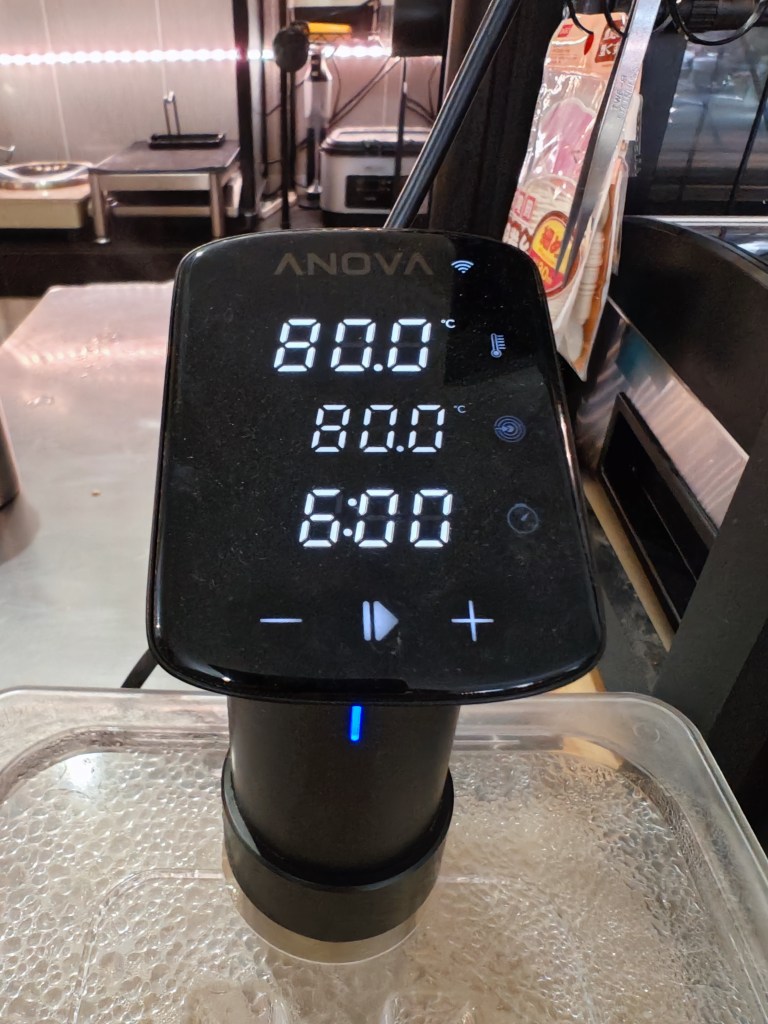
1. 先預熱低溫慢煮器為68度
Preheat your sous vide circulator at 68 degree celsius
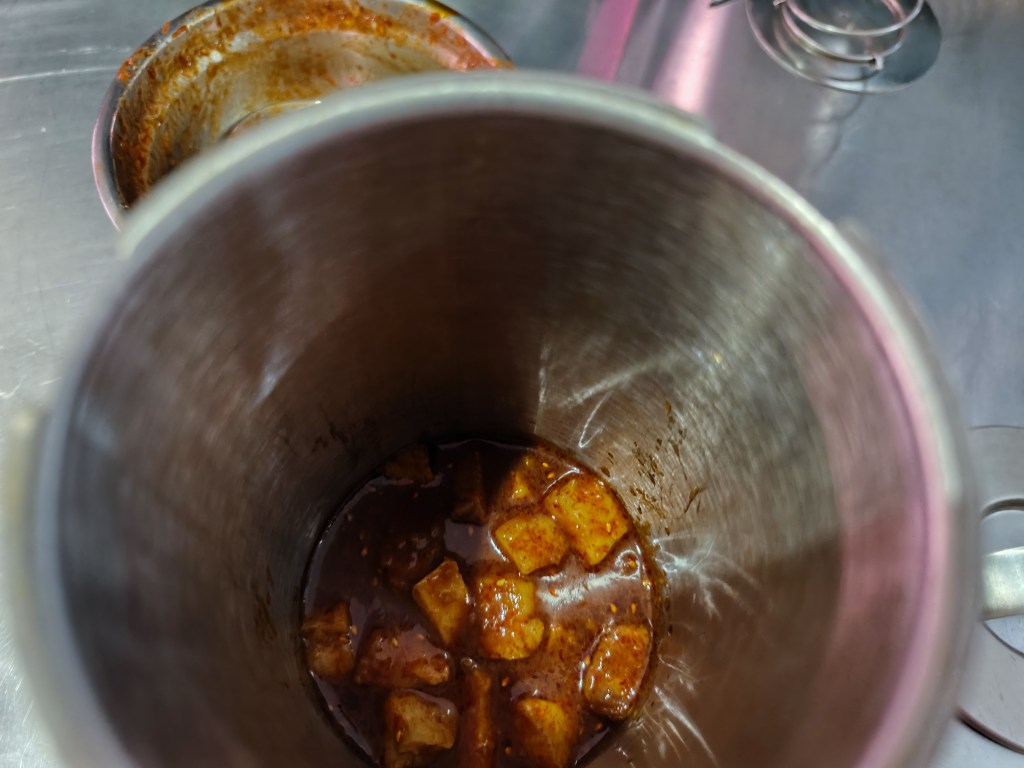
2. 把豬頸肉放入真空袋並開始煮2.5小時
Put the meat into vacuum bag and start cooking for 2.5 hours
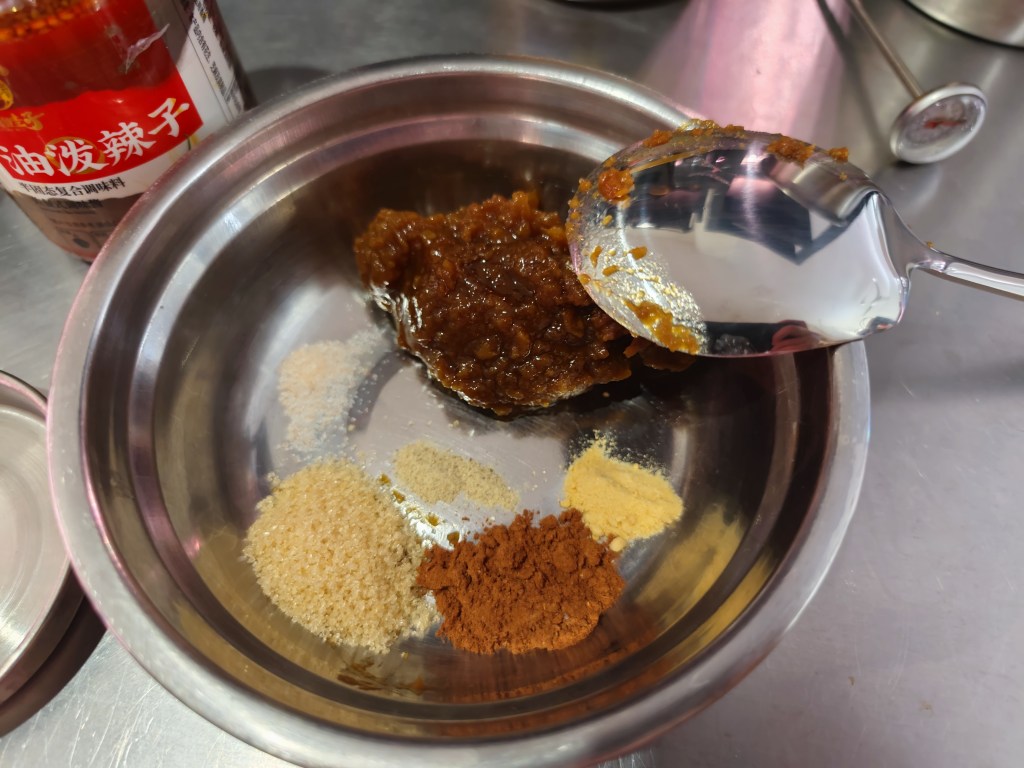
3. 香茅扁切斷、紅蔥頭切片、南薑切片 (如喜歡比較辣,可以把辣椒切段)
cut lemongrass into 2cm pieces, shallots and Galangal cut into small pieces (If you wanna more spicy, you can also add some chilli pieces too)
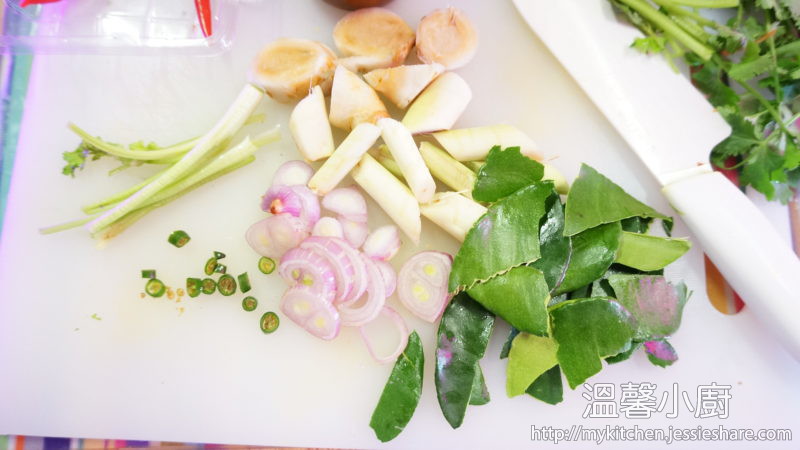
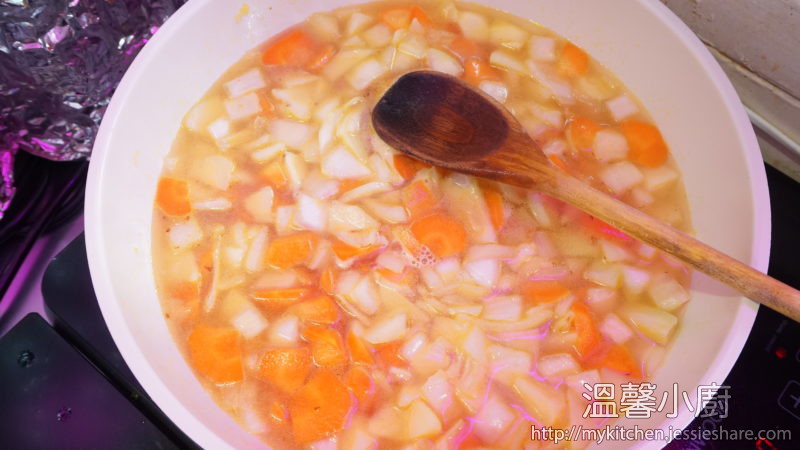
4. 準備一個鍋,下油,放入香茅、紅蔥頭、南薑炒香
Prepare a pot, add some oil, put lemongrass, shallots and Galangal, stir fry a while
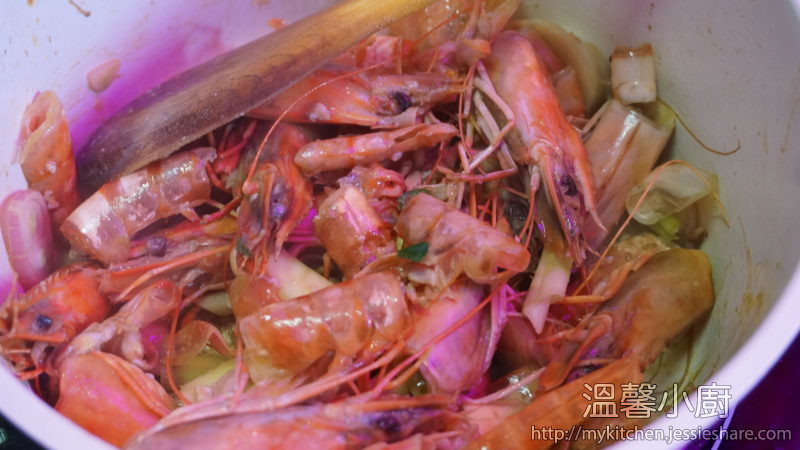
5. 加入蝦殼再炒香
Add shrimp shells and stir fry until fragrance
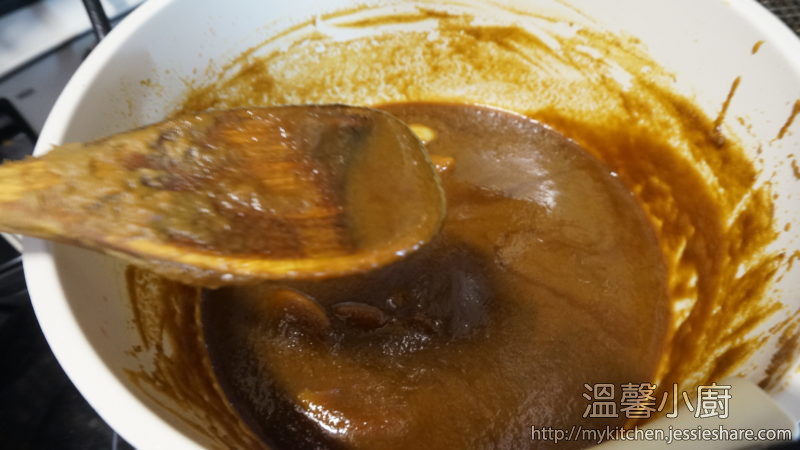
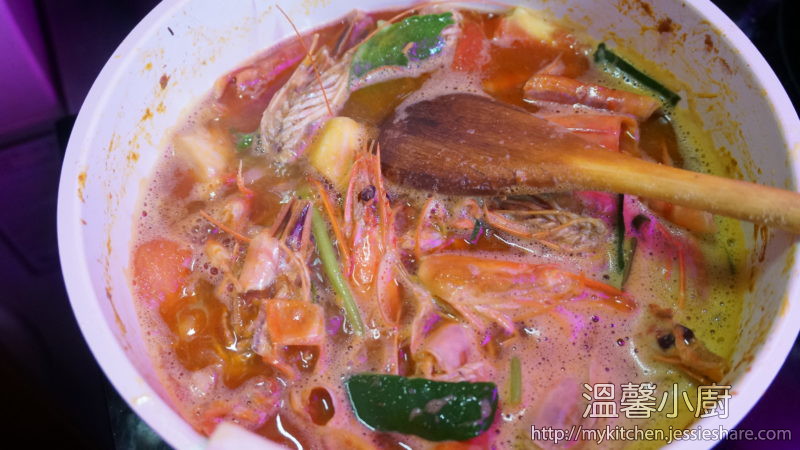
6. 再加入番茄及冬蔭醬,再炒至冬蔭醬出味
Add tomato and tom yum paste, and stir fry again

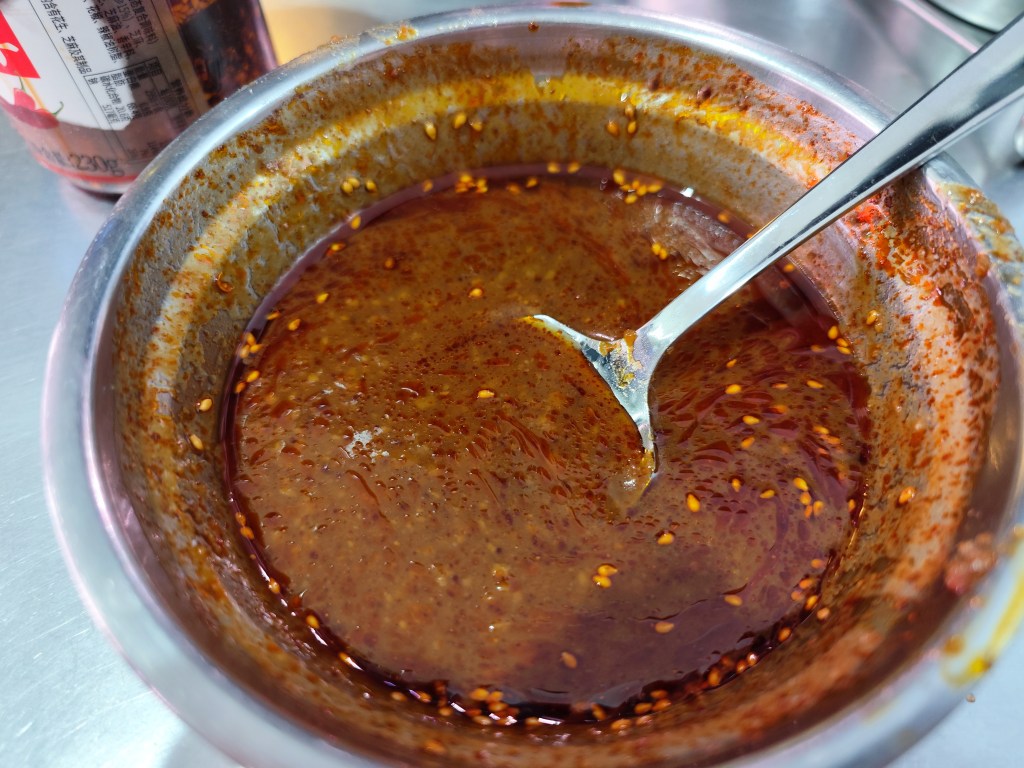
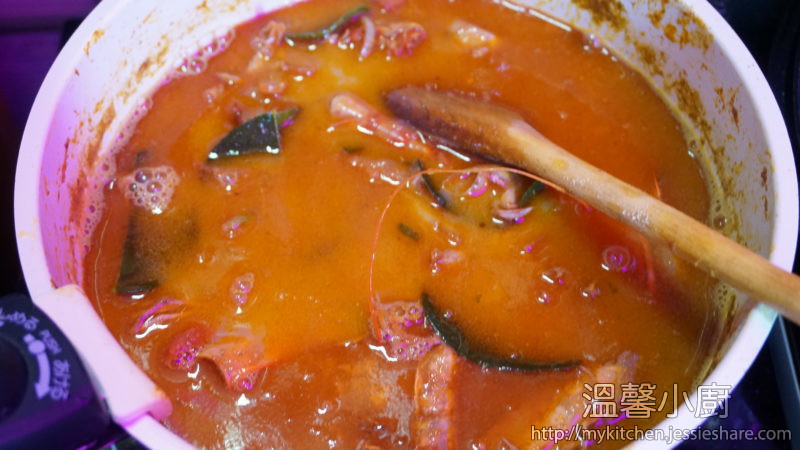
7. 入雞湯,並把檸檬葉用手撕碎與草菇一起放入湯內, 煮10分鐘,先關火
Add chicken stock, kaffir lime leaves and mushroom into the pot and let it boil for 10 minutes and set aside
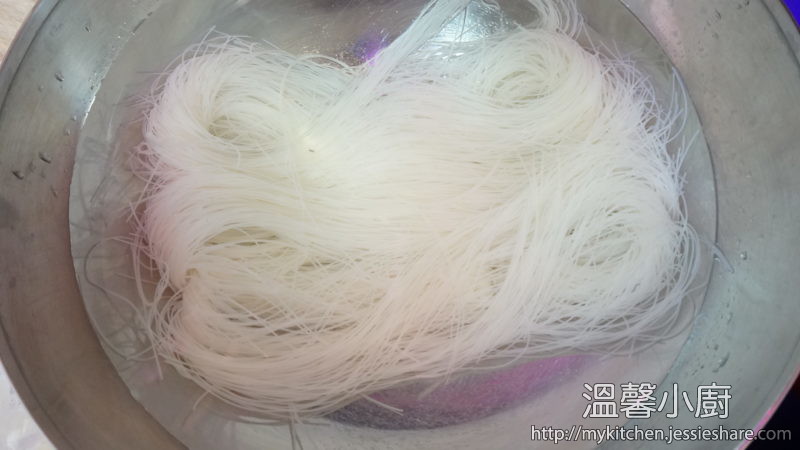
8. 米粉先用水浸軟,備用
Soak the rice noodle into a water until soft and set aside
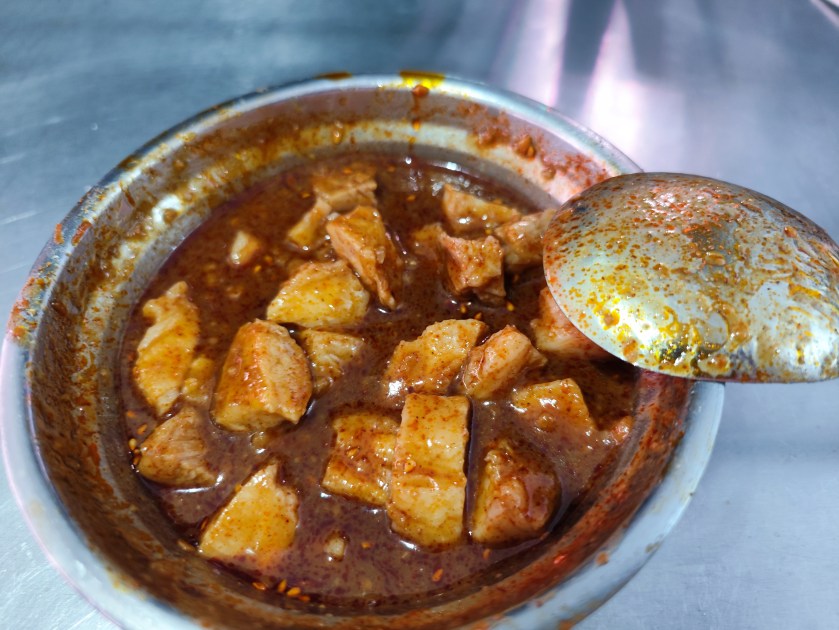
9. 回到豬頸肉,把煮好的豬頸肉汁倒回冬蔭湯內
Back to the meat, pour the excess sauce into the pot
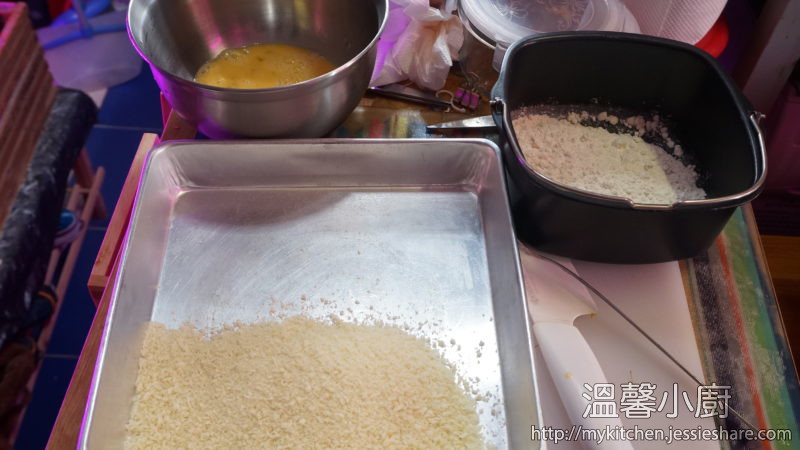
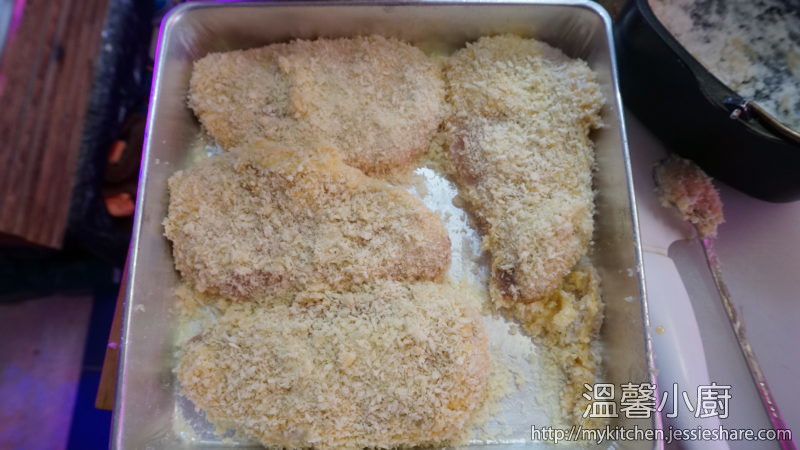
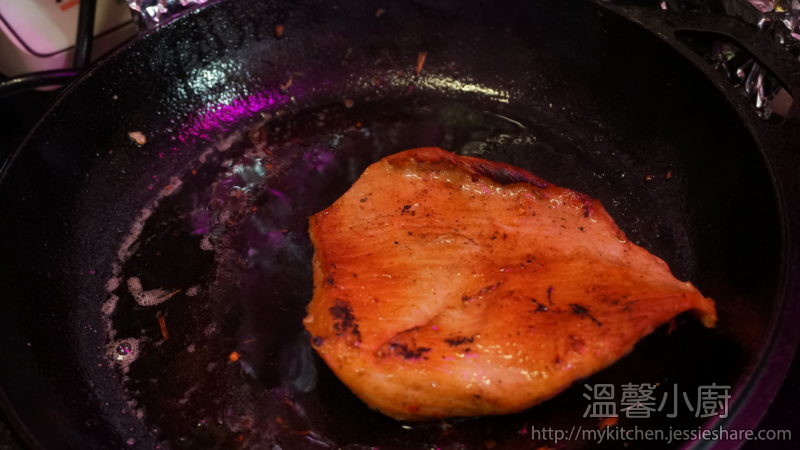
10. 豬頸肉用焗爐或火槍或平底鍋,煎至表面少許焦就可以了
Either sear the meat in the sauce pan or use blow touch to seal the surface until brown
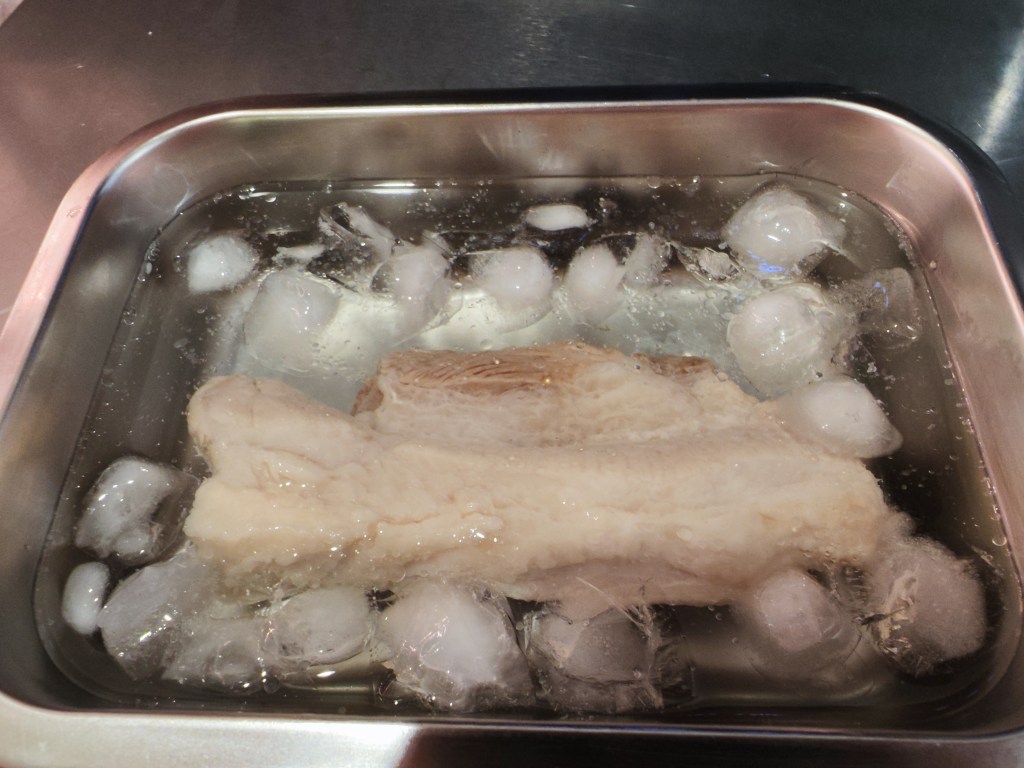
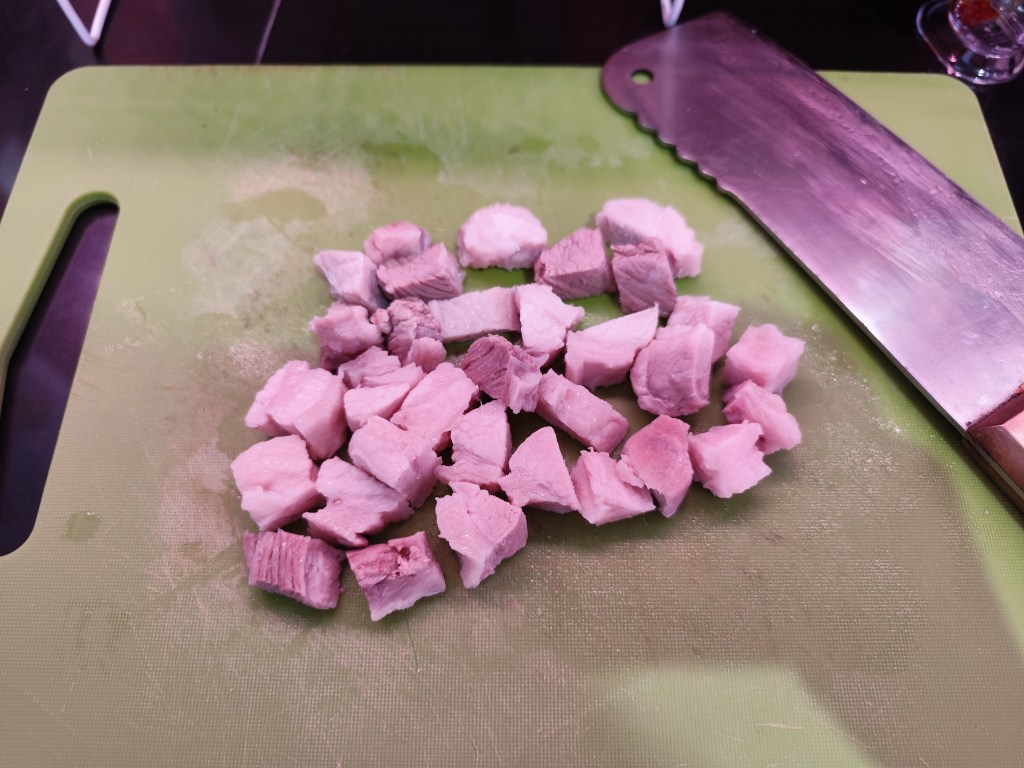
11. 放涼一點後切片備用
After cool down, cut into small pieces
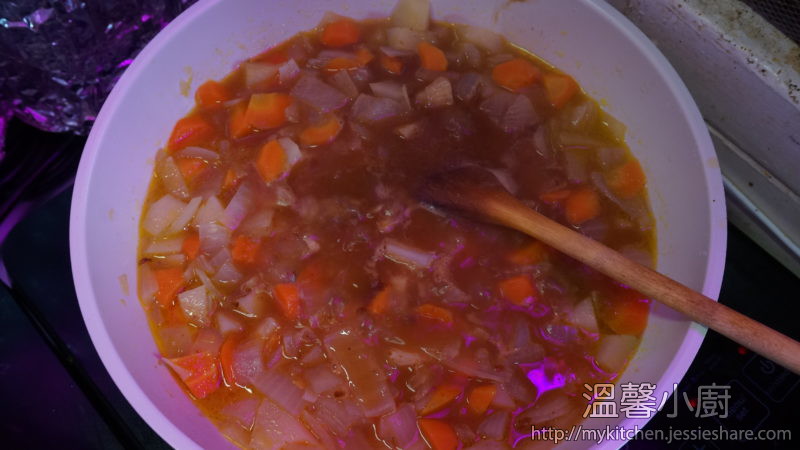
12. 再次煲滾冬蔭湯後,關火,加入魚露及青檸汁, 最後加入椰奶, 伴勻,試味,就可以了
Back to tom yum soup, boil it again, add fish sauce, lime juice and coconut milk, mix it well and taste it
13. 米粉煮5分鐘就可以了。
Boil a pot of water, and cook the rice noodle for 5 minutes
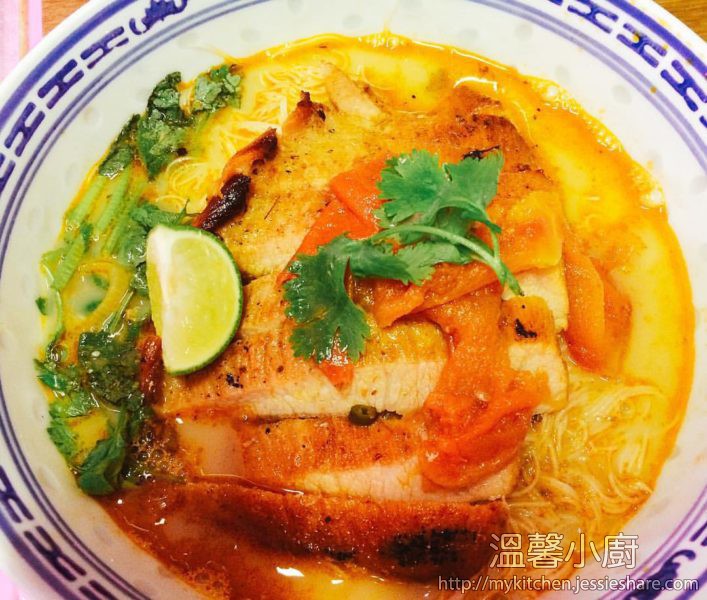
14. 準備好碗,放入米粉,把豬頸肉放上層
Prepare a bowl, put the rice noodle in and put the meat on the top
15. 小心地倒入冬蔭湯底,加入芫茜就完成了。
Pour the tom yum soup in and garnish with coriander, finished.
[wpedon id=”1981″ align=”left”]