
本來沒打算試做這個小食,但作者於農曆新年前買下來的急凍魷魚鬚還沒開封,為免不想浪費食物,所以又試試這個小食,這個配酒的小食應該不錯吧。
I don’t think to make this snack before, but I bought a pack of frozen squid tentacles before Chinese New Year, just don’t want to waste it, so I try to make this as well, this snack is good with wine too.
另外,在這再聲明,如讀者用一般風乾機,不是用作者的紅外線風乾機,請不要動手做這小食,這基於食物安全問題,因為一般風乾機是沒有消毒細菌的功能,所以為自身安全為上,不要試圖去做。
On the other hand again, If you are not using NIR dehydrator, only using normal dehydrator, please don’t make this snack, this according to food and hygiene regulations, since NIR dehydrator only can kill the surface of bacteria and mircoorganism, but normal dehydrator cannot do so, please don’t try to kill yourself.
材料 (Ingredients):

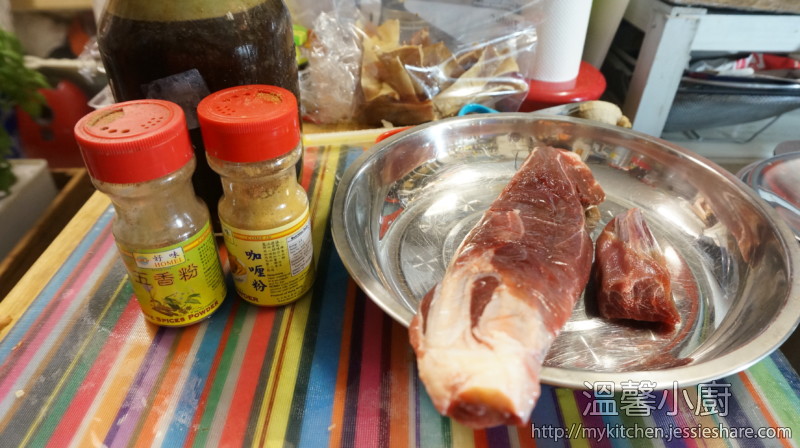
魷魚鬚 (Squid tentacles) – 1包 (1 pack)
日本豉油 (Japanese Soy Sauce) – 2杯 (2 cups)
味琳 (Mirin) – 2湯匙 (2 tablespoons)
日本清酒 (Sake) – 2 湯匙 (2 tablespoons)
糖 (sugar) – 1湯匙 (1 tablespoon)
水 (water) – 200ml+200ml
蜜糖 (honey) – 1湯匙 (1 tablespoon)
生粉 (any kind of starch powder) – 3湯匙 (3 tablespoons)
做法 (Method) :
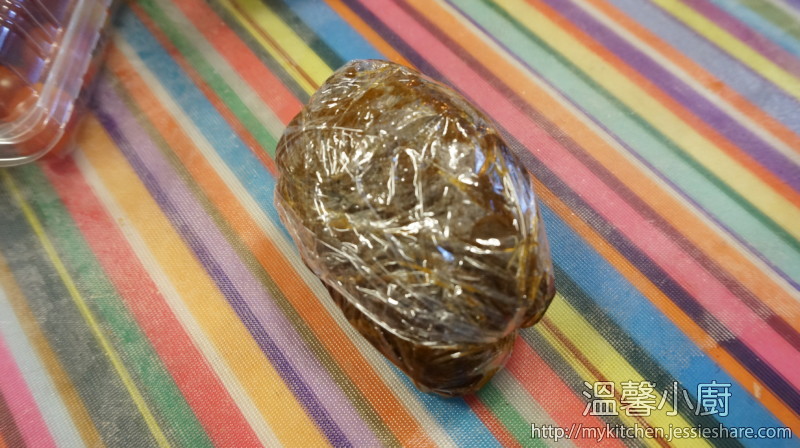
1. 把魷魚鬚清洗,切一半,備用
clean the squid tentacles and cut into half, set aside
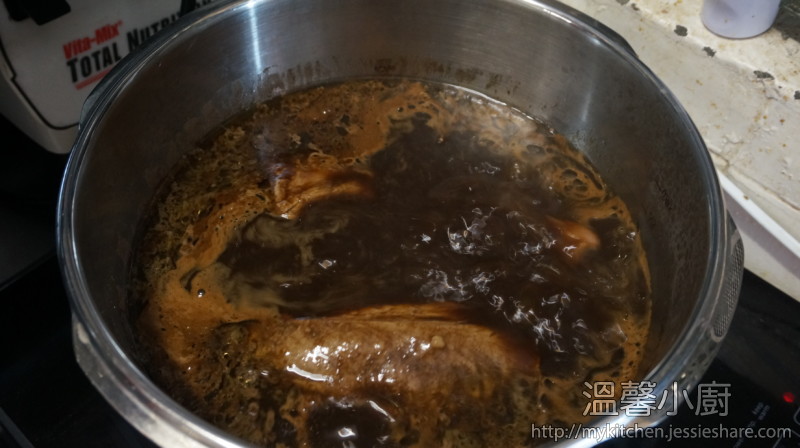
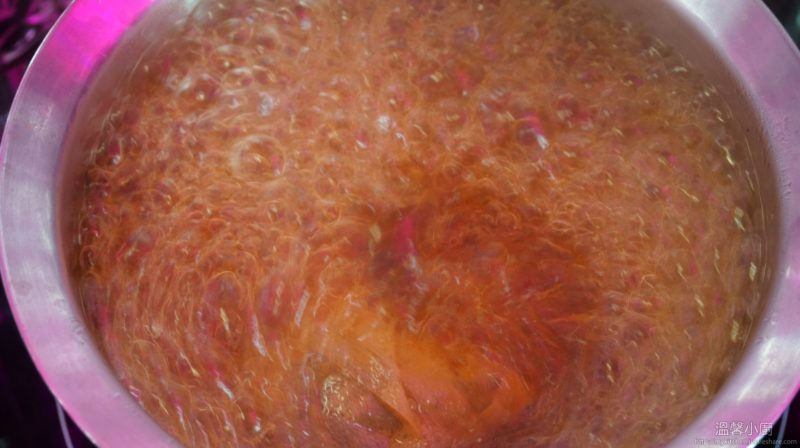
2. 準備一個小鍋,加入日本豉油,味琳,日本清酒,水及糖,煮滾
Prepare a small pot, pour in soy sauce, mirin, sake, water and sugar, boil it first

3. 加入魷魚鬚,煮5分鐘,盛起,放涼
add the squid tentacles in and cook for 5 minutes,take back the squid and let it cool down
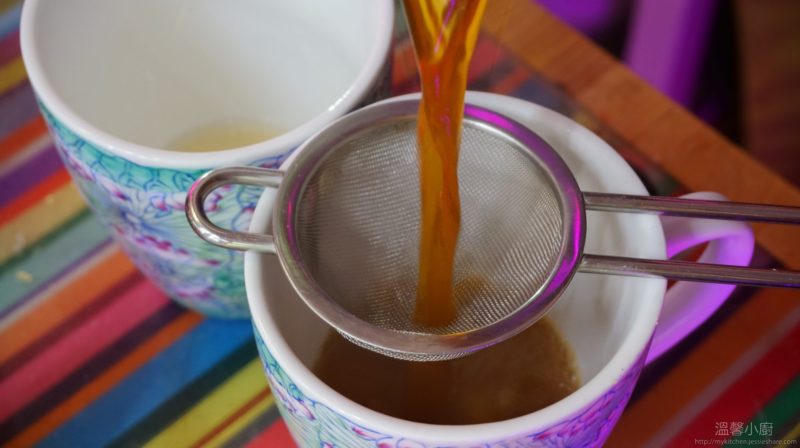
4. 繼續煮調味汁,加入生粉水,煮至杰身,關火並放涼一點
Continue to cook the sauce and add some starch powder until thicken, off heat and let it cool down a bit
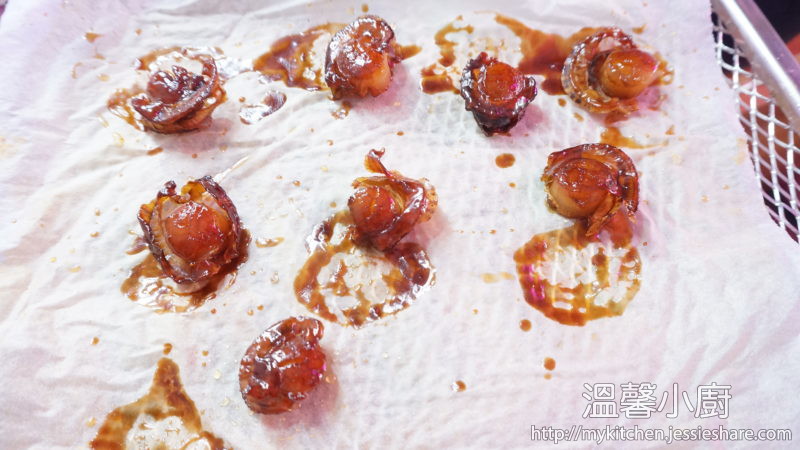
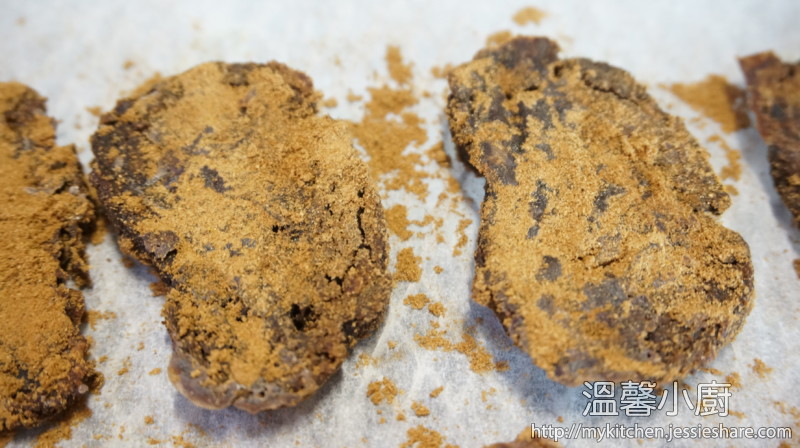
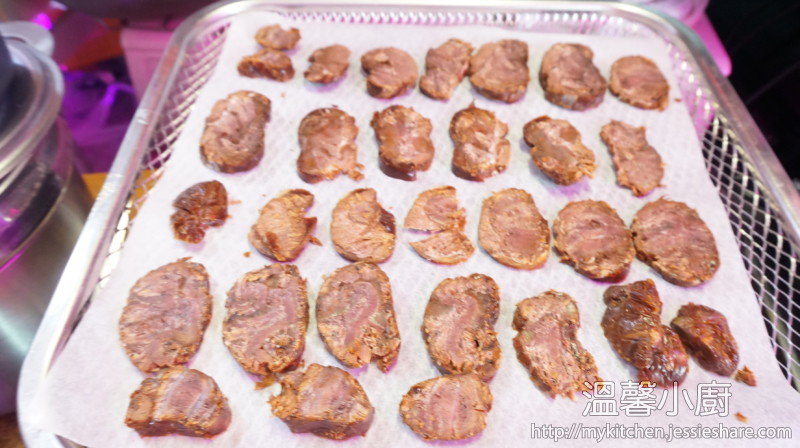
5. 準備風乾架,放上牛油紙,把魷魚鬚再次醮上醬汁,放上風乾架上
Prepare dehydrating tray, put on the baking paper, put the squid tentacles into the thicken sauce again and put on the tray

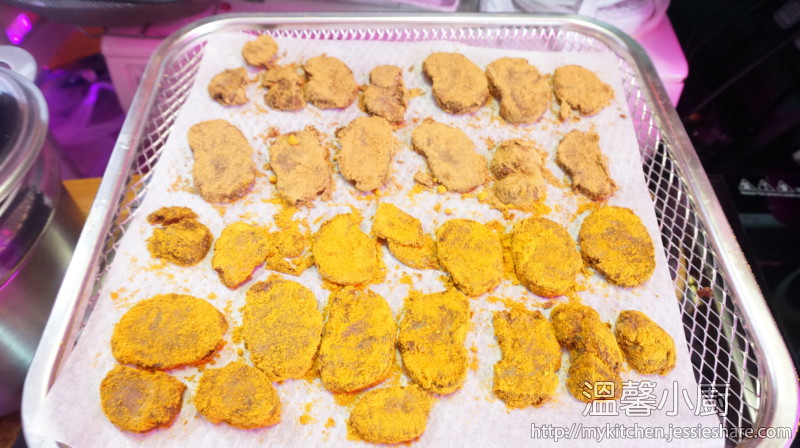
6. 再塗上蜜糖及平均地加入少量醬汁
Glaze some honey and put a little bit sauce on the top
7. 用solar mode風乾就可以了。
Use the solar mode and let it dehydrate it until dry.

Tips : 1. 想風乾得靚身,久不久翻轉,及差不多完成時再塗上蜜糖,就可以做到有光澤
If you wanna make it looks shiny outside, you can flip it over some time and glaze some honey on top.
2. 想食辣味,可以在煮調味汁時加入辣椒碎就可以了。
If you love spicy flavour, just add some chopped chilli while cooking the sauce
3. 如果唔想咁硬身,可以縮短時間
If you don’t wanna too hard, adjust your dehydrating time shorter
[wpedon id=”1981″ align=”left”]